Hello. It is me again. Another simple tutorial for Photoshop. In this tutorial I will explain the basics of making a simple orb logo. Let us start.
First create a new document about 300x300. Create a circle using the Ellipse Tool about 250x250 and put it in the center of your document. Don't worry about the color. We will ad that later.
Go to blending options and ad a gradient to it. Use these colors:

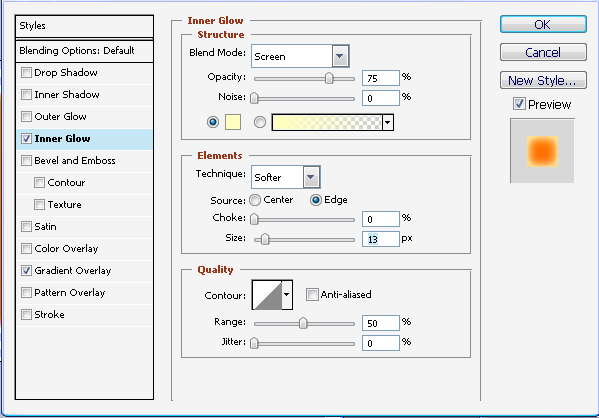
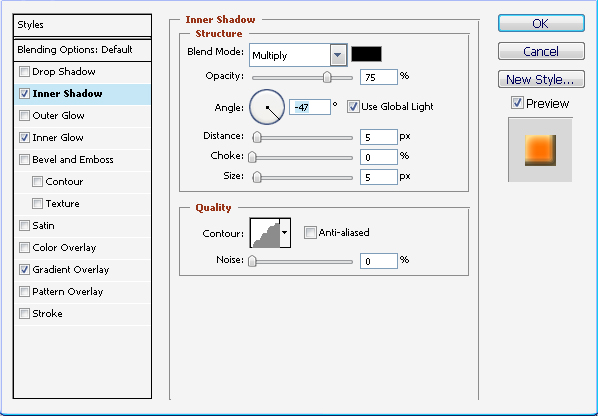
Now also add some other effects to it. I used these:
So far so good… But still it does not look like and orb. No problem… here is what we do:
Create a new layer. Using the Elliptical Marquee Tool make a selection similar to the one in the image.
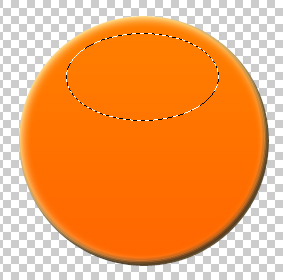
Now go to Edit->Fill and select "White". Lower the opacity to about 25-30%.
Now between the two layer ad the text that you want. After that merge all the layers. (Layer->Merge Visible).
Now go to Filter->Distort->Spherize and set it to normal with amount -55.
You should have something like this:

Hope you enjoyed our small tutorial and hope to see you back soon.