


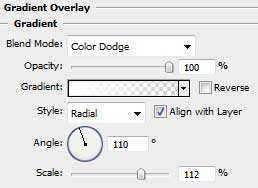
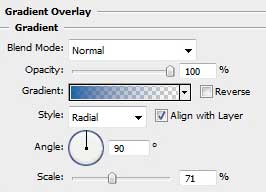
For the beginning we need to create a new file of 1280x1024 px and 72 dpi. After that select on this layer Blending Options>Gradient Overlay by making a mouse click on the layer we work with on the layers' palette, setting the next adjustments.
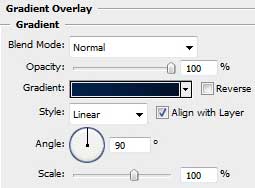
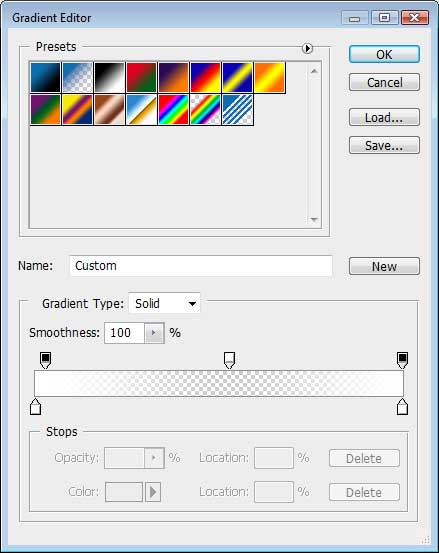
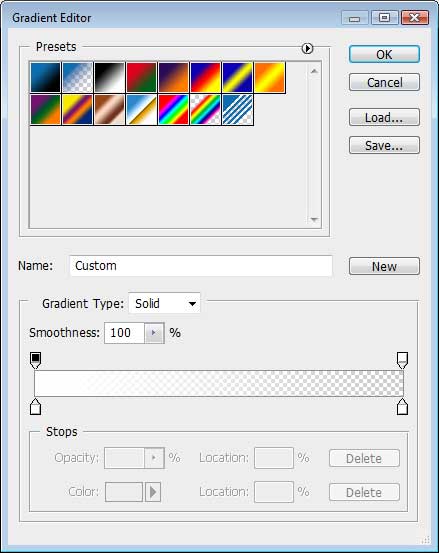
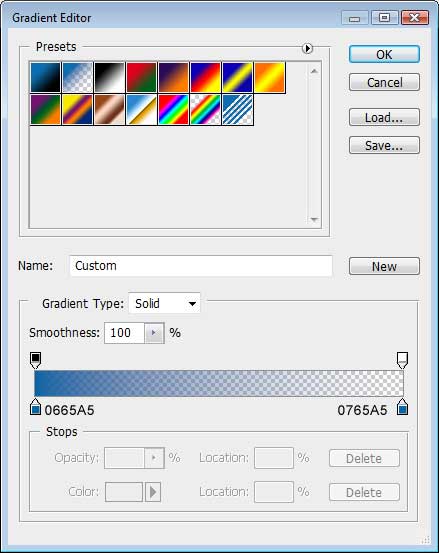
Set the appropriate gradient.
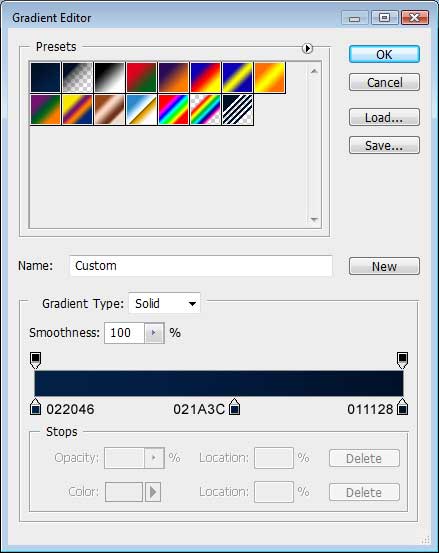
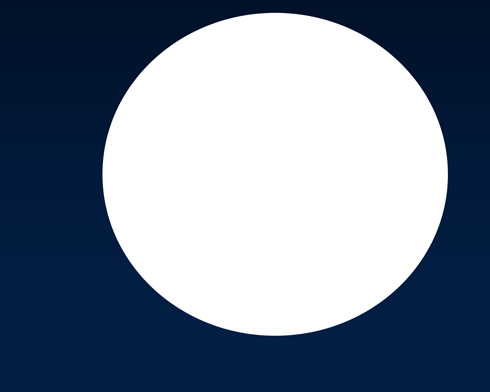
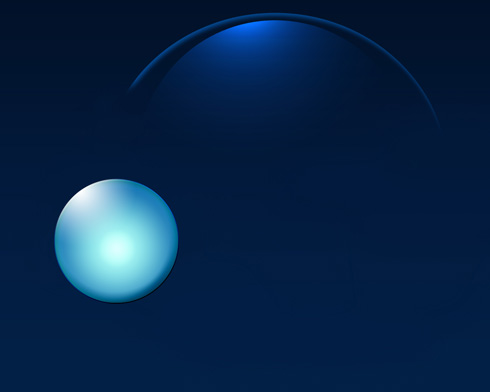
We need to get the same background from below:

After that, select the Rectangle Tool (U) to draw a sphere like the next one.
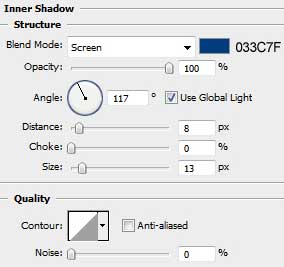
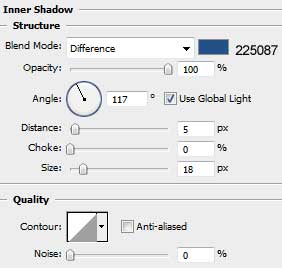
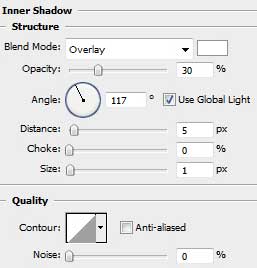
Set Blending Options>Inner Shadow:
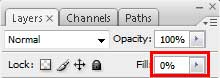
Apply the next demonstrated fill's value for the made layer.
We'll get the next contour.

Create a new layer and use on it the Brush Tool (B) and the Eyedropper Tool (I) to paint the sphere the same way demonstrated below, applying the background's colors.

Try to make one more sphere now.

Apply the same settings from below, inserting also the same opacity value as we did with the previous sphere.
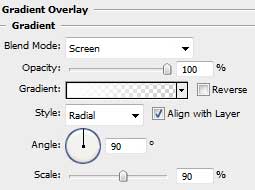
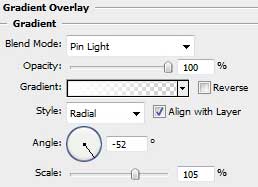
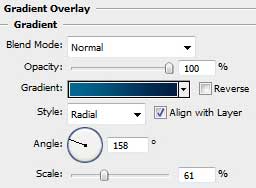
Blending Options>Gradient Overlay:
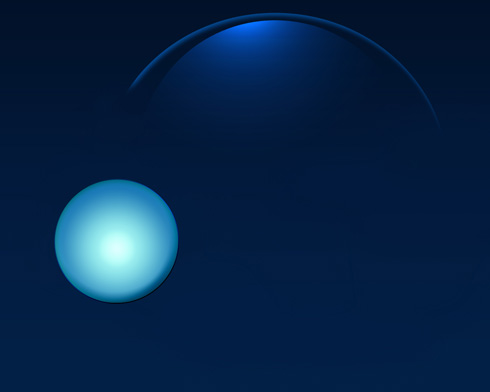
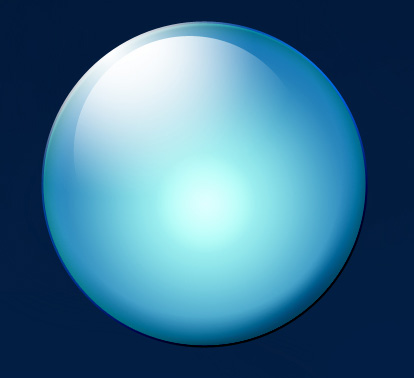
This is the result we should get on this stage:

Try to make one smaller sphere applying a whole range of settings for it for giving the effect of inside glow.

You may see below the color's code.
Blending Options>Inner Shadow:
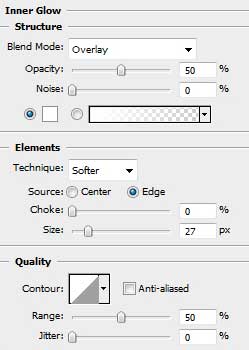
Blending Options>Inner Glow:
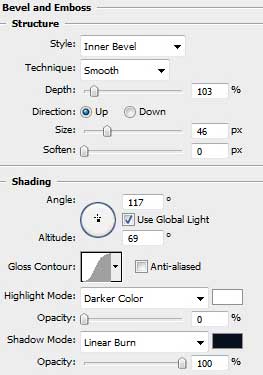
Blending Options>Bevel and Emboss:
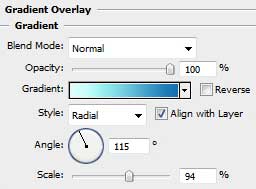
Blending Options>Gradient Overlay:
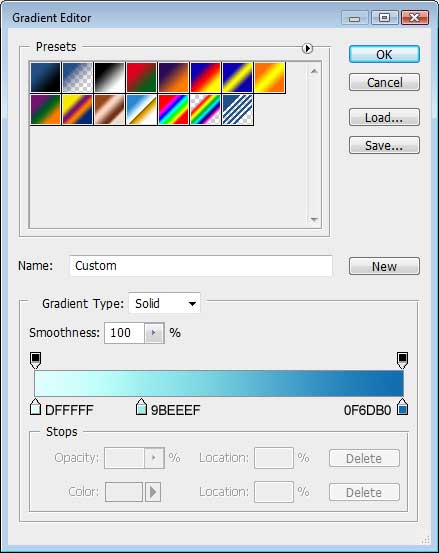
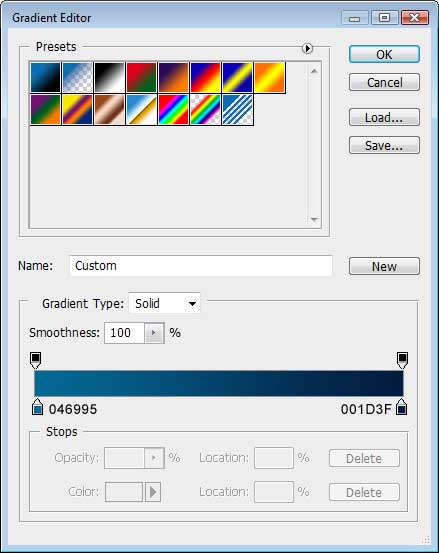
Gradient Editor:
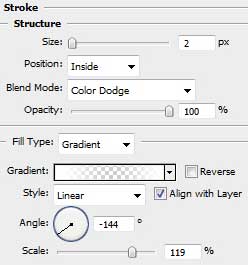
Blending Options>Stroke
We need to get the same sphere demonstrated next image:
Next we'll draw a sphere identical with the previous one.

Follow the same settings indicated next table:
Blending Options>Inner Shadow
Blending Options>Gradient Overlay
Gradient Editor:
Set the opacity on this layer to get a highlight:
Next we'll draw one more sphere for the highlight's effect.

Follow the same settings from below:
Blending Options>Gradient Overlay
Set the Fill - 0%.
Next we need to represent an ellipse that is reserved for the shadow that needs to be situated under all our made circles.

Set the next demonstrated adjustments and apply the Fill's value shown below too.
Blending Options>Gradient Overlay:
Gradient Editor
In this case we'll get the effect of shadow – and – light.

Next we'll draw an ellipse above the layer containing the shadow – light effect.

Apply also the next shown adjustments.
Blending Options>Gradient Overlay
Gradient Editor
We'll get a kind of shadow coming out of our sphere.

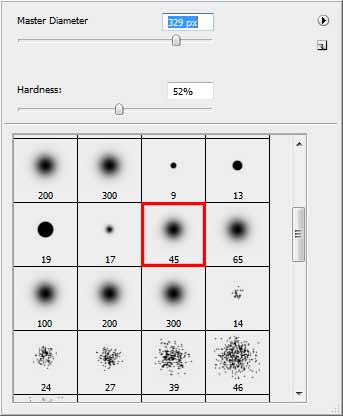
Create a new layer and draw on it the next element, applying for this operation the usual brush and the white color.
We'll get the same result indicated next image:

Now it's time to select the Smudge Tool (R) and try to pull out of the sphere several tongues of flame, as it is shown next picture.

After that we'll just make a copy of the made layer, applying for it the next settings.
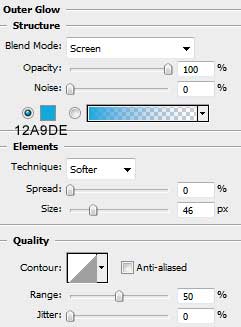
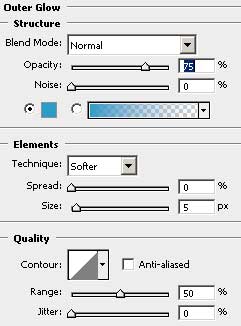
Blending Options>Outer Glow
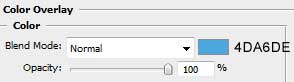
Blending Options>Color Overlay
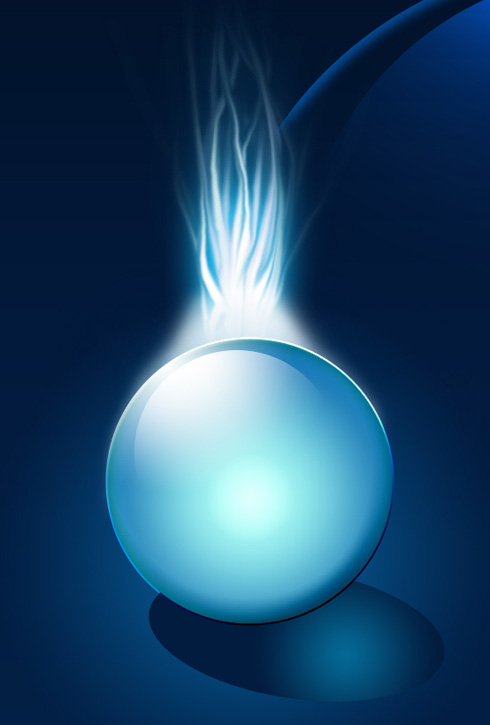
We'll get the glow effect.
Create a new layer again and using a brush and the white color, try to make a white circle, giving it the appropriate settings for representing the glow effect too.
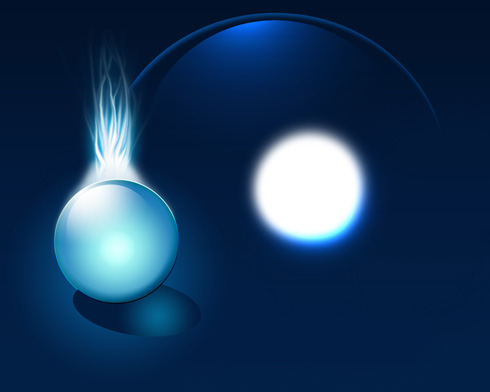
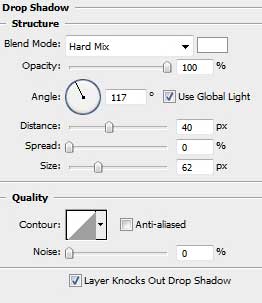
Blending Options>Drop Shadow
Place this layer behind the layer containing the flames.

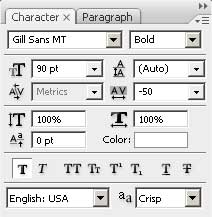
Next we'll introduce the next demonstrated word by choosing for the operation the Horizontal Type Tool (T).

Character options:
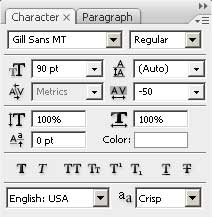
Now we shall follow the next settings to represent a kind of text's effect.
Blending Options>Outer Glow
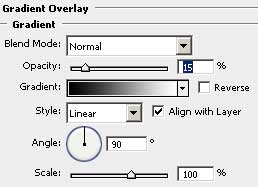
Blending Options>Gradient Overlay
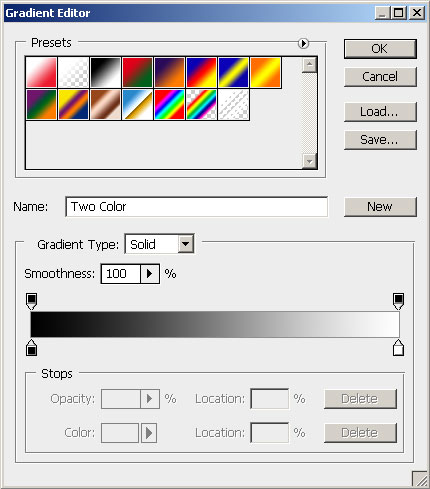
Gradient Editor
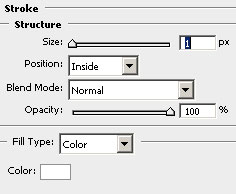
Blending Options>Stroke

Finished!