This simple walkthrough can be applied to any photo to add an extra bit of detail.
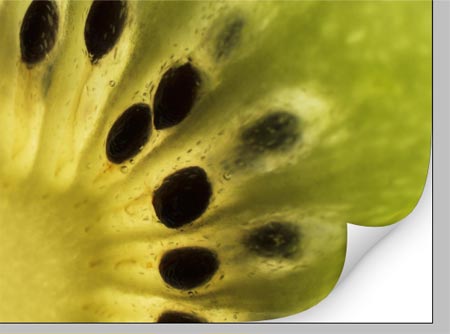

Open up the original image into Photoshop
Duplicate the layer by dragging the background layer into the New Layer icon, then fill the original background layer with white.
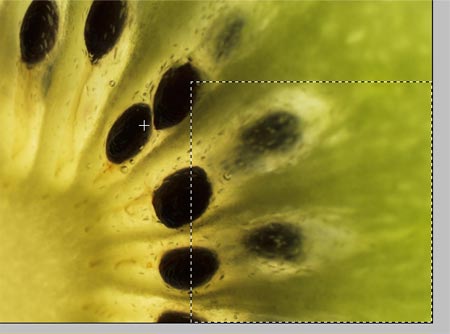
Drag a square selection across the bottom section of the image.
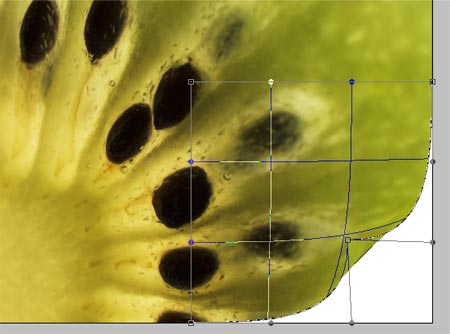
With the selection active, press CTRL/CMD + T to Transform, right click and select Warp from the menu.
Drag the lower corner point inwards to bend the edge of the image upwards to simulate a page curl.
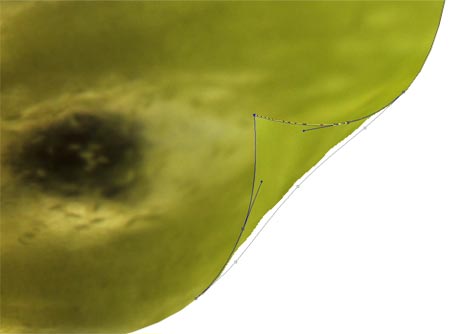
Zoom into the area and draw around the folded corner with the pen tool.
Right click on the path and choose Make Selection. Fill the selection with white on a new layer.

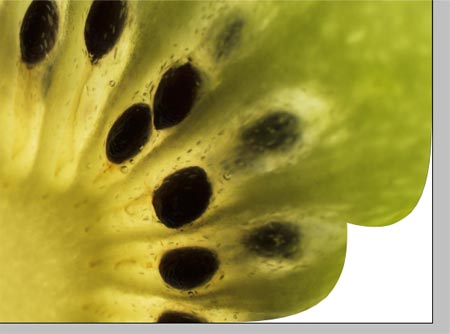
Double click on the new layer and add a Gradient Overlay angled across the curl to add depth.
Add a slight drop shadow to the curl to give the impression that the curl is lifted from the background slightly. Keeping the effects subtle is the key.

Click back onto the image layer and add another slight drop shadow to the lower edge.
An additional tip:
When using this technique with a plain white or flat coloured image, it can be difficult to see the warp transformation. To get around this, take a screen shot of the transform tool settings.
Then, after applying the settings, paste in the screenshot and use it as a guide to draw the outline with the pen tool. Delete the screenshot from the document and continue with the steps above.
Users with Photoshop version