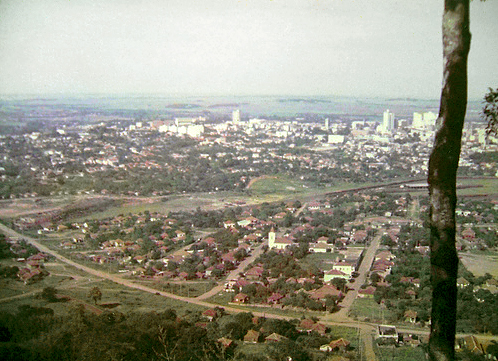
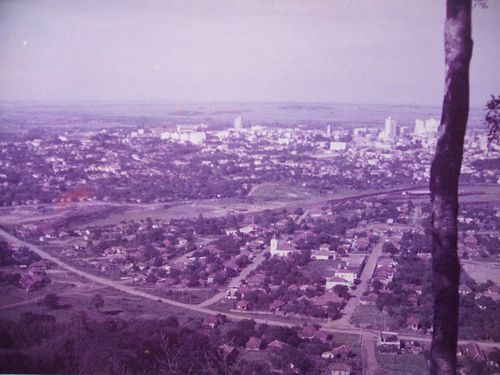
Open the photograph you want to restorate.
Then go to Image-Adjustments-Auto color.
Surprise! Now it looks much better, but not realistic…
Desaturate a little bit the steins and remove defects with the Stamp tool.
Image-Adjustments-Hue/Saturation. Set Saturation to 36.
Image-Adjustments-Variations-Midtones. Add some yellow, cyan and red. Increase the saturation.
Select the trees and desaturate them using Hue/Saturation (set the saturation to -50).
Select-Color Range-click on a roof and make sure, that all the roofs are selected after you click OK.
Hue/Saturation: Hue 17, Saturation 5.
Deselect and then go to Hue/Saturation again:
Magentas-Saturation -(minus)100.
Filter-Sharpen-Unsharp mask. Amount 50 Radius 0.6. OK.
Select the sky, a little bit desaturate it and add some cyan, blue and yellow to the sky in Variations.
Image-Adjustments-Color Balance
Midtones-Color levels: +19 +17 -1
Highlights-Color levels: +1 +1 +1
Shadows-Color levels: -3 0 -6
That's all!