


For the beginning let's create a new file (File>New) of 1600x1200 px and 72 dpi. Using the Paint Bucket Tool (G), fill the new file with black color.

Next we need to select the Gradients Tool (G) and fill the new file from its top to the bottom with a transparent gradient.

Choose on the top panel the same option, demonstrated below:
![]()
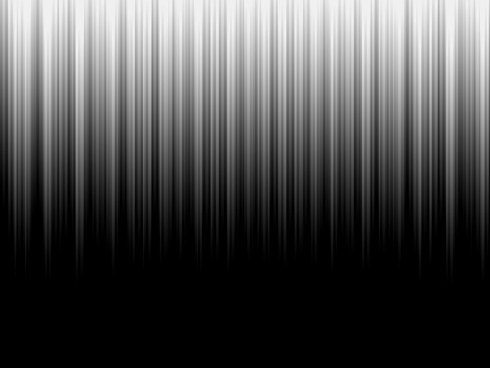
After that enter the filters' palette Filter>Distort>Wave… and set the next indicated parameters:
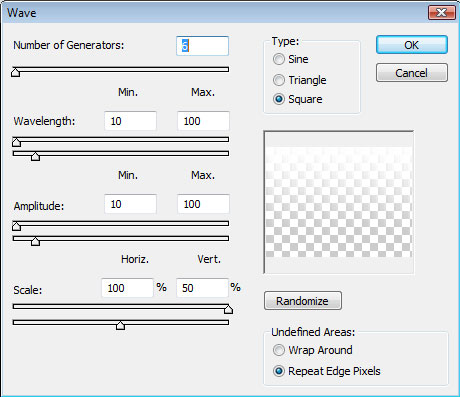
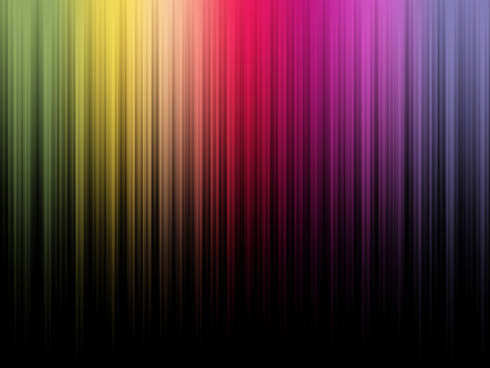
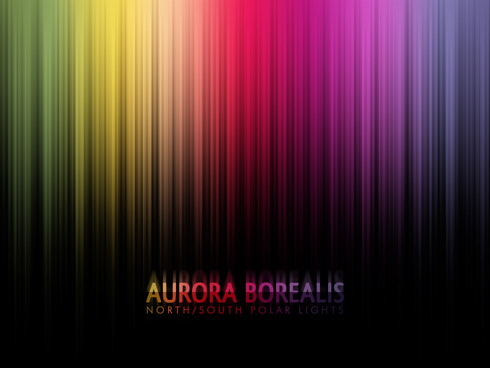
We'll get the next result…
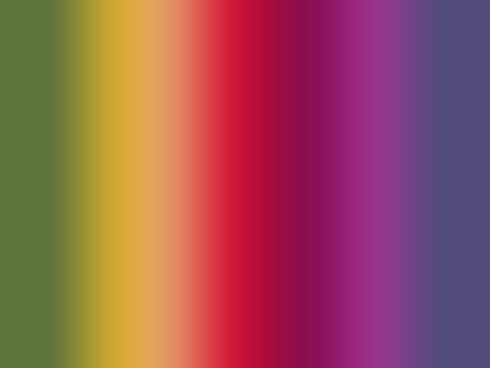
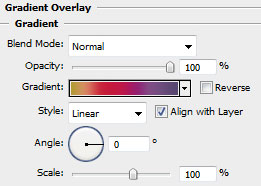
Using the Rectangle Tool (U), try to stretch out the rectangle on the whole canvas. Next select on this layer Blending Options>Gradient Overlay, by making a click on this layer on the layer's palette and choose the appropriate selections.
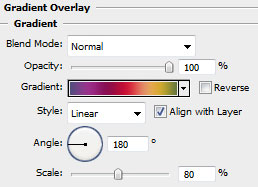
Gradient Editor are also indicated there.

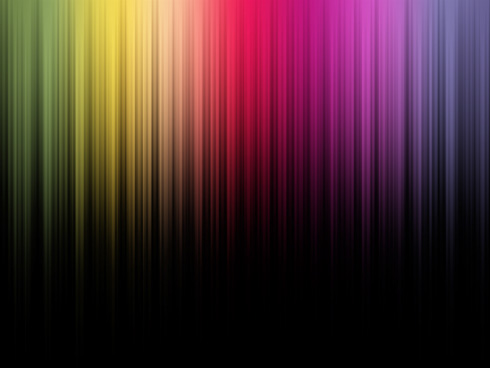
You need to get the same thing from below:
On the same layer we must set the next shown option, chosen out of the layers' palette.

On this stage, we have to press Alt button while making a mouse click between the gradient's layers and the layer containing the rays. In this case the layers should be put over.
After that, mark out both layers on the layers' palette and press Ctrl+E to Merge Down.
Then make a copy of the new layer we've got (Ctrl+J) and stretch out the copy up to the lowest edge of the canvas, applying the Free Transform option.
This option may be selected, by pressing Ctrl+T.
Set the Blending mode-Screen for the stretched copy on the layers' palette.
Applying the Eraser Tool (E) with the Opacity of 10-15%, try to clean out the picture's edges and its bottom part.
Next insert the corresponding text using Qlassik Medium and Futura Light fonts.
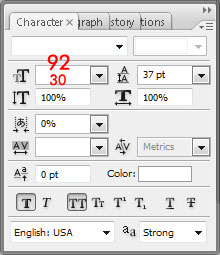
Set the next demands for the text, there is marked with red color the sizes of the top and lowest text's lines.
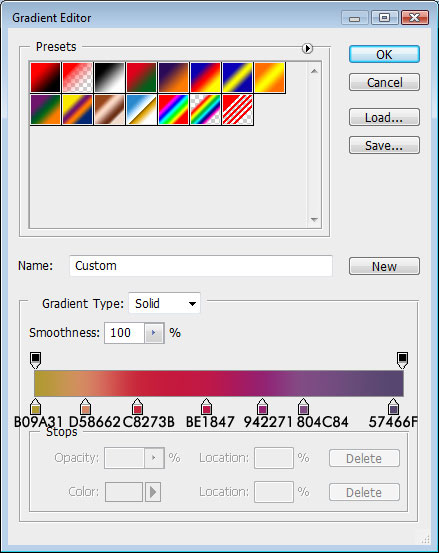
Set the gradient for the text, choosing the Blending Options>Gradient Overlay.
Gradient Editor
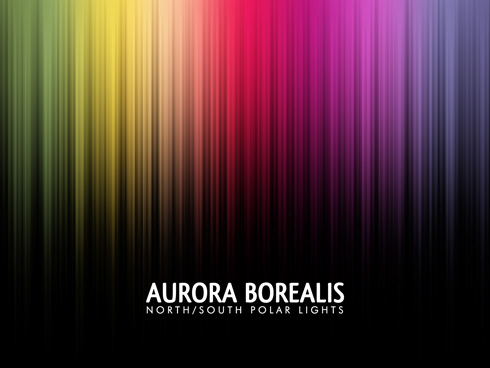
We must get the same thing from below:

Make a copy of the made text, applying for the lowest copy the next option Filter>Blur>Motion Blur. Set the next adjustments: Angle: 90 and Distance: 70 for getting the same picture from below:

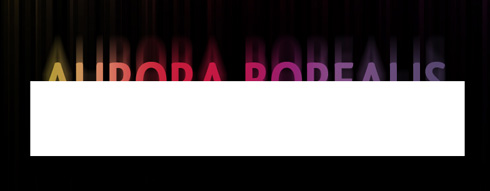
Now we have to draw a rectangle of black color, choosing the Rectangle Tool (U). You may see it below of white color, just to be visible for you.
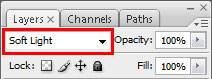
Select Blending mode-Soft Light.
Finished!