Step 1: Creating the Workspace:
Begin with creating a 300 x 300 px document and fill in the background color with White (#FFFFFF)
Step 2: Make the first layer
Next create a new layer and grab your Elliptical Marquee Tool (M) and draw a circle like this:
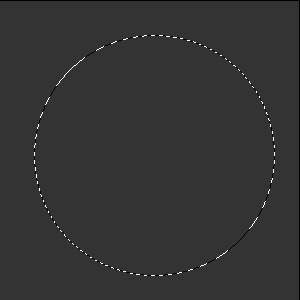
To get a perfect circle hold shift while you make it. Fill the circle in with a simular blue to this:

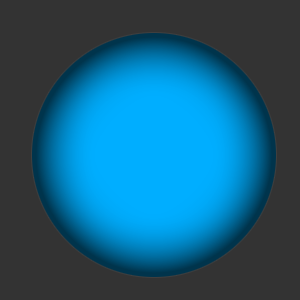
Step 3: Create the orb effect on the base layer:
Now you going to apply some setting that will give the orb it's first real orb feel, apply the following settings:
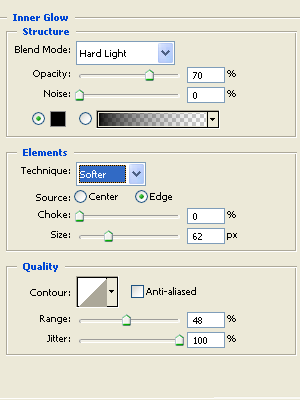
After doing this you should get something like this:
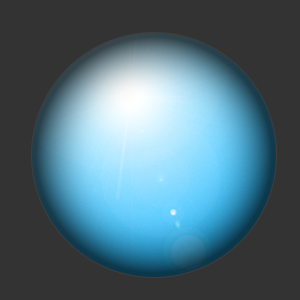
Step 4: Lens flare
On the circle layer were working on go to Filter > Render > Lens flare. Apply the following setting below:

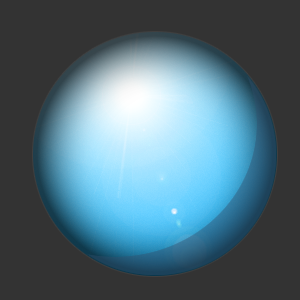
Applying the lens flare should give you something like this:
Step 5: Realism
Next hold ctrl on your keyboard and select the circle layers thumbnail then get your elliptical marquee tool and change the mode to Subtract from selection, make a selection like so:
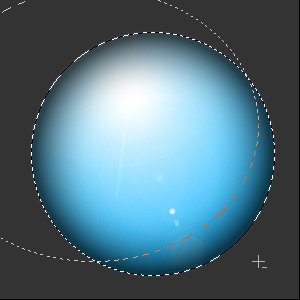
After doing this should end up with a cresent type selection left over:

Fill this in with the color #324f6d to get this:
Lower the opacity to 42%:
Once done click okay and then you should have something like this:
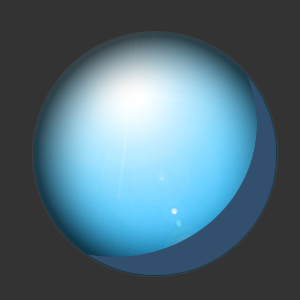
Step 6: Realism (continued)
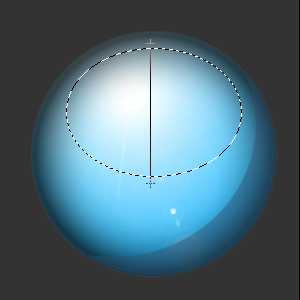
Finally make a selection like so over using your elliptical marquee tool:
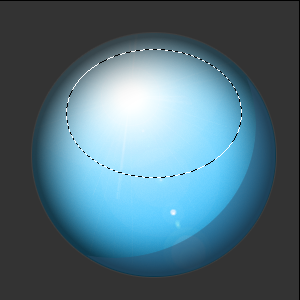
Make a new layer and apply a White > Black gradient like so:
Once you have the gradient in place, lower the opacity to 10% and change the layer mode to Screen to give your final realism effect:
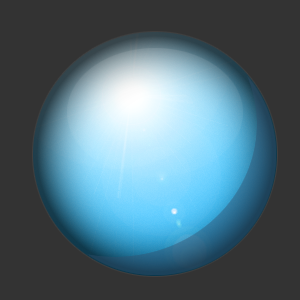
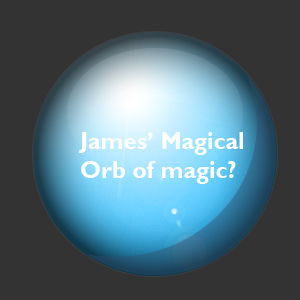
Finally add in some text and your finished: