
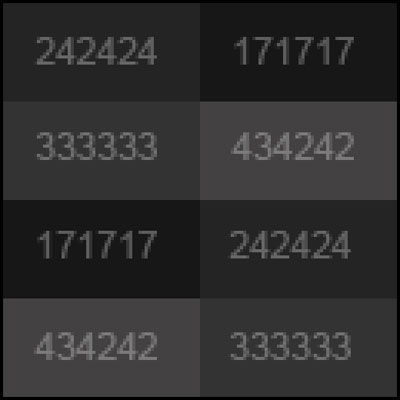
For the beginning we need to create a new file of 1600x1200 px and 72 dpi. After that create another file of 4x4 px and 72 dpi too. Using the Pencil Tool (B), let's represent a kind of block, like the next one. The color's codes for the new elements are shown below.
Select the next option in the main menu – Edit>Define Pattern… Our pattern this way is saved.
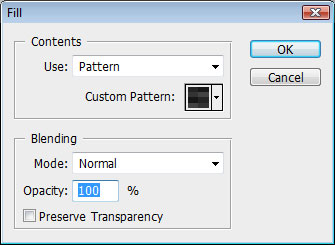
Pass then on the first file and select Edit>Fill. Find the pattern in the Custom Pattern selection and press there OK.
Now we have a texture on the entire canvas.

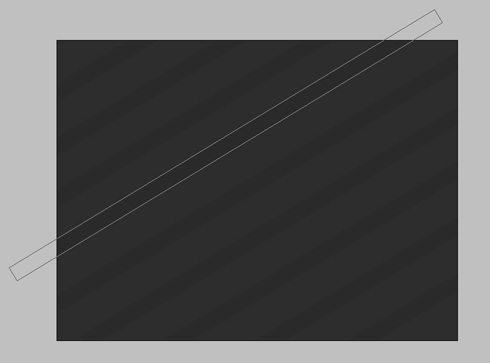
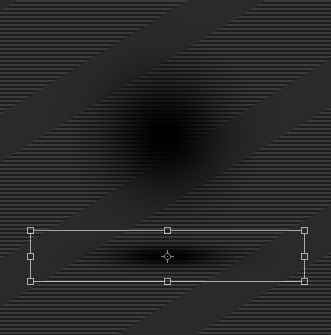
Choose now the Rectangle Tool (U) and represent several lines, turning them over with the Free Transform option (Ctrl+T). The color's code is #2A2A2A
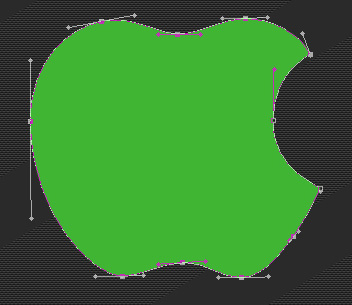
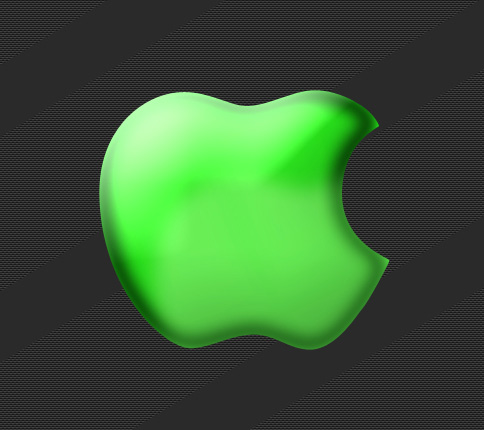
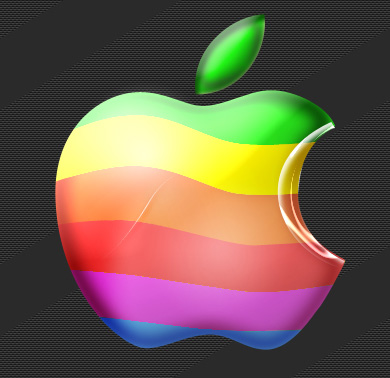
Take then the Pen Tool (P) and make an apple's contour, the same way you may see below. The color's code is #40b534
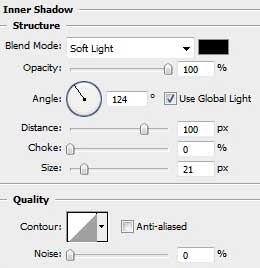
Select for this layer Blending Options>Inner Shadow and follow the next parameters.
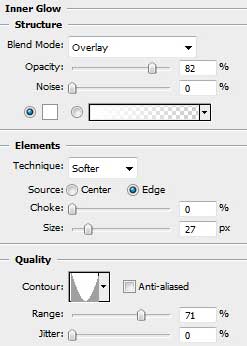
Blending Options>Inner Glow
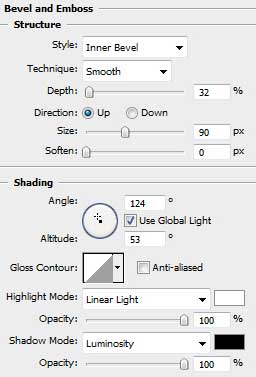
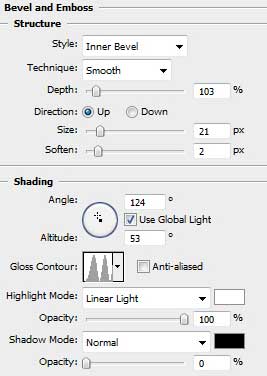
Blending Options>Bevel and Emboss
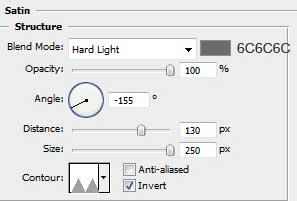
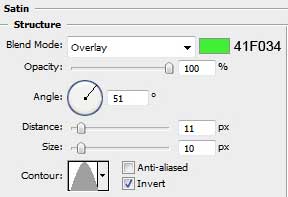
Blending Options>Satin
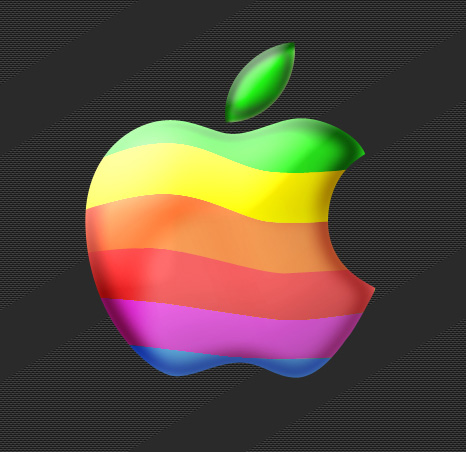
It must be the same result you may see below:
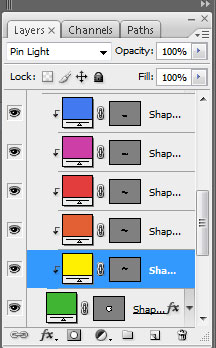
Now we'll select the Pen Tool (P) to draw several waves of different colors. You may see below all the colors' codes for the new elements. You may insert also the Blending mode.
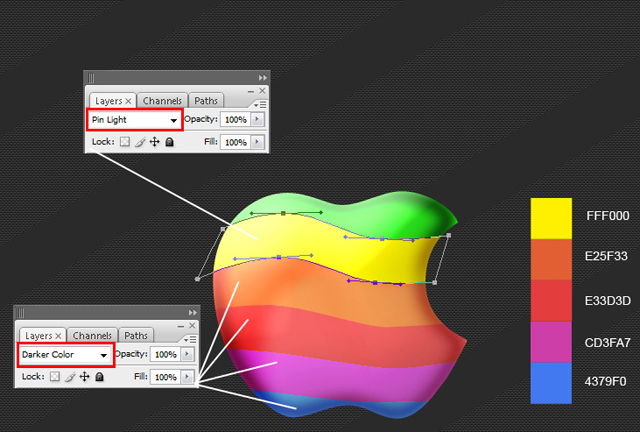
Press Alt button and make a mouse click between the layers (on the layers' palette). This operation must be done with all the layers containing the waves.
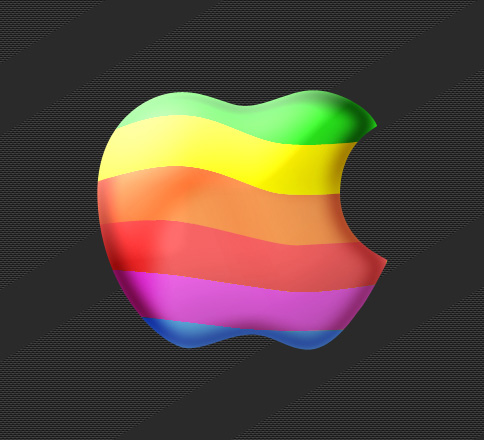
We should get the next picture on this stage:
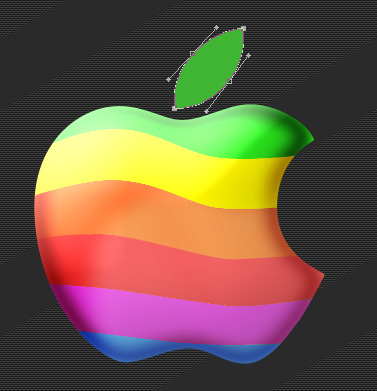
Now we must draw an apple's leaf, having the same color the apple has.
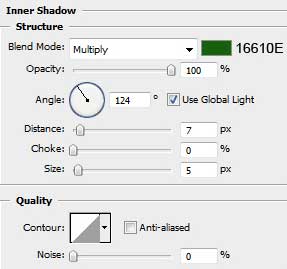
Set the next parameters for the Blending Options>Inner Shadow
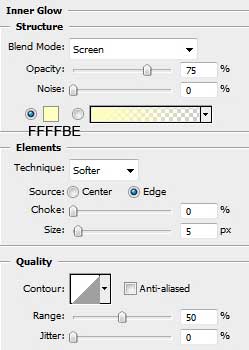
Blending Options>Inner Glow
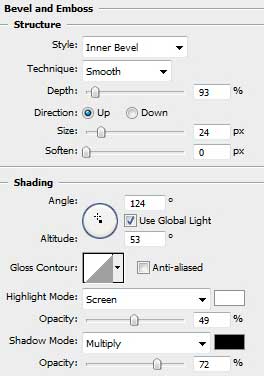
Blending Options>Bevel and Emboss
Blending Options>Satin
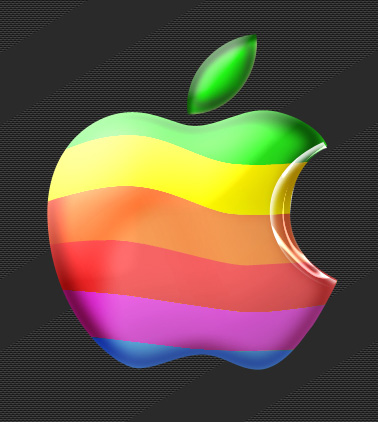
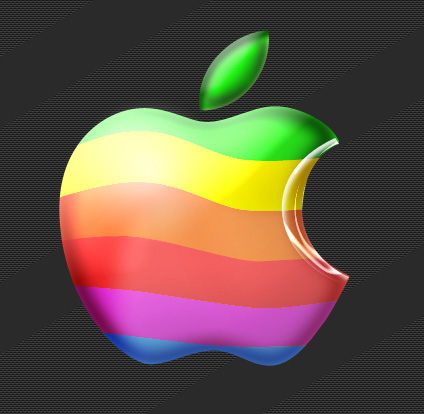
This is the image we must get:
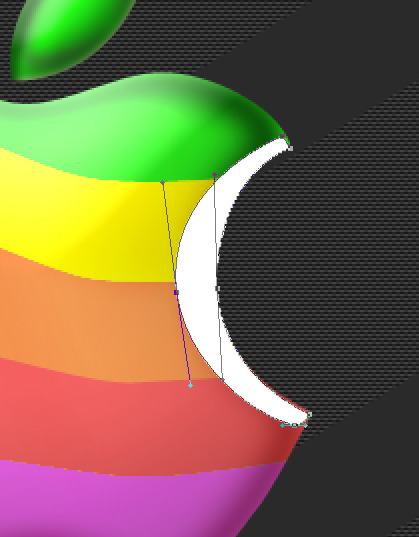
Now we have to represent the apple's highlight, applying the Pen Tool (P) and representing the same figure from below:
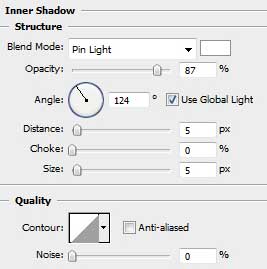
Blending Options>Inner Shadow
Blending Options>Bevel and Emboss
Fill 0% on the layers' palette, getting the same picture from below:
Now it's time to represent a circle, having the Ellipse Tool (U).
Here are demonstrated the parameters for the Blending Options>Gradient Overlay:
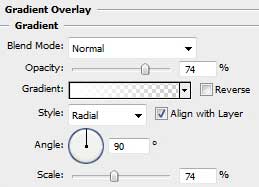
Gradient Editor:
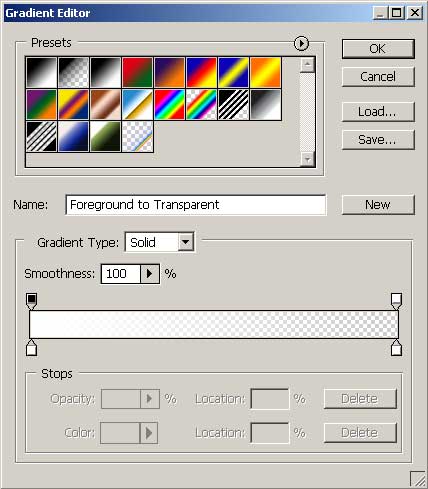
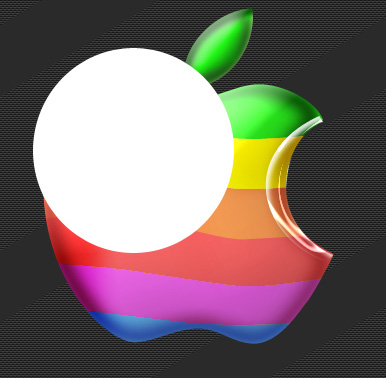
Fill 0% on the layers' palette for the last made layer to get the same result from below:
Make a copy of the last layer (Ctrl+J), placing it a little lower as the next model indicates it.
Choose on this stage the Brush Tool (B) and then select the same brush out of the table we have below:
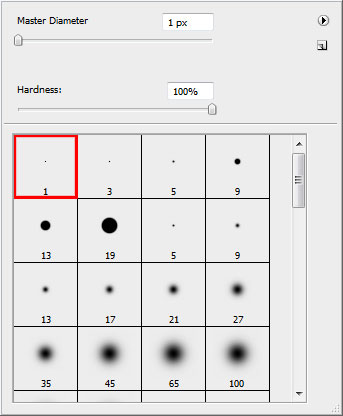
Represent a line on a new layer the same way it is shown below:
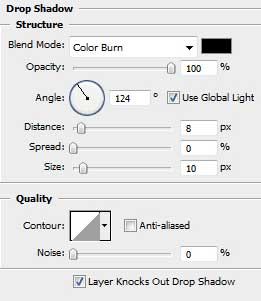
Select the next shown parameters for Blending Options - Drop Shadow.
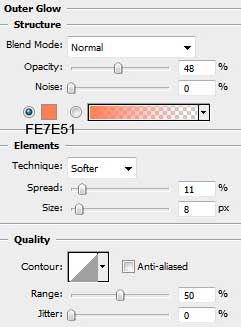
Blending Options - Outer Glow
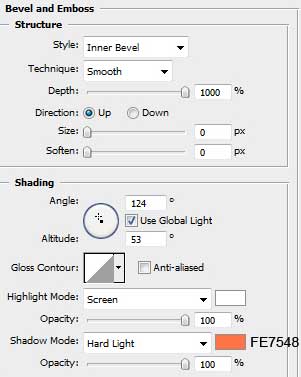
Blending Options - Bevel and Emboss
Now we'll represent the shadow for the apple, but for this operation we'll apply the brush on a new layer.
Insert a kind of spot, transforming it after that with Free Transform option (Ctrl+T) into a flat shadow.
Place the layer containing the shadow under the apple's one.
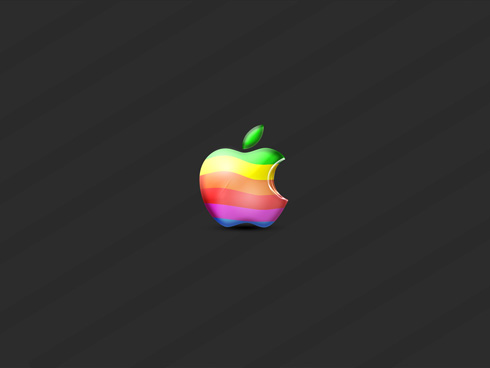
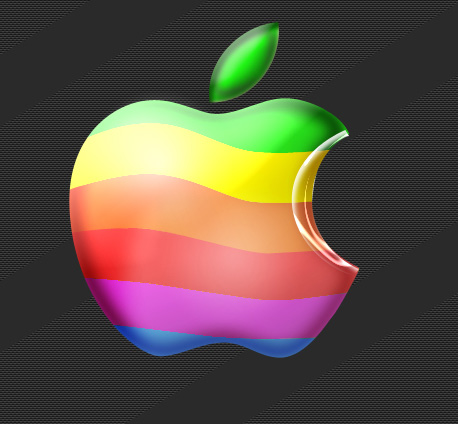
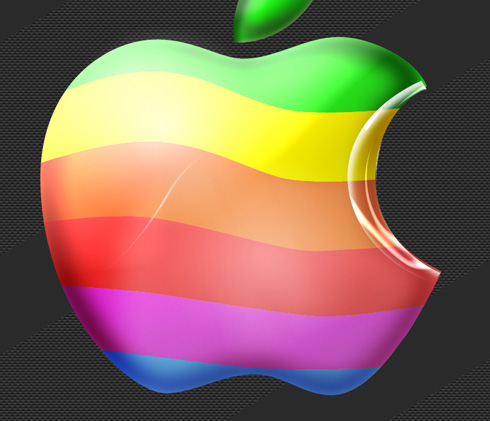
Finished!