

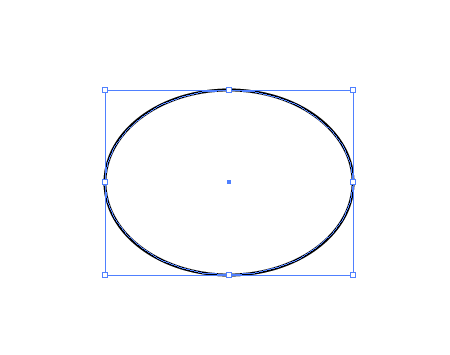
Launch Adobe Illustrator, and create an oval with the Circle Tool.
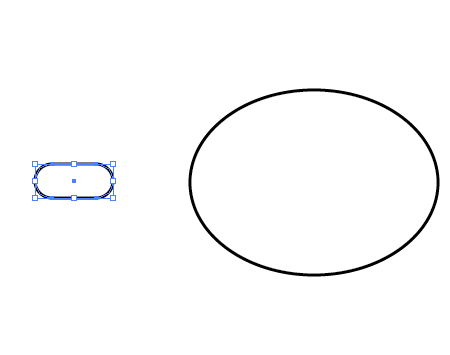
Draw a simple arm by using the Rounded Rectangle Tool, use the cursor keys to give large rounded edges.
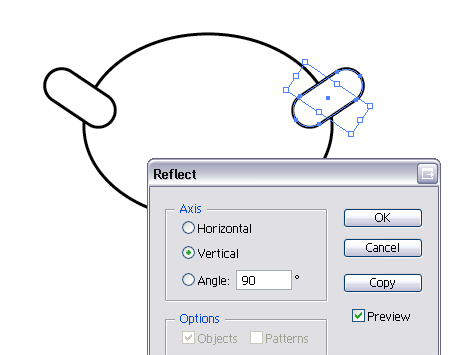
Locate the arm in an upwards position on the side of the body, then duplicate the arm with the copy and paste tools. Go to Object > Transform > Reflect and select Vertical to mirror the arm and position on the opposite side of the body.
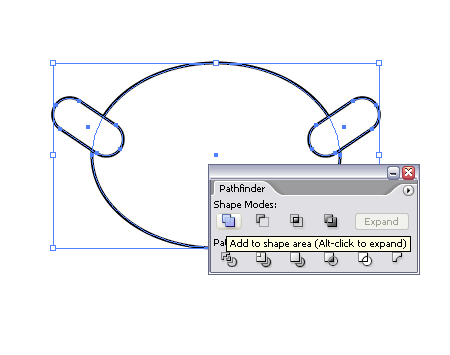
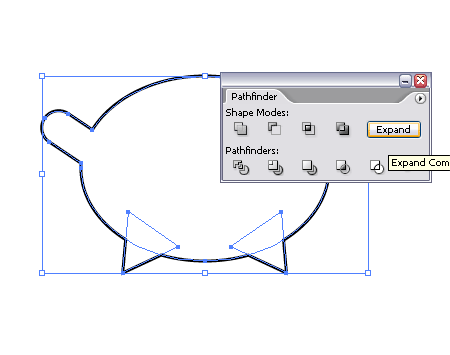
Use the Add to Shape Area tool from the Pathfinder window to combine these three objects into one complete shape.
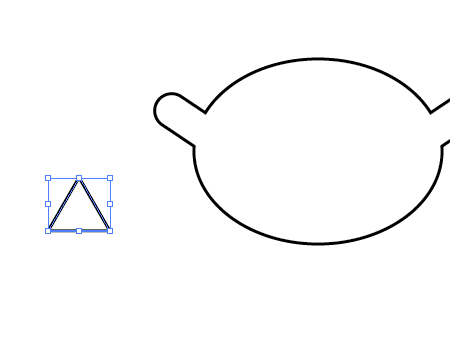
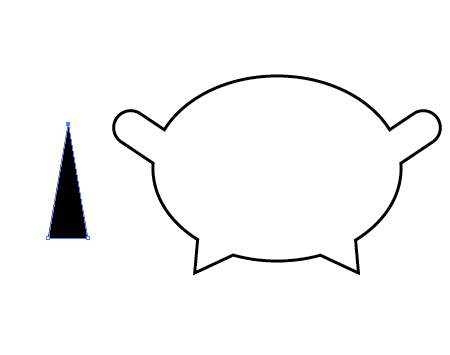
Use the Star Tool to create a triangle by pressing the cursor keys to decrease the number of points all the way down to three.
Locate into place on the body, then repeat the duplication steps to position another leg on the opposite side. Use the Pathfinder tool to combine these shapes.
Back with the Star tool draw another triangle, this time filled with black. Use the Direct Selection Tool (White Arrow) to select the upper most point, then drag this further upwards whilst holding shift to constrain the axis.

Scale and position the triangle into place as an eye. We're using triangles as eyes here to emphasise the angry characteristics of the Angry Orange Monster. In basic cartoon design sharp, angular shapes give a more evil impression, whereas rounded shapes make the character appear lovable and friendly.
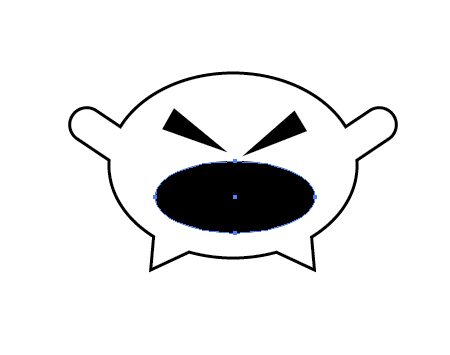
Draw a large black oval as a mouth, the Angry Orange Monster is a noisy blighter so giving him a wide open mouth in large proportions helps represent that!
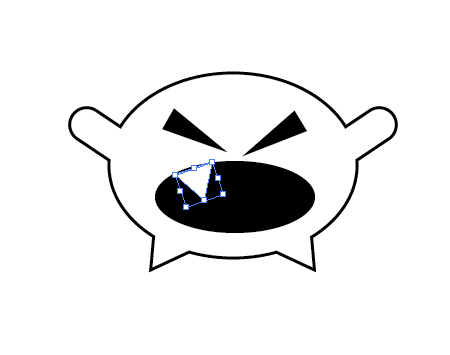
Use the Star Tool again to create some sharp white triangular teeth and position around the inside of the mouth. Don't worry about the gaps or the overlaps we'll cover these up in a sec.
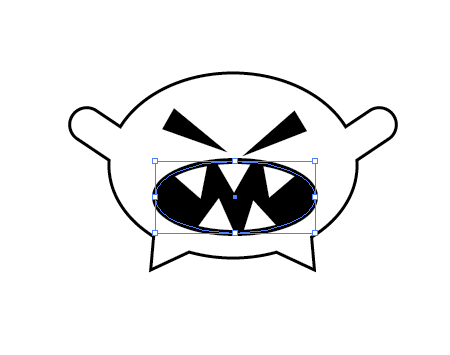
Copy and Paste the mouth oval, change the black fill to a fairly thick black stroke and position this to the top by pressing 'Ctrl / CMD + Shift + ]'

Select the body of the monster and change the stroke to a thick black outline, aligned to the outside. Add some colour by selecting an orange swatch.
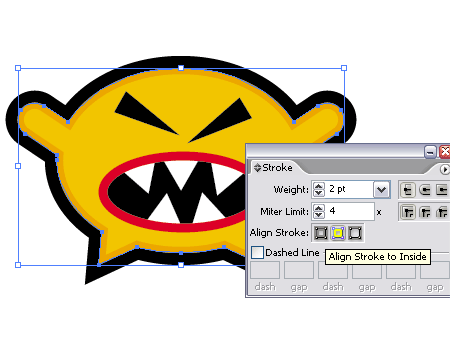
Copy and Paste in Front (Ctrl + F) this body shape, then change the stroke to a thin, darker orange outline aligned to the inside.
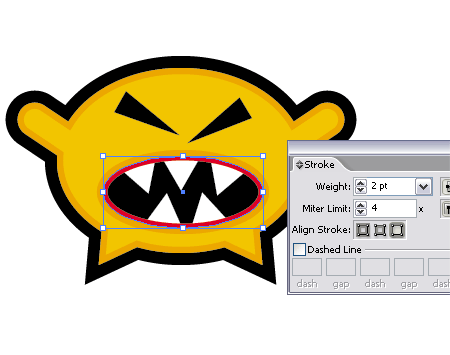
Back with the mouth outline repeat the same process to add the same stroke around the outsides of the mouth.

There we go, another simple character using the basic tools of Illustrator.