


For the beginning create a new file (File>New) of 850x912 px and 72 dpi. Applying the Paint Bucket Tool (G), fill the new file with some color - #191E24

Create a new layer where must use the Rectangular Marquee Tool (M) to represent several rectangle elements, colored with those codes indicated below (create for each element new layer).
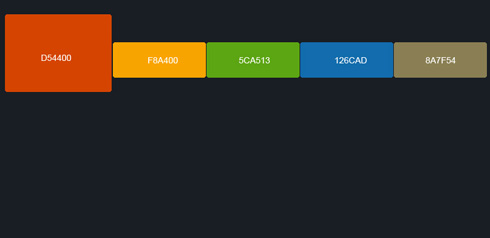
Using the Eraser Tool (E), erase off 3 px out of each rectangle's corners, as it is shown below. This way we can round up their corners.

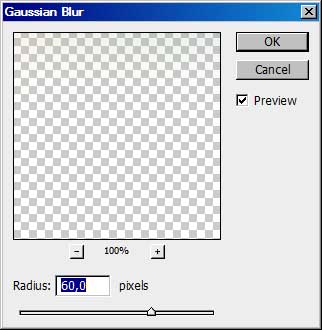
Make a copy of the last 4 layers (Ctrl+J), put the duplicated layers in a single layer using Merge Down (Ctrl+E), move this layer under layers with rectangle elements in Layers Palette and apply the effects of the next filter's selection: Filter>Blur>Gaussian Blur…
You must get the same thing from below:
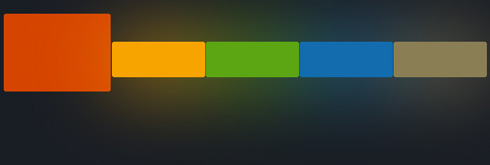
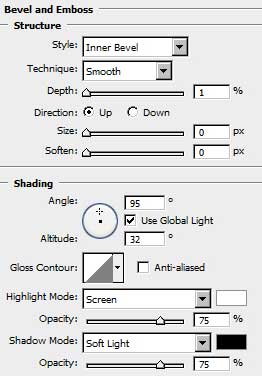
Get back to the rectangle elements, choosing for each of them the next parameters of Blending Options>Bevel and Emboss (make a mouse click on the layer we work with on the layers' palette).
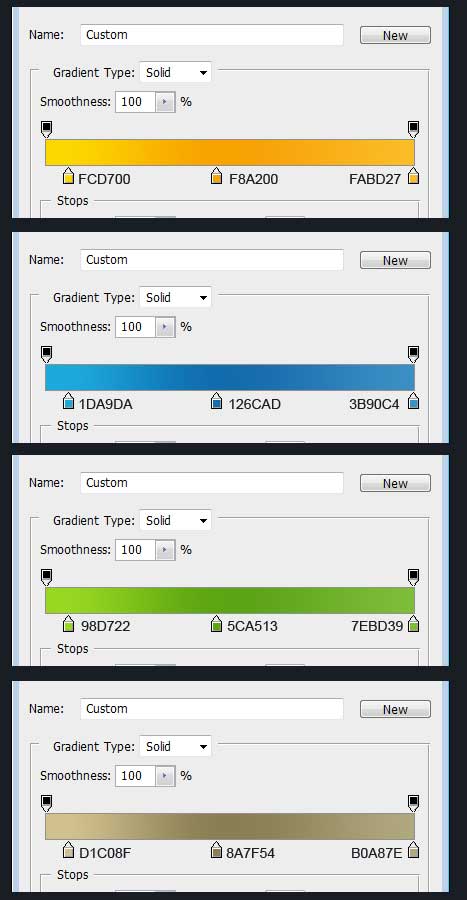
Next you may see the gradient's parameters, each of the elements getting its own color.
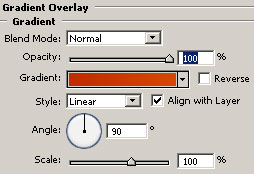
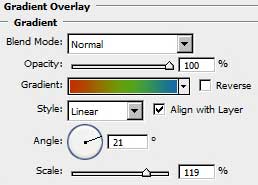
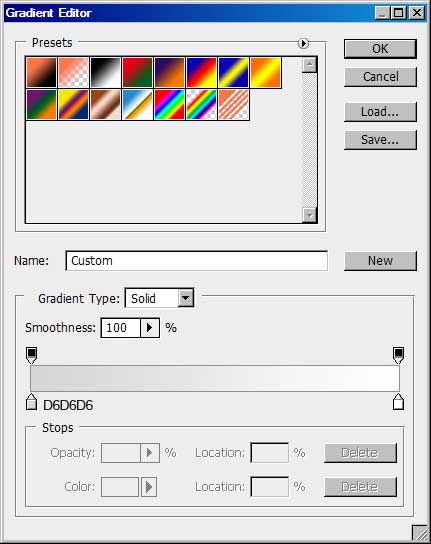
Blending Options>Gradient Overlay
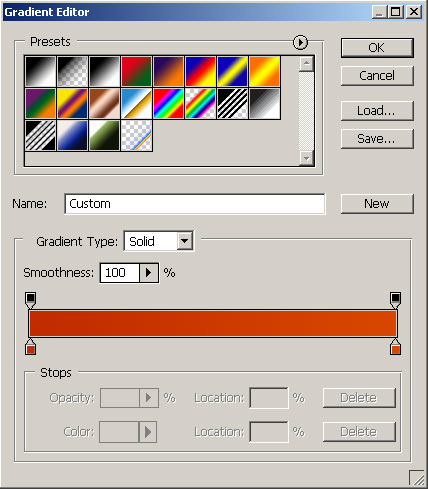
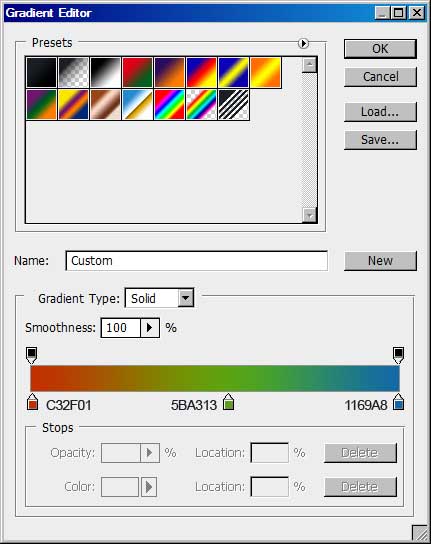
Gradient Editor
You may see demonstrated below the gradients for each rectangle element.
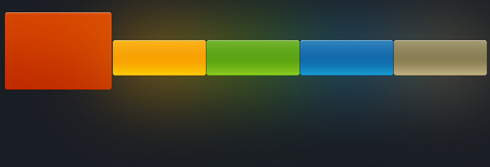
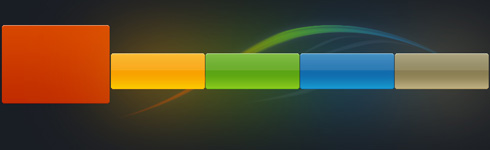
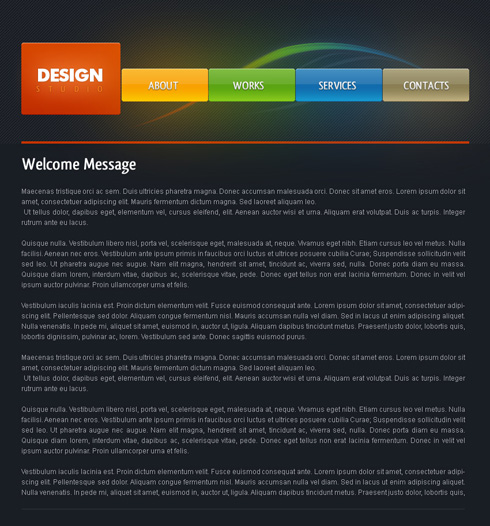
On this stage you must get the thing from below:
Now select again the Rectangular Marquee Tool (M) and represent on a new layer four other rectangles as the picture from below shows it. Fill the new elements with white color, applying the Paint Bucket Tool (G). The Opacity is of 20%.

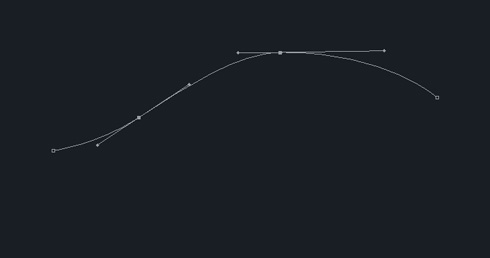
Now it's time to choose another instrument – the Pen Tool (P) to draw a line like below:
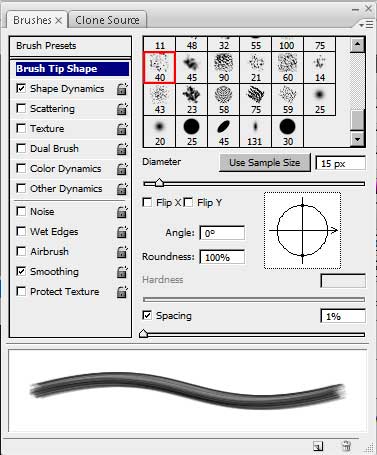
Next select the brush's presets and set the parameters from below:
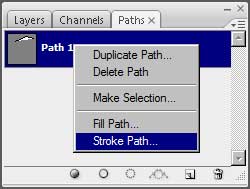
Next create a new layer and select the Paths option on the layers' palette, make a double click on it and press OK. After that make a right click on the made layer, choosing the option indicated next image:
As a result we'll get the next line:

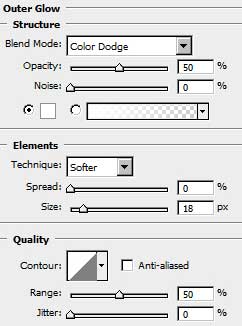
Get back to the layers and select the Blending Options>Outer Glow on the line's layer:
Blending Options>Gradient Overlay
Gradient Editor
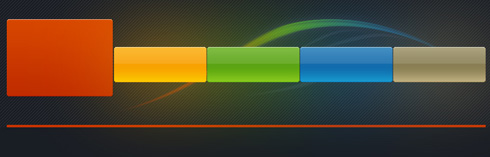
In this case we'll obtain a rainbowed line.

This way we can draw several small lines more, without Blending Options.

Place the layers on our picture under the rectangles, made earlier. Using the Rectangle Tool (U), try to make a thin line on the bottom part of our site, choosing the color #262B31
Create a new file of 5x5 px and 72 dpi. Applying the Pencil Tool (B), try to put on the new file a diagonal line.
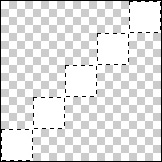
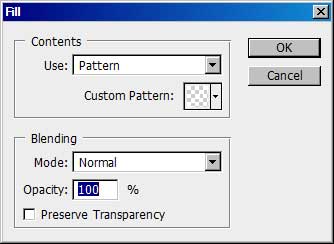
Select on the main menu Edit>Define Pattern…. Our pattern is saved now. Get back on the first file and select there Edit>Fill and find our saved pattern in the Custom Pattern option, pressing OK here. This operation should be done on a new layer.
Take the Rectangular Marquee Tool (M) and the Eraser Tool (E) to erase the unnecessary elements, placing this layer under the rectangles. Select on the layers' palette the option Fill 10% and in this case we must get the same thing from below:

Next we need to create an orange line, having the color's code #C53300. Later we'll represent a grey one on the bottom part.
Start inserting the logo.
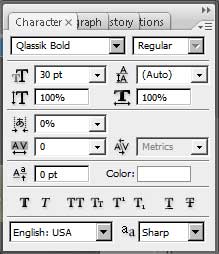
Introduce the text, having the next shown parameters for the top line.
… and then the lowest one.
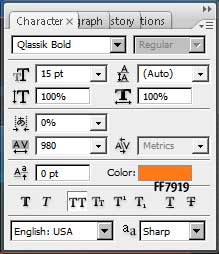
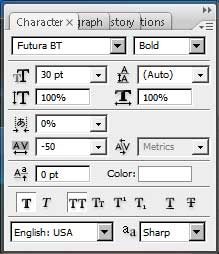
Both lines of the text have the same parameters, shown next table:
Blending Options>Drop Shadow
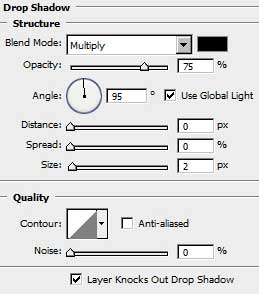
Blending Options>Outer Glow

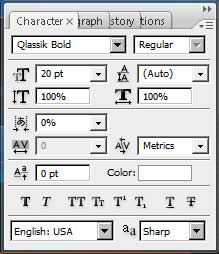
Next we need to insert the button title, reserved for the menu.

Set the next text's parameters and Blending Options.
Blending Options>Drop Shadow
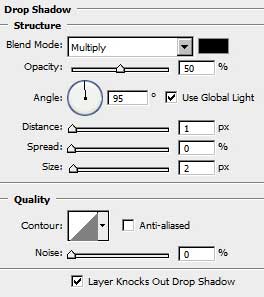
Blending Options>Gradient Overlay

Gradient Editor
You must get the next result:

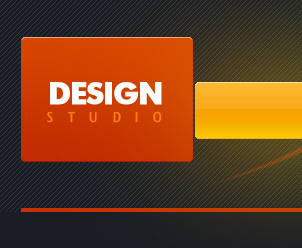
Now it's time to insert the information about the design studio.
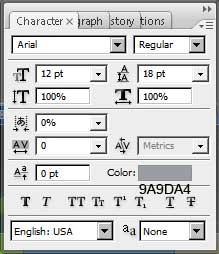
You may see below the parameters reserved for the title:
… and the parameters for the rest of the text:

Creating the web site came to end!