

Hey there! Today we're going to be designing a website template, i think you guessed that. But i'd just like to mention that you could probably use this layout for another purpose than a web host. It's not that evident it's a web host layout so just keep in mind that i just theme this layout with web host elements. Such as a login and price plans. Let's get to it!
Create a new canvas, 800x600.
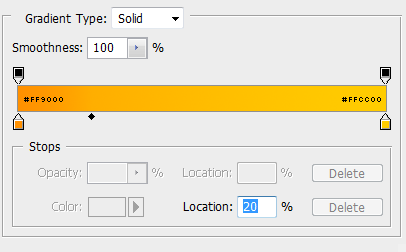
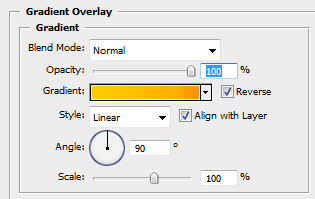
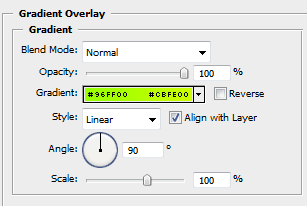
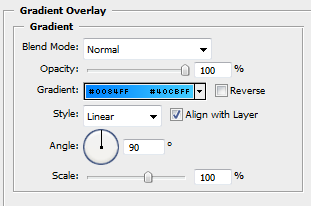
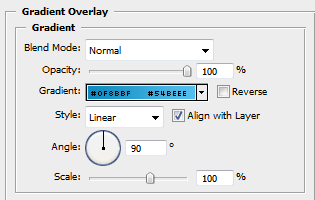
Fill in your background layer with any colour, now go to blending options and add this gradient.
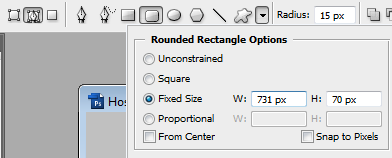
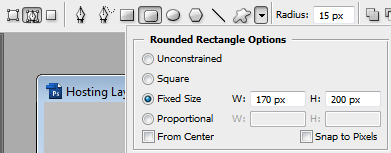
Create a new layer, name it header and select your rounded rectangle tool. Use these settings.
Bring up the shape on the canvas, right click inside the shape and select "Make Selection."
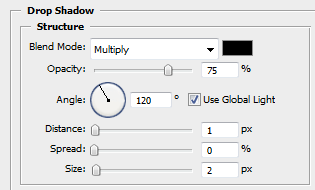
Fill in this shape any colour, deselect, and use these blending options.
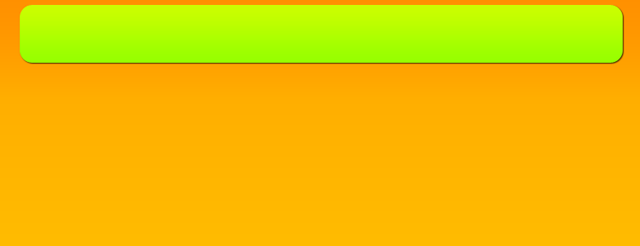
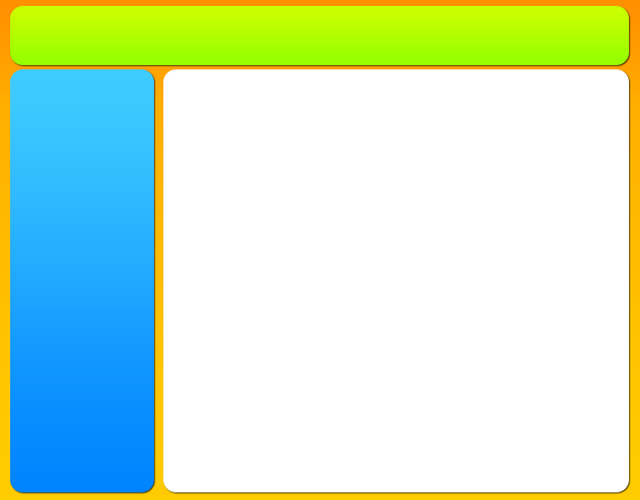
Centre this layer and move it near the top, you should have something like this.
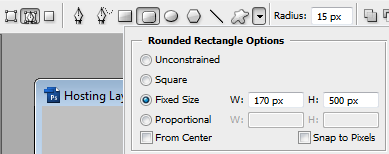
Now create a new layer and name it content. Take you rounded rectangle tool and use these settings.

Right click inside to shape, choose "Make Selection". Fill this layer in with white, deselect and use these blending options.
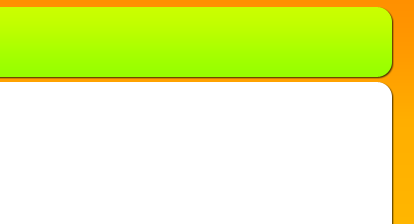
Move this layer so that it is aligned with the right side of the header layer. It should look like this.
Create a new layer, name it menu. Get ahold of you rounded rectangle tool and use these.
Bring up the shape and right click inside, choose "Make Selection". Fill this layer in with any colour and deselect. Use these blending options.
Move this layer to the left of the header layer, yo should now have something which looks like this.
You've now got your basic layout. End of tutorial! Pat yourself on the back, you just did one of the hardest tutorials on the web. I'm kidding, we've got some details to put onto this, no?
We're working on a web hosting theme layout, so what would be a web host without its pricing plans? Let's get 'em done.
Create a new layer, name it plan and get your rounded rectangle tool. Use these.
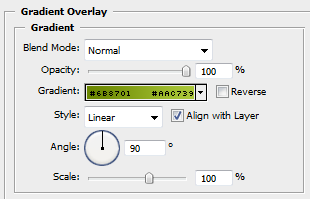
Click the canvas to bring up the shape, right click inside the shape and select "Make selection". Now fill this in any colour, deselect and use these blending options.
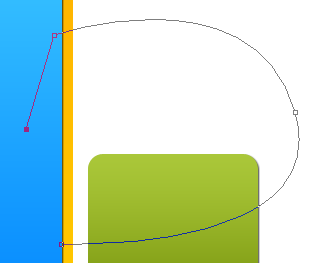
Create a new layer, name it light. Get your pen tool, use these settings.
![]()
Draw a shape which looks something like this.
Close the path, and right click inside your shape. Select "Make Selection". Fill this selection with white. Deselect.
Hold Ctrl and click on your plan layer in the layer palette. This will bring up the selection of the plan layer.
In the menu at the top, go to Select > Modify > Contract. Use a setting of 1px.
Now hold Ctrl+Shift and press i. This will inverse the selection.
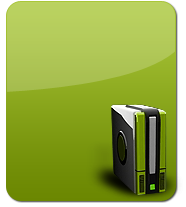
Click your light layer in the layer palette to select it, and hit delete. This will remove all the white and leave only the light on the plan layer. Deselect and set the layer opacity to 30%. This is the result.

Grab this image and open it up in photoshop, copy it to your layout canvas and place it above your plan layer. Now place it where you want, i placed mine like this.
Now create a new group using the group icon in the layer palette. Put your plan, light, and pc layer inside it.
Right click your new group with the layers inside, and select duplicate.
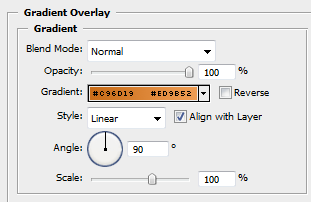
Nudge this to the right of your current group, and go to your plan layer. We're going to change the gradient colour.
Now duplicate your PC layer, and set the it to "Hue" (in the drop down box where it says Normal, in the layers palette.)
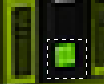
Zoom in, get your rectangular selection tool, do this selection on the duplicated layer and hit delete, deselect.
Bring up Hue & Saturation. (Ctrl+U). Use these settings.
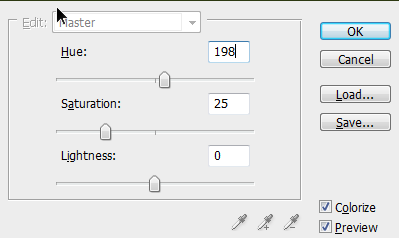
You should have a blue PC now, without the green light being blue either (that's why we cut it out in step 28).

Now duplicate this group. With the blue plan layer and blue pc. Nudge it to the right, and we're gonna again change the colour of the gradient of the new plan layer.
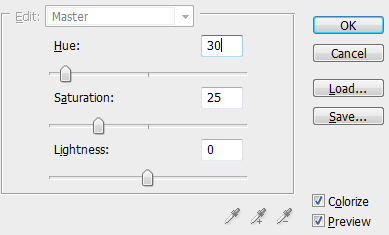
Now go the PC layer, but the duplicated one which is set to Hue. Bring up Hue & Saturation and use these settings.
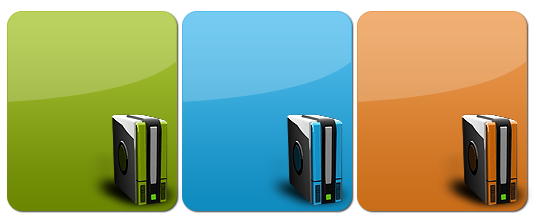
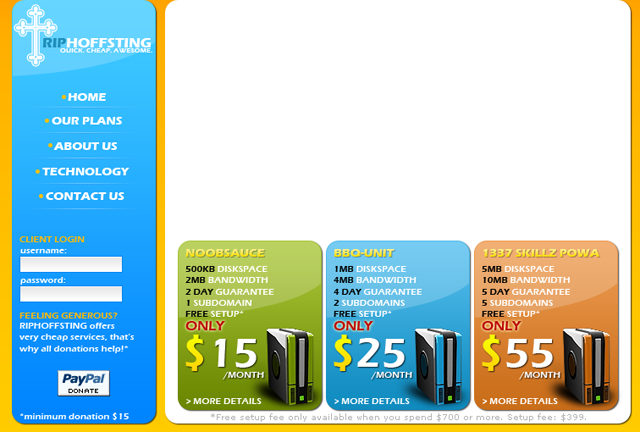
You should now have these three plans. I placed them at the bottom of the content layer.
Create a new layer and name it separator. Place it above your menu layer.
Set your foreground colour to #6bd0ff. Grab you pencil tool, use a 1 pixel brush and draw a line a little bit shorter than the menu layer. Then duplicate it and nudge it underneath. Use a colour overlay to colour the duplicated layer in #35a9f3. Merge the two layers.
You should have something like this.
Set your background colour to black and foreground to white. (Hit D and then X) grab the gradient tool and use this gradient.
![]()
Add a layer mask to your separator layer. Now with your gradient, while holding shift click in the middle of your separator layer and drag the gradient to erase the sides. It might take you a few tries to get the amount you want erased. Here's what i got.

Now duplicate this layer, get your move tool and while holding shift press the down arrow 2 times to move it 30 pixels down. Duplicate it a many times as you need a link.
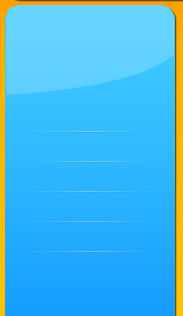
Now go back to one of your groups which has the plans, and duplicate a "light" layer. Move it above the menu layer and move it at the top. With your light layer and your menu separators you should have something like this.
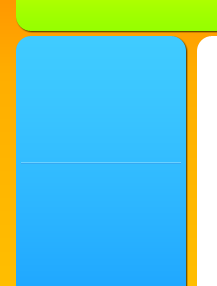
Now you're basically done, for real. All that's left to do is add the menu links, company logo, and other things you want in. I added a login and donation section. I also filled in the price plans.
Then in the header you can again add the company logo and slogan, an advertisement, and also add the content to your content area, that's it! (Click for full size)
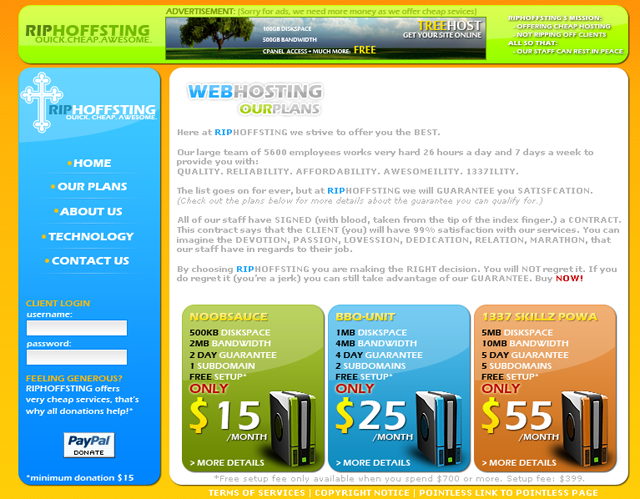
That's all i can teach you really, there's nothing else to say about the links i added or the images. I'm sure you can figure that out yourself.
Have fun!