As usual i will start with a new document. To open a new document please go to File > open, and choose the following size: 760x770 pixels.
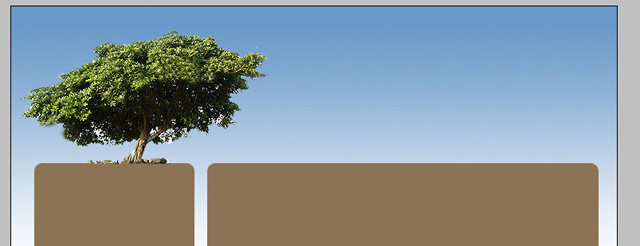
First we will place a photo with a tree on our document.
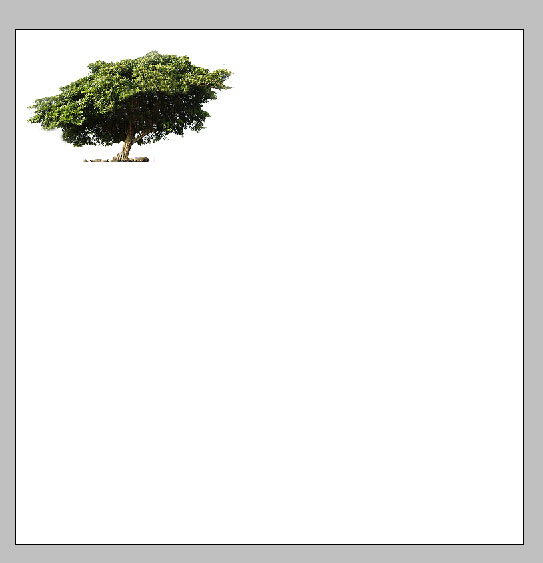
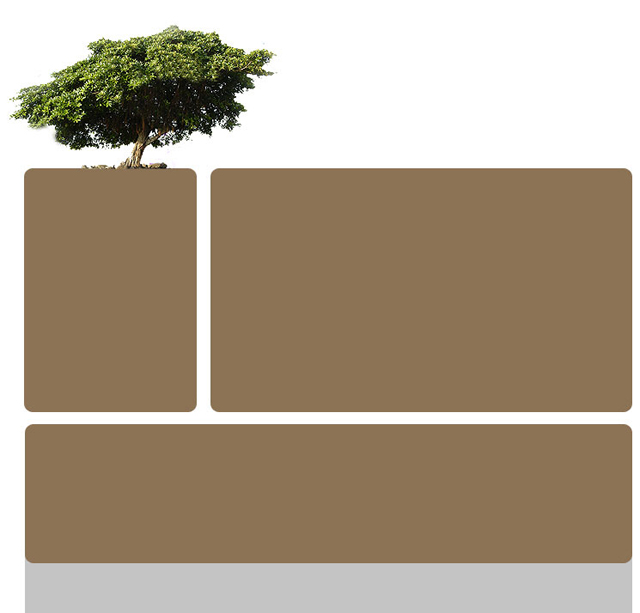
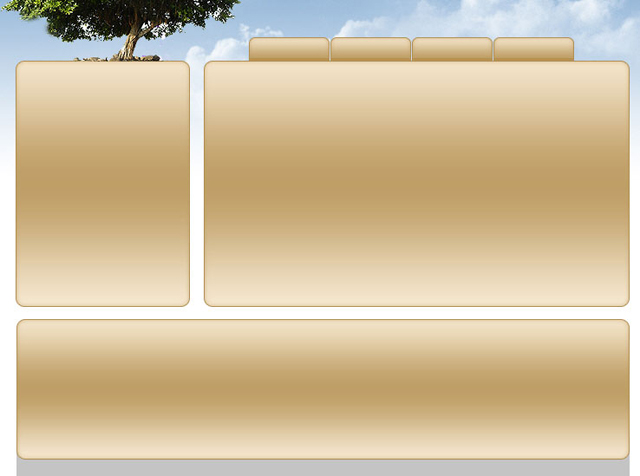
Based on this tree we will continue to work on our layout. i will create a place where we will add our buttons. i will use Rounded rectangle tool, and i will place an image exactly under the image with the tree.
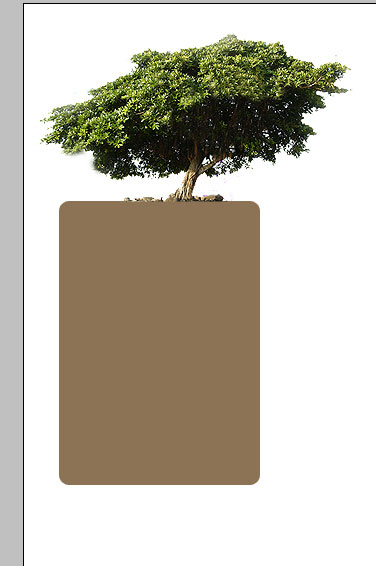
On the other side of the layout i will add another shapes ( all made with rounded rectangle tool ).
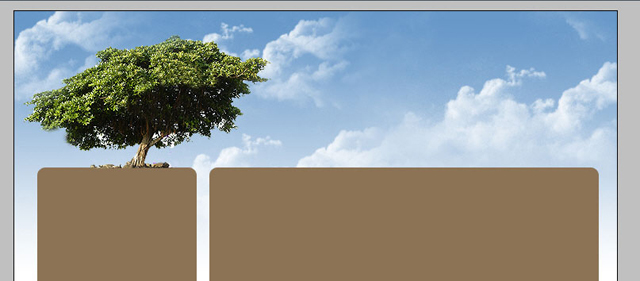
Right above the background layer , please create a new layer. to create a new layer, please press on Ctrl+Shift+Alt+N in the same time.
With gradient tool, draw a line from the top of the layout to the bottom.
Now please download the following set of cloud brushes: Cloud Brushes.
Create a new layer right above the last layer, then with the brushes you just downloaded , add some clouds.
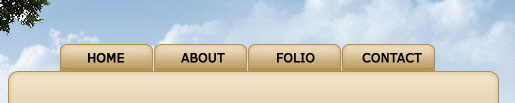
Select Rounded rectangle tool, and add some buttons. please be sure you will place the layers for this buttons under the big brown shape.
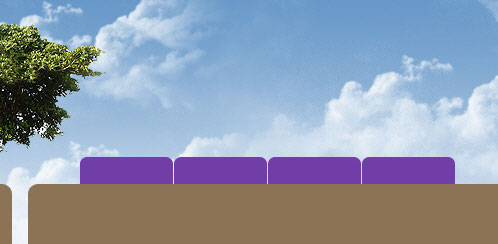
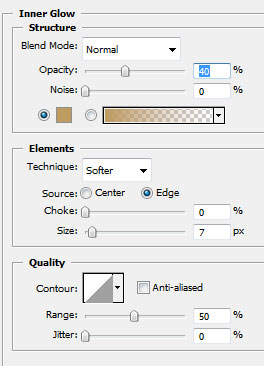
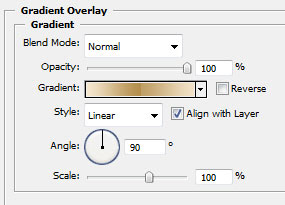
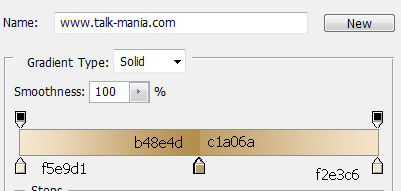
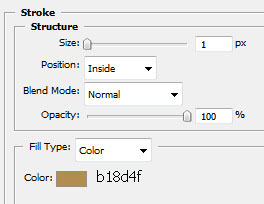
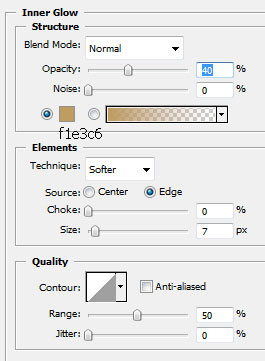
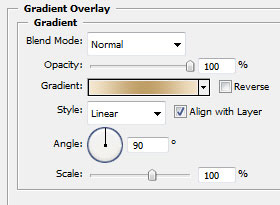
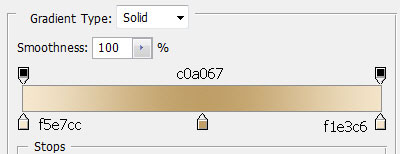
Then for all this buttons , add some layer styles.
I am using the following layer styles for all the buttons.
This is my result.

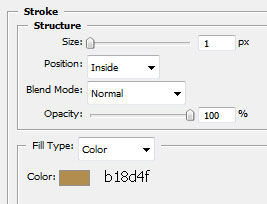
Now for all this big shapes, please add the following layer styles.
And here you can see the result.
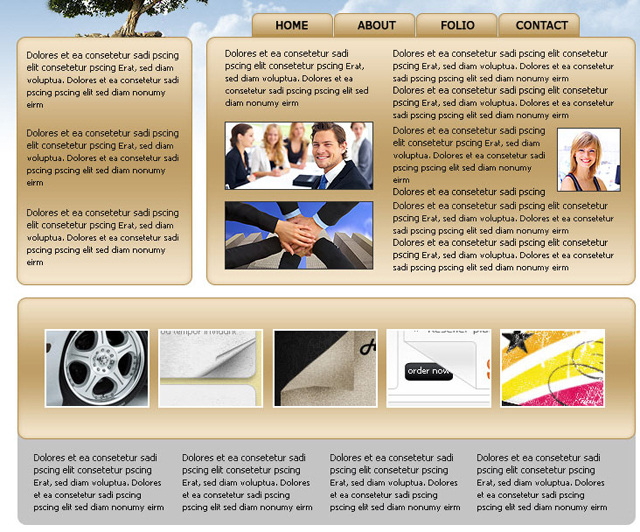
Now it is time to add some text on the top menu.
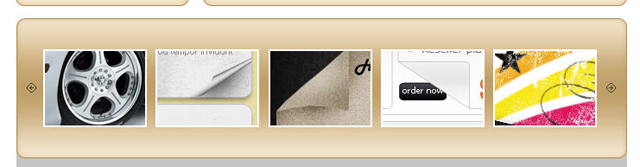
After that please add some text and images also on the other parts of the website.
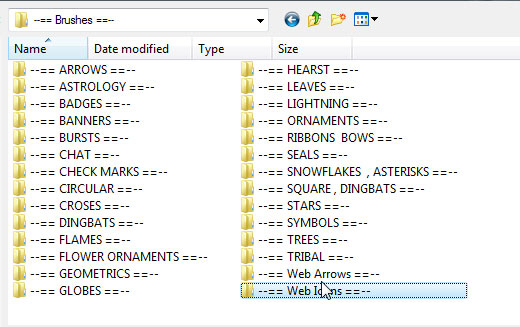
Now if you have Talk-Mania Big-Pack go inside your Brush folder, then choose web icons.
Load icons-1 file, and select the following brush.
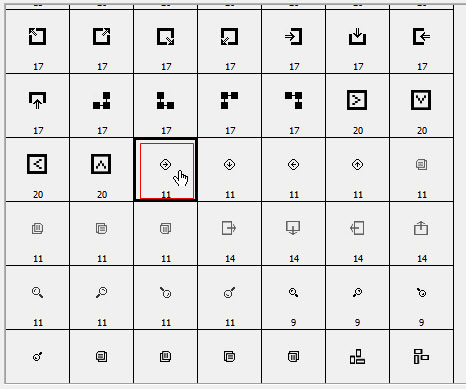
On a new layer ( press Ctrl+Shift+Alt+N ) add the icons.
This is my final result. i hope you like it. tomorrow we will have another new tutorial.