


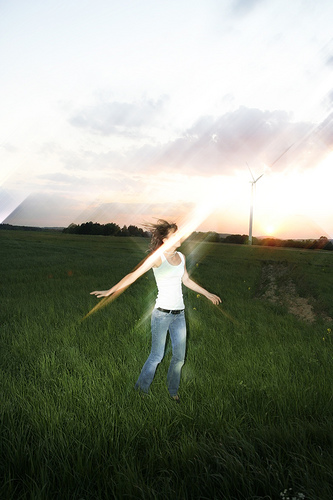
1. First of all we need an image. If you want to use the one from this tutorial you can download it from here farm3.static.flickr.com.
2. Duplicate the Background layer by pressing Ctrl + J. Go to Layer > Layer Mask > Reveal All, then go to Image > Apply Image and click OK. Set the blend mode for this layer to Hard Light.
3. Press Ctrl + J to duplicate this layer again, and set the blend mode to Soft Light.
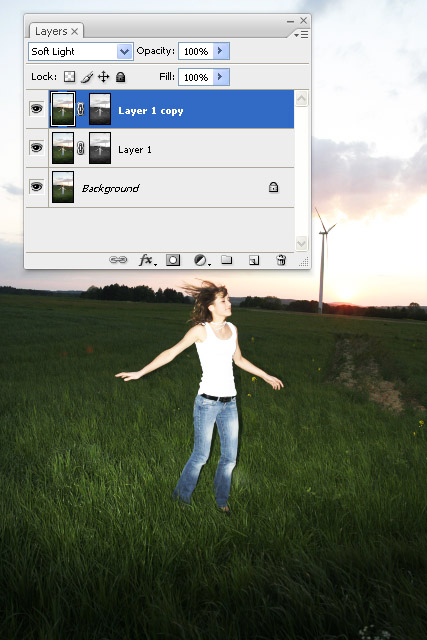
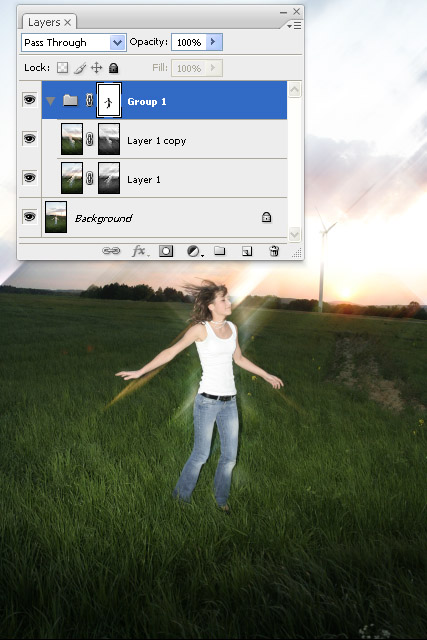
4. Select the first two layers from the layers window and press Ctrl + G to put them inside a folder.
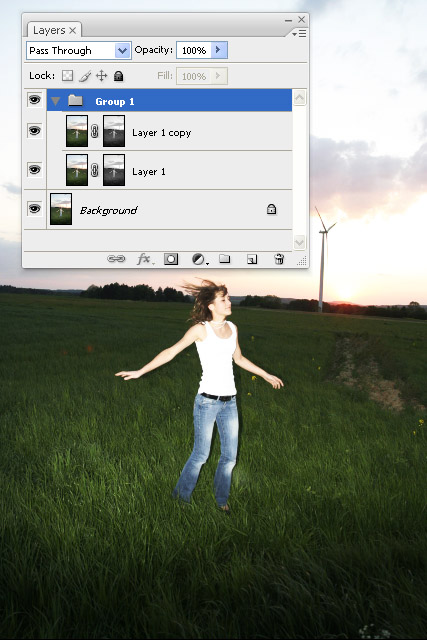
5. Select the first layer from the folder, go to Filter > Blur > Motion Blur and use the settings from the next image.
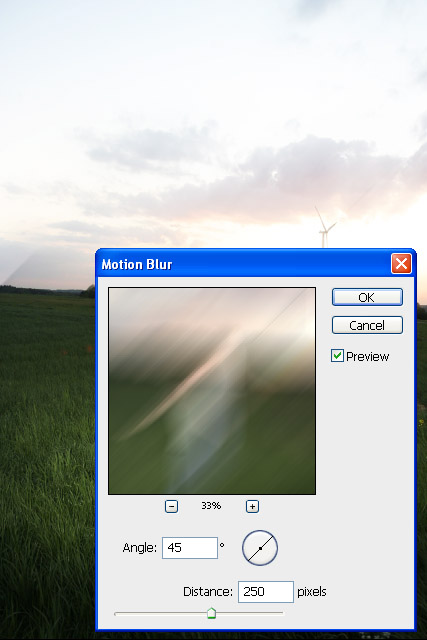
6. Select the other layer inside the folder and go again to Filter > Blur > Motion Blur, but this time use a angle of -45 degrees.
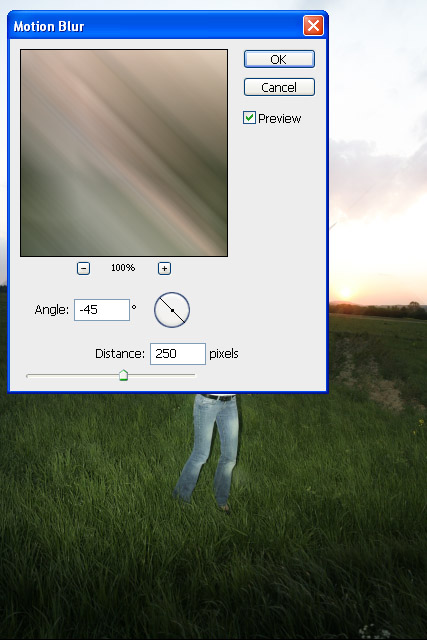
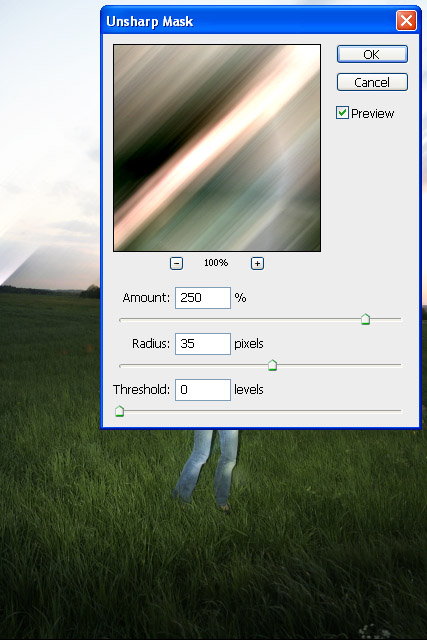
7. Now go to Filter > Sharpen > Unsharp Mask and use the settings from the image bellow. Select the other layer inside the folder and press Ctrl + F to repeat the last filter.
8. The effect that we created so far has covered the girl. To correct this select the folder, then go to Layer > Layer Mask > Reveal All and use a black brush to mask some parts of the folder.
9. Duplicate the folder (right click on the folder, then select Duplicate Group). Set the blend mode for the folder to Color Dodge. Duplicate it again and set the blend mode for this new folder to Vivid Light.
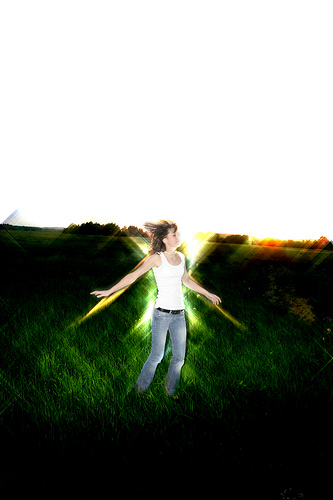
10. Add a mask for each folder and use a black brush to mask some parts of the folders, just like you did at the step 8.

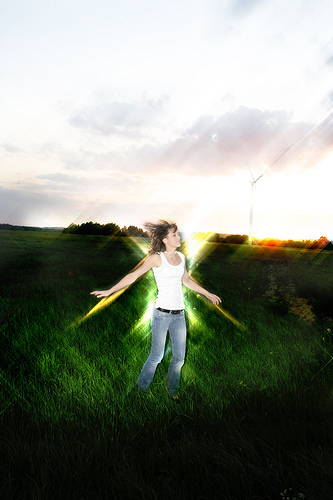
Final result:
Thank you.