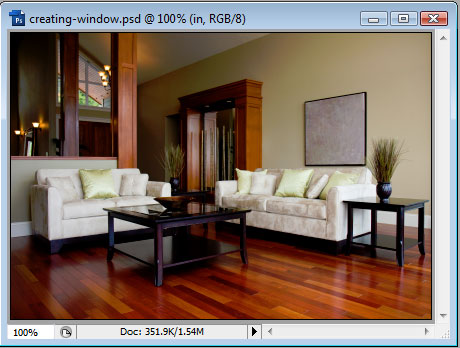
We will start with a PhotoShop document with our two images on separate layers - we will need an indoor image, and an outdoor image. We will be using the following for this tutorial:
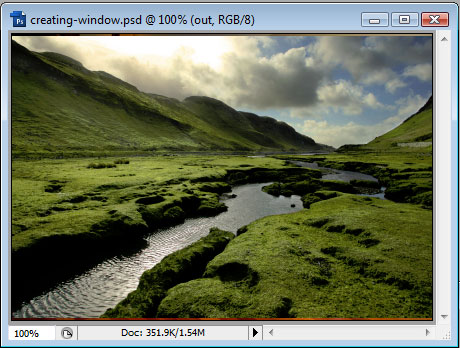
For now, let's hide the outside layer and create a new layer on the very top. Make a selection with the Marquee Tool that looks something like this:
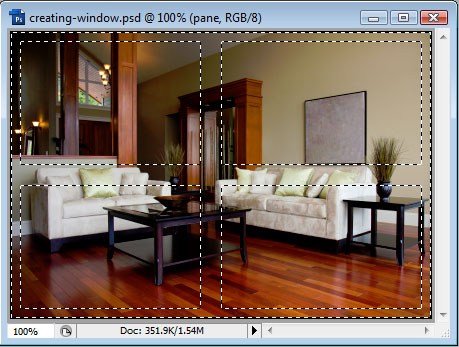
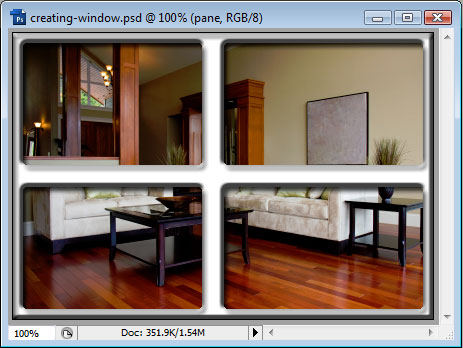
Goto Select > Modify > Smooth, and choose 1-3px. Using the Paint Bucket to fill this selection with White on the new layer. Then open up the layer styles and add a Drop Shadow, Inner Shadow and Bevel and Emboss. We used the default settings for all of these, but you can tweak the values and choose the settings that fit your needs. You are encouraged to experiment.
Now go back to our inside layer and add a color overlay layer style, White, with opacity set to around 25% and Blend Mode to Exclusion. Again, play with the settings and find the best to fit your image and needs. Finally, reduce the opacity of the outside layer to around 15% to replicate a reflection on the glass. We should end with something like this: