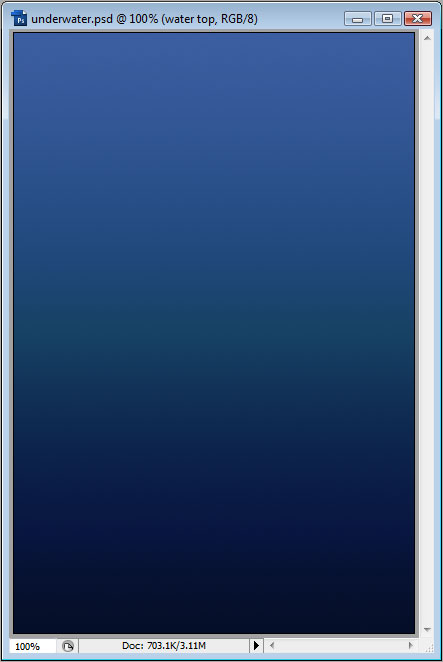
We will start with a blank canvas of 400x600 pixels. Then we will add a linear gradient like so:
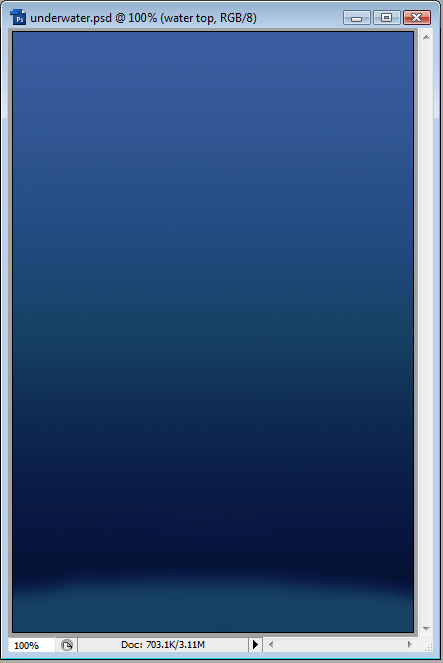
Then we'll want to add a new layer and create a lightened area for the sea bed. This will be where the sun shines through the top and lights up the floor. You should use a soft brush for this:
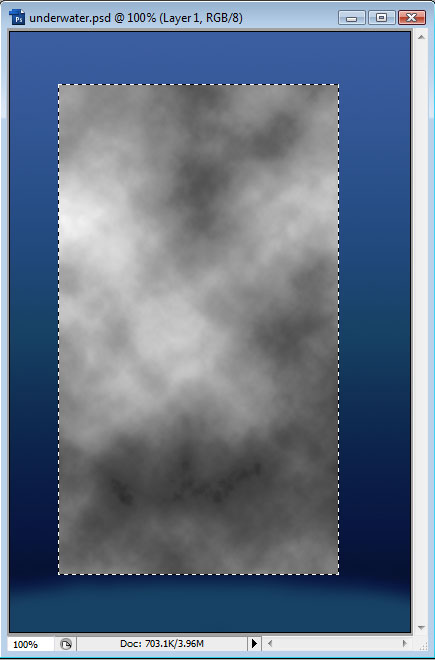
Next, make a selection about three quarters the size of the canvas, like so:

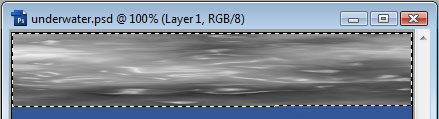
Now in a new layer with default colors (press D), goto Filter > Render > Clouds. It might take a few goes to get what you're looking for because clouds are generated at random, but you'll have something like this:
Goto Edit > Transform > Scale and expend the clouds out to fill the canvas. Then goto Filter > Artistic > Plastic Wrap. For Highlight Strength, choose a value between 10 and 15, Detail between 1 and 5, and Smoothness between 10 and 15. We should end up with something like this:

Goto Edit > Transform > Distort and resize it to fit at the top, like so:
Next, with the clouds still selected, goto Filters > Render > Lighting Effect. We will choose Omni, and play around with the settings until you find a light you like. We are trying to recreate the sun shining through the surface of the water.
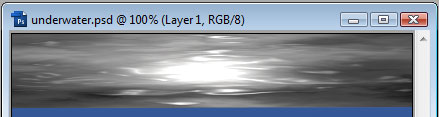
Next, take a soft brush and erase around the bottom of the layer we just created, and follow the light curve, like so:
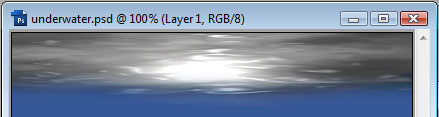
Now we change the Blend Mode of this layer to Linear Dodge, and reduce the Fill to between 50 and 60%. We should have this:
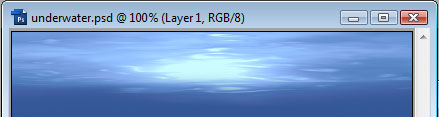
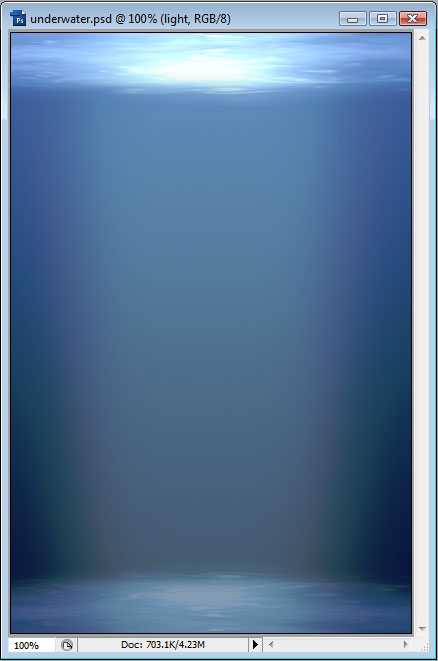
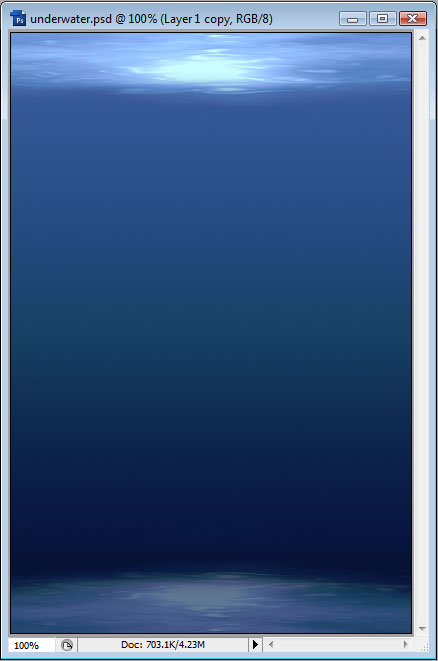
Now to do the bottom. Duplicate the layer we just created for the surface water, and Edit > Transform > Flip Vertical. Then move it down to the bottom and change its Blend Mode to Color Dodge and the Fill to between 30 and 40%. You should now have something that looks like this:
As a finishing touch, we can add a beam of light being shone through the water from the sun. In another new layer, choose a brush that's almost the size of the width of the canvas and paint a lighter color down the middle, like so: