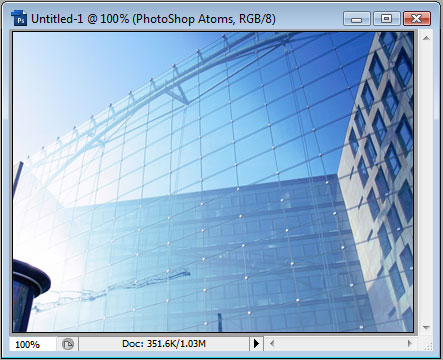
We will start off with the following image opened up in PhotoShop:
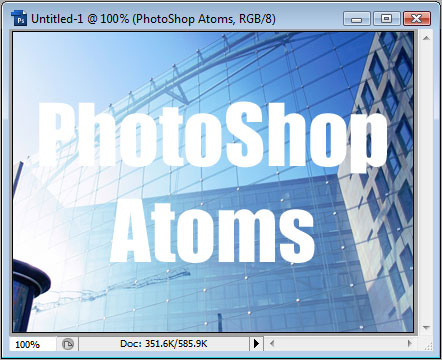
We will add some text to the image:
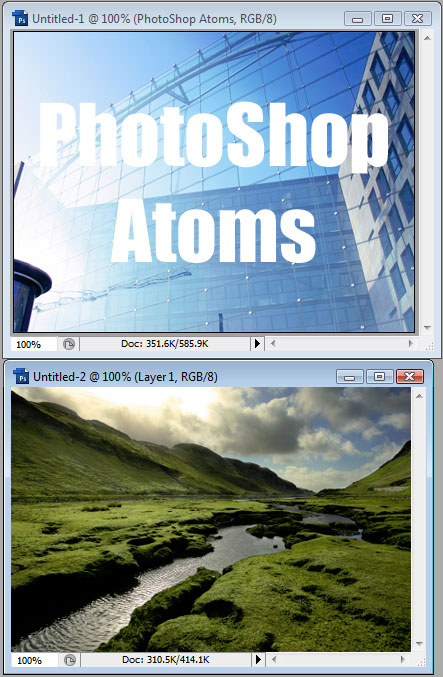
Once we have the image we want to use as the background of the text, we will open up the image we want to use as the text background in PhotoShop:
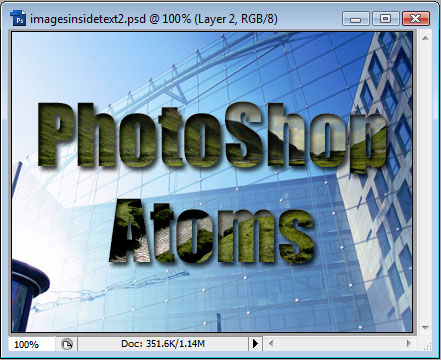
Next, we will Ctrl+A to select all of our new image, and then Ctrl+C to copy it. Then we go back to our original document, Ctrl-click the text layer to make a selection of it, and then Ctrl+Shift+V to Paste Into the text. This will create a new layer of the image we copied and also a layer mask of the selection we had (the text). It should look something like this:
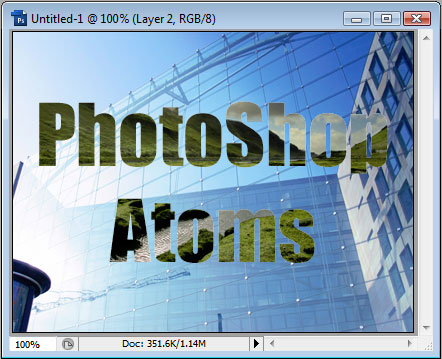
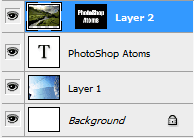
And the layers palette will look something like this:
The good thing about using this method is that when we select the pasted images layer (not the layer mask thumbnail), we are able to respotion it with the move tool. This gives us great controls, rather than just pasting with the text selected. And as always, we are able to apply layer styles to the masked image to further add to it:
You may also want to experiment with different color patterns, and different kinds of patterns (vertical lines, diagonal lines, squares, and even more complex designs). Creating your own Patterns is just one of PhotoShops powerful features.