Let's create a cs6 ocean ripple effect. We start off with a blank canvas of 300x300px. Double-click the Background layer if it is locked, to unlock it, then fill it in Black. Then add another layer and fill that in Black. So our Layer panel should look like this:
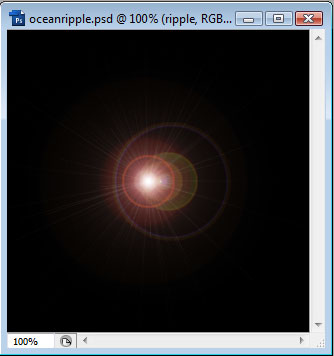
Next, we want to add a Lens Flare. Make sure our top layer is selected. Goto Filter > Render > Lens Flare. Choose 100% and the 50-300mm Zoom.
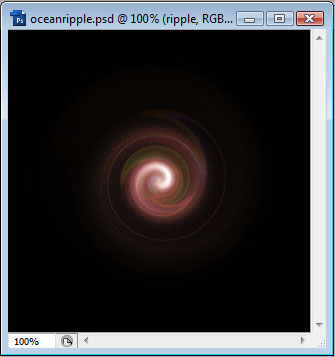
Then goto Filter > Distort > Twirl. We will want to add 999° Angle.
Next, we will add a Filter > Sketch > Bas Relief. We want Detail to be between 10 and 15, Smoothness around 2 or 3, and Light: Top.
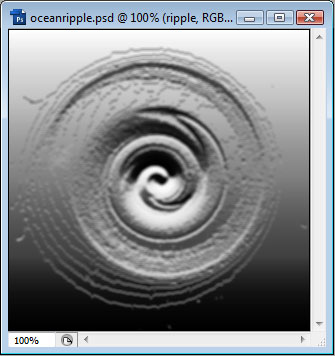
We can now make use of PhotoShop's Ocean Ripple Filter. Goto Filter > Distort > Ocean Ripple. Use between 10 and 15 for Ripple Size and between 5 and 10 for the Magnitude.
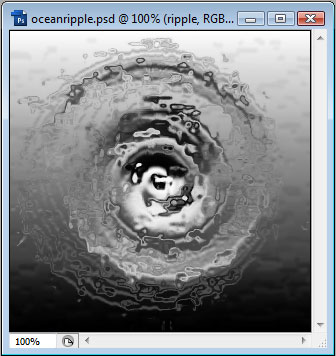
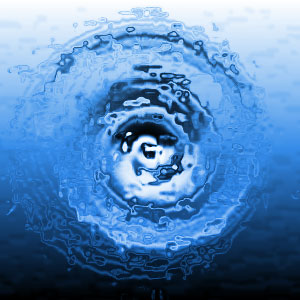
Now to add the color. First, set the Blend Mode of the top layer to Hard Light, and then move to the bottom layer. Goto the Layer Styles of the bottom layer and choose Gradient Overlay. We want a nice deep blue ocean colored gradient, similar to this:

Once we set the gradient overlay to the bottom layer and the blend mode of the top layer, we should have something that looks like this: