


Step 1
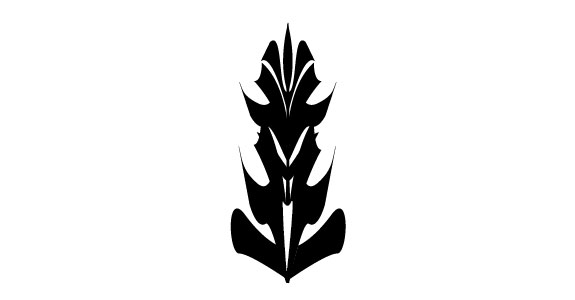
You will need a shape that can be used as a pattern. That pattern will then be placed on a circle in order to make some cool and unique looking snowflakes! While experimenting with shapes, I quickly realized the best designs were created through trial and error. The shapes that resulted were part calculated and part random. If you're interested in experimenting, (and I recommend that you do) go ahead and make a shape similar to the one below. I used a combination of the pen tool, simple shapes, and the pucker and bloat filter to create mine. However, since the main focus of this tutorial will be on the steps forthcoming, when I get into patterns and brushes; I've placed the shape I used for download here. It is also pictured below.
Step 2
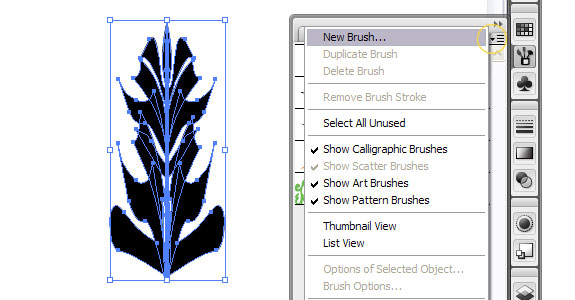
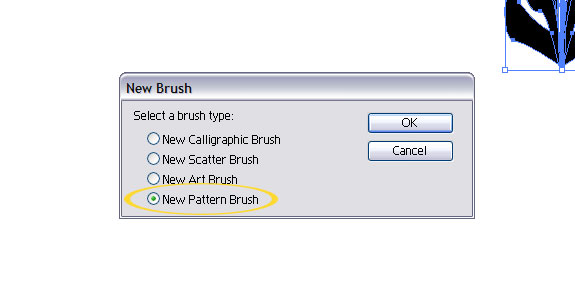
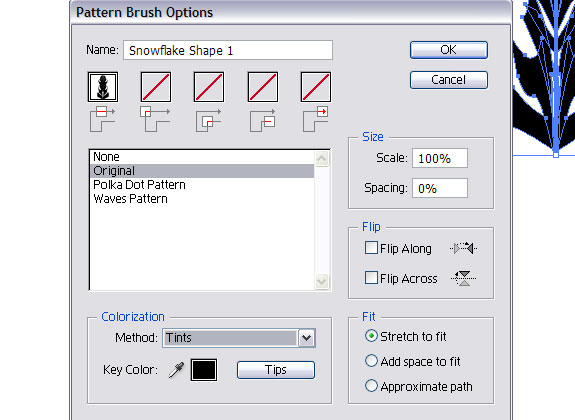
Select your shape. Open up the brushes palette, window > brushes. Click on the small arrow in the top right of the palette. Select 'New Brush' from the list of options that appear. Select 'New Pattern Brush' from the list of brush options that come up. Click OK. Next up, the pattern brush options window will appear. Rename your brush something applicable. Change the colorization to 'Tints', just in case you want to change the color of the pattern you create within Illustrator. Leave the rest as the defaults and click OK.
Step 3
Grab the ellipse tool and make a simple circle, while holding down shift to keep the proportions even. Make the stroke black and the fill none.
Step 4
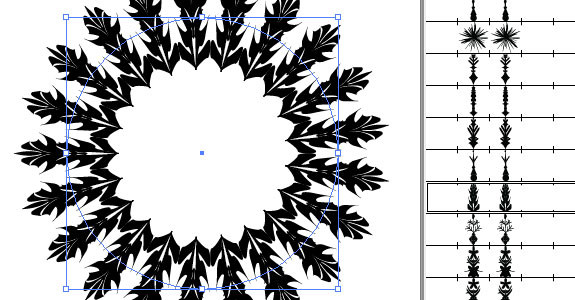
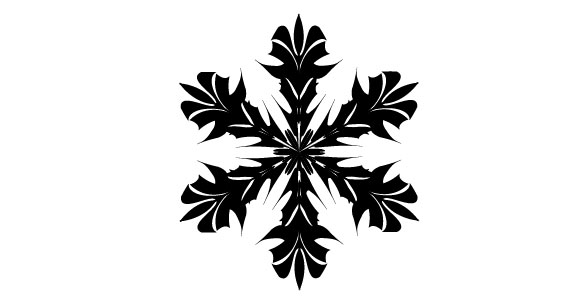
Select your newly drawn circle and then click on the snowflake pattern brush you created. This will drop the pattern in perfectly along the circle. Illustrator is awesome! Next up you'll have to resize the shape to suit your needs. Most snowflake renderings I've seen have six points, so I made my snowflakes have that many most of the time. If you have too many points resize the shape smaller, if you have too few, then make it bigger. Alternatively, you could change the size of the stroke, to affect the number of times the pattern is repeated.
Step 5
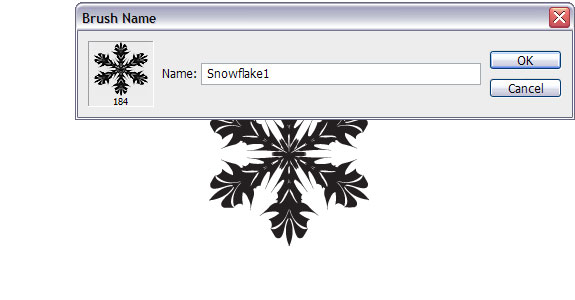
Now we are going to take our Illustrator shape and turn it into a Photoshop brush. This way we can take advantage of all the cool things brushes in Photoshop can offer us. Create a new document in Photoshop. With both programs open, go to Illustrator and grab the direct selection tool, then click and drag the snowflake into your Photoshop document. Click enter to place your vector smart object into Photoshop. Then click Edit > Define Brush Preset. In the window that opens type a name for your new brush and click ok.
Step 6
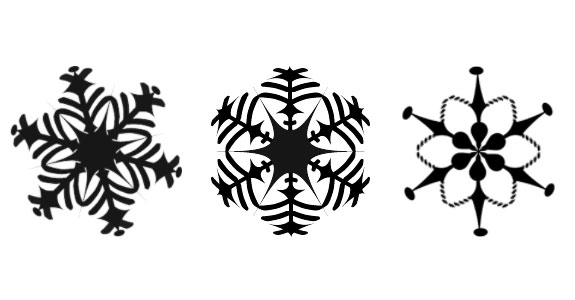
For the background I wanted it to be filled with a bunch of different looking snowflakes, so I designed 3 others. This step is optional, but it's good practice regardless. Here are the three shapes I came up with.
Step 7
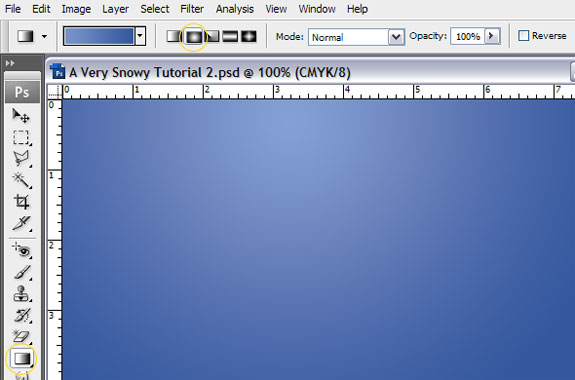
Create a new document in Photoshop at the size of the background you'd like to create. Make a radial gradient going from dark blue to a lighter blue. I used #36589f for the dark blue and #7894c9 for the light blue.
Step 8
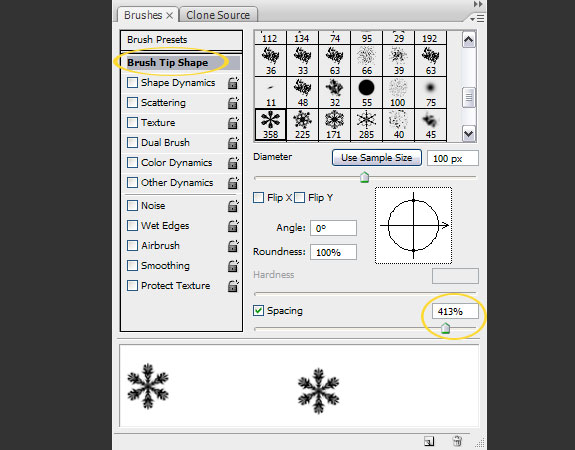
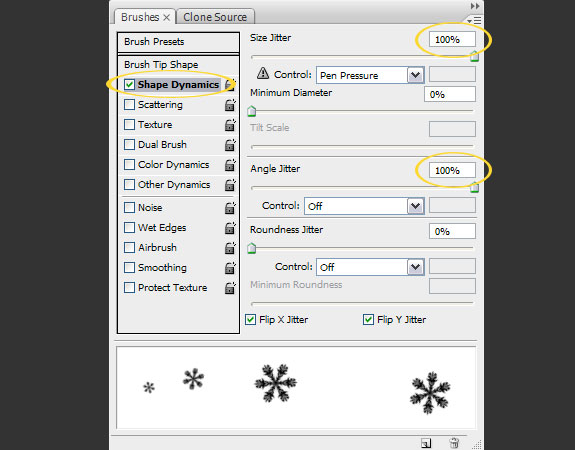
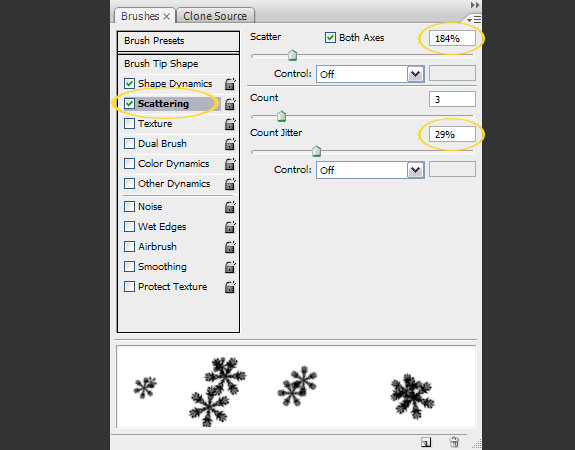
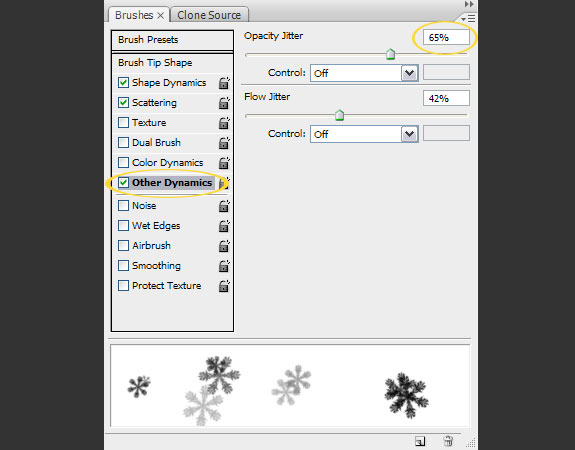
Make your foreground color white. Then add a new layer, Layer > New Layer. Then grab your brush tool and select the newly made snowflake brush you'd like to use. Next up, we need to adjust the settings to scatter the size, amount, opacity and angle of the flakes. Use the images below as a reference. However, keep in mind they are there mostly to give you an idea of what values to play with. Feel free to experiment.
Step 9
Now that you have all your brush settings adjusted, go ahead and brush on some flakes. I'd suggest going fairly light, especially if you made three or four different snowflake brushes. Also, we are going to layer some things, so your design could become too cluttered quickly. Here's where I'm at:

Step 10
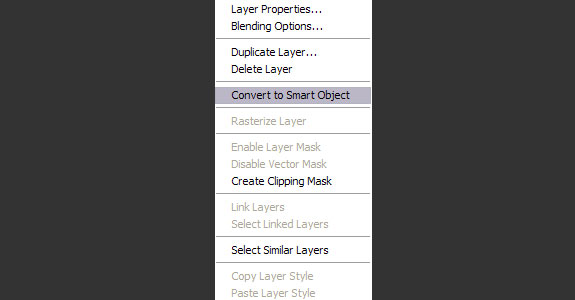
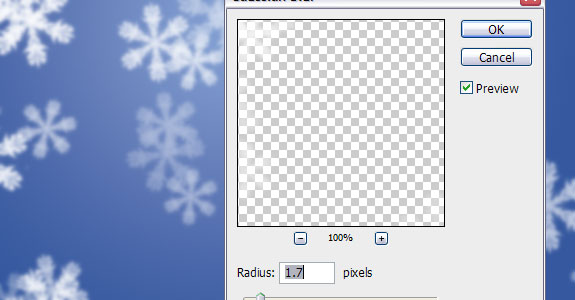
In this step we are going to add a simple blur to the layer we just made, in order to help with depth. Because I often change my mind when designing, I like having the most flexibility possible. Therefore, I've gotten quite fond of Photoshop smart filters. To set one up, right click or ctrl click (on the mac) on the snowflake layer, then select 'Convert to Smart Object'. Next click Filter > Blur > Gaussian Blur. Change the radius to something around 1.7 pixels and click ok. Now if you find that layer has too much or too little blur; you can double click on the smart filter within the layer panel and alter it to your liking.
Step 11
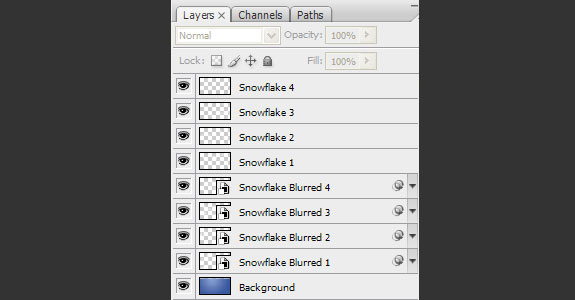
If you've made different snowflake brushes, repeat the last two steps for each flake on separate layers. I also played with the opacity of each layer until I got the effect I wanted. You should have something like the image below.

Step 12
I realize how tedious this may be, but this step is pretty much identical to the last one except that you won't add a gaussian blur to these layers. If you had four snowflakes total, then add four new snowflake layers. With similar brush settings, just don't blur these top layers. It's also a good idea to play around with the opacity of each individual layer. Until you have a storm of snow that you like.
Here's My Finished Product

Conclusion
Combining Illustrator and Photoshop can produce some incredible results. I hope you've learned a lot from this tutorial.