
Step 1
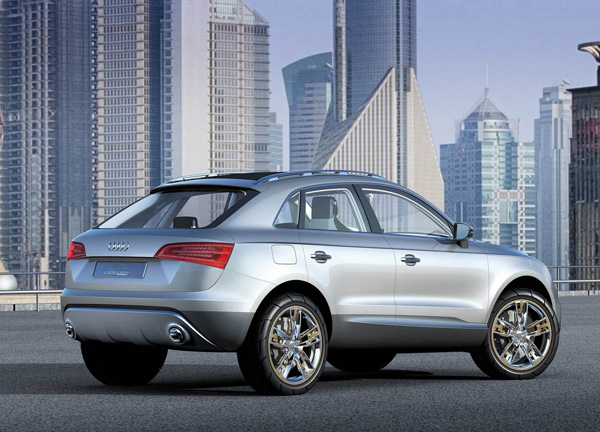
In this tutorial I used the Audi cross coupe.You can use the same image or another one, it is up to you.
Step 2
The first thing to do is to lower your car. Make a copy of the Background, Grab the pen tool and go round the lower part of the car and then press right click and make selection ,like on the image (make sure you are working on the copy of the background).
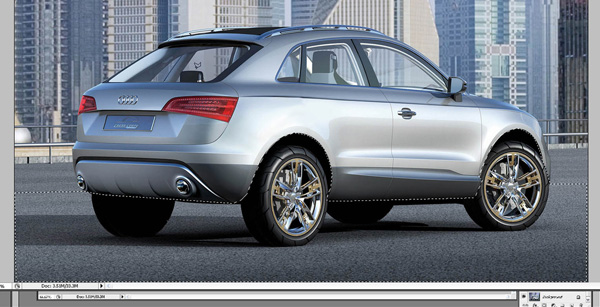
Once you have made your selection, right click on it and make inverse selection.Hit Ctrl+c and then Ctrl+v.We have created our new body and now hold Ctrl and by pressing the down arrow we are going to lower the car.
Step 3
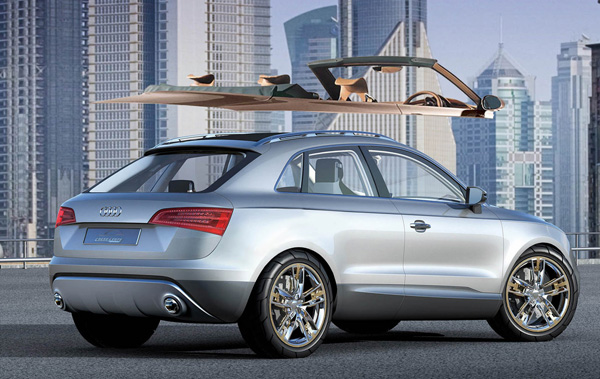
Now we need to find a donor for our convertible top.I used a BMW 1 convertible I can not offer you this one as I have not been given copyright to give it to other people but if you goto any stock photo website you will be able to pick one up. Open the image in photoshop and make a selection around its top with the pen tool like you did with the audi last step. Copy and paste the selection onto the car you want to put it.
When I am working on this kind of modification I alway prefer a clean background, so it is better to erase the top of the car so you can have a clean area to work on.
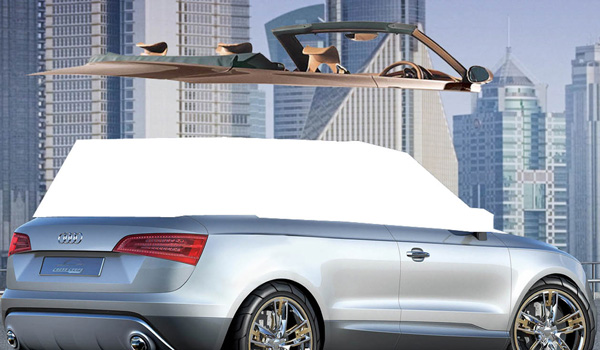
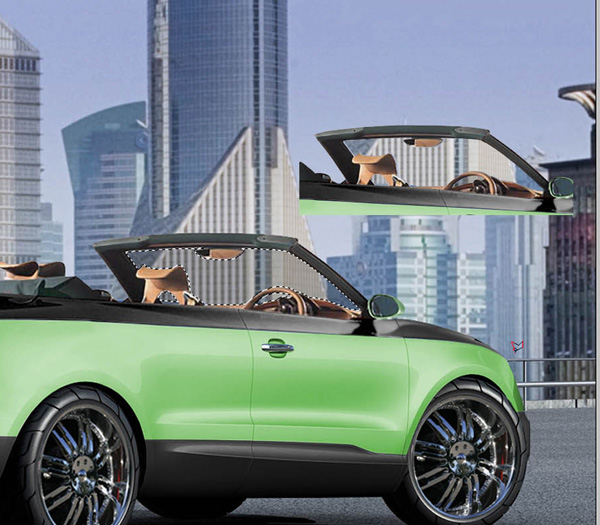
Step 4
Position the bmw soft top onto your car top. Use Ctrl + T to position it right.Dont worry if it is not preciously positioned, we are going to sort that out later.
Step 5
Cut out sections of the background and cover up the white surface in order to make a mask and to have some perspective on how things will look. You can also mask up some pieces that you cannot fit with your new top.
Step 6
We have done our rough part, now its time to pay attention to details. Make sure that all the door gaps are alligned properly, if not, use the line, pen or brush tool to fix them. You can also put some other accesories or parts on the car. I put different rims.You can do that the same way you did with the top, find a donor for the rims, copy and paste them and position them.
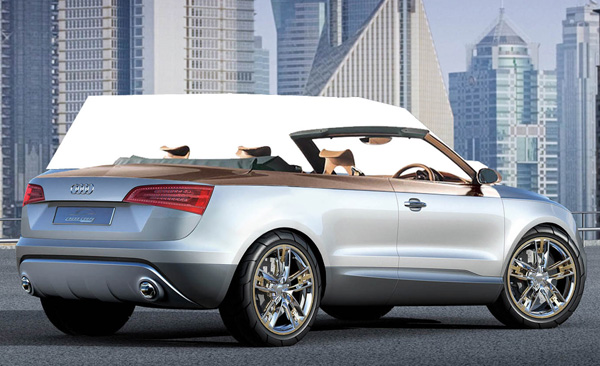
Step 7
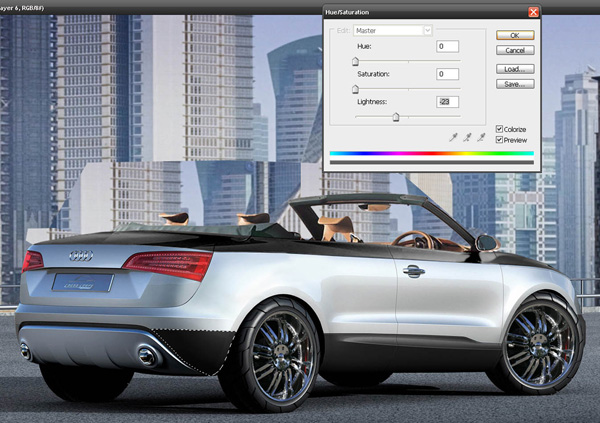
Now lets go to painting. For this car I decided to go with a 2 tone paint job. With the pen tool select the parts that you want to paint and go round them and the right click and make selection. Make a new layer of them and go to image>adjustment>hue/saturation. Check the colorize option and adjust the sliders untill you get the color you want.
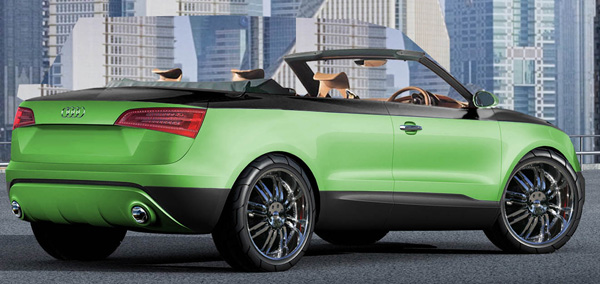
The final paint job.
Step 8
While working on the details I noticed that the right back seat isnt visible enaugh and gave a strange look to the car.So I cut out the left back seat and put it on the right position using the pen tool again. This gave the car a better look.
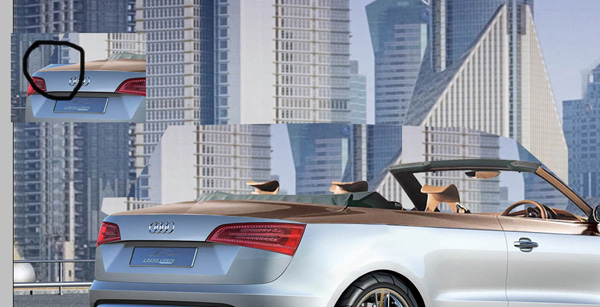
Step 9
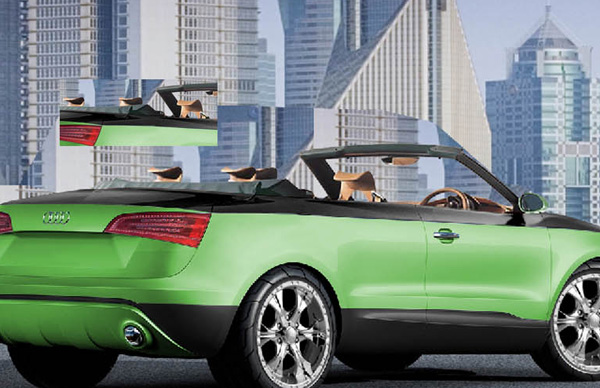
Now lets fix the background. Select all the layers except the ones that we cut out from the background and used to fill the white area when we were positioning the top. After you have selected them, merge them by right click and "merge layers". Make sure you have saved your progress before you do this and after finishing, save in a new file. Select your new made merged layer and make a selection around the car like on the image. Make a new layer from the selection, select it, press and hold Ctrl and by pressing the up arrow move it upwards untill you have gone over the cut out part from the background.
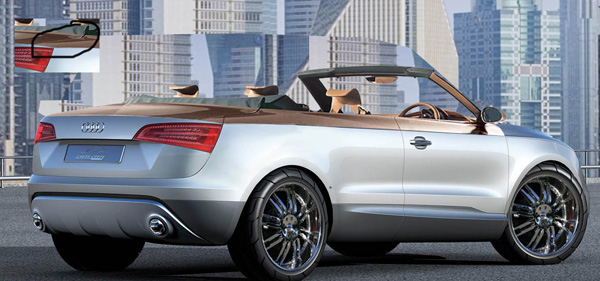
Step 10
Grab the pen tool and go round the windshield and right click and make selection, then make a new layer. Go to image>adjustment>brightness/contrast and darken the the windshield so it will have more realistic look.
Final Step
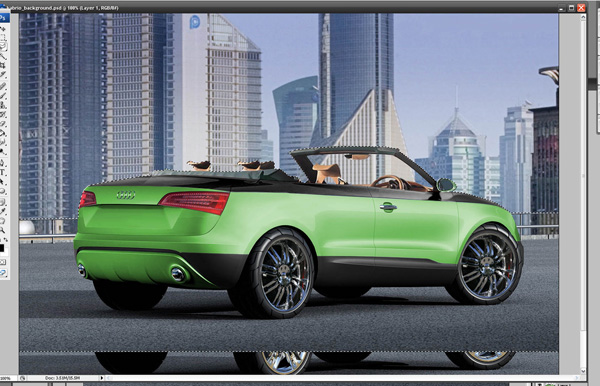
For the final, merge all the layers again and make a selection from the image leaving the lower part unselected. Copy it, Open a new file and paste it.
