

I prefer to do each new transformation on a new layer, duplicating that already is (Ctrl-J) so be not frightened if on sreens you see a heap of layers
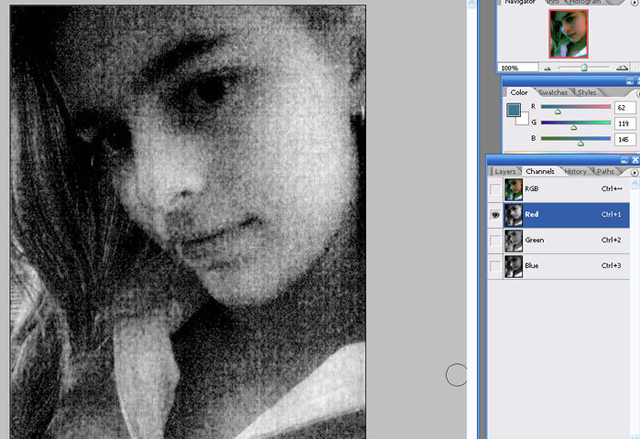
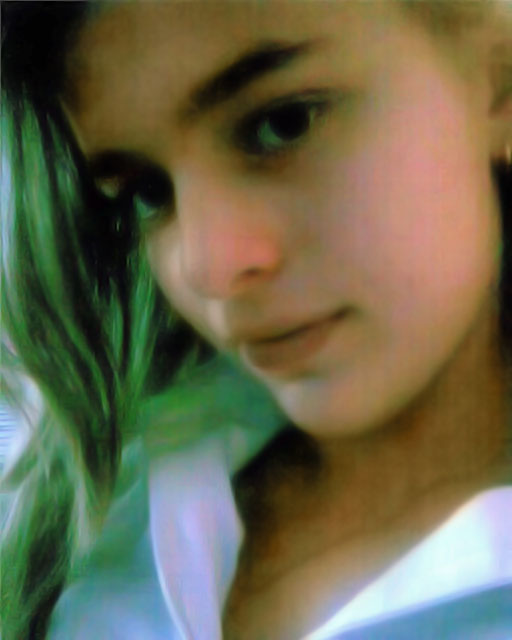
1. At us is photo which should be retouched, in my understanding this the worst that could make with shape of the person light and camera expansion:

2. First, we will get rid of a noise considerable quantity:
At us a lot of colour noise so it is better to make take off noise on all colour channels (Red, Dark blue, Green who not in a course) we will pass in editing of channels here, for example, so looks:
3. Now the filter is by turns applied to channels
Filter - Noise - Reduse Noise (the Filter - Noise - to Clean Noise)
I have applied everyone some times it has not turned out to clean yet all stains, but left as you can see here so, but granularity, undoubtedly, was gone. A kind of the same red channel after the filter applied two times:
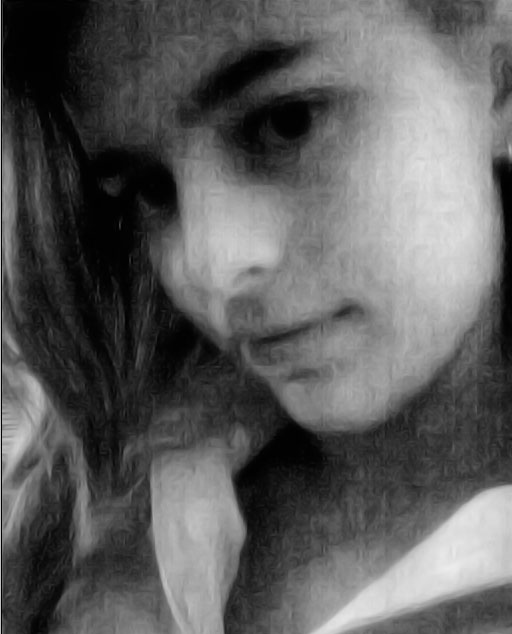
The image after taking off noise on channels looks so

4. Further it is necessary to clean, the remained lacks. Accurately we wash away sites on which there was a noise. We take the tool degradation (Such droplet on a toolbar) For it in the menu of options of the tool which usually under the main menu we expose Property force
Strength - Force
It is less, than by default than 100 %, I for example usually take 30-35 %. Remember, the retouch is as mejk-ap better two times to take in one place on small force of a shading, than once ??????? how many it is necessary, as here as well as there not all sites need identical quantity to become comprehensible.
After that the step should achieve approximately here such result, do not wash away strongly sharp transitions of colour, then clearness to direct is hard.
5. On this step starts to correct colour scale of the image.
By means of levels we will correct a few brightness:
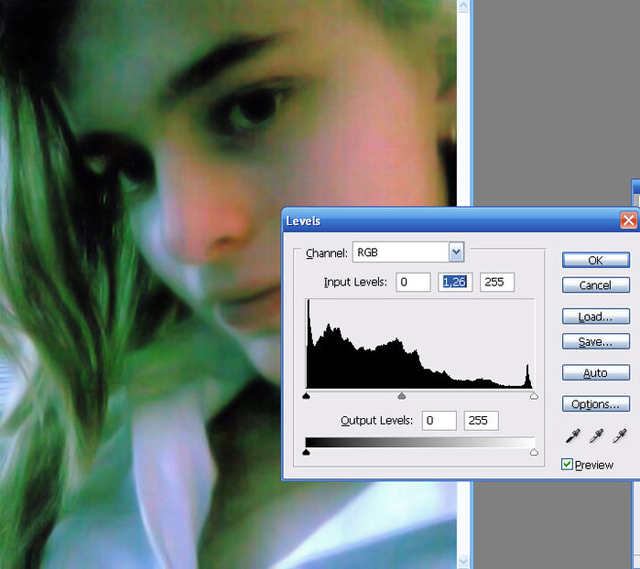
Further we will clean all those reflected lights green which is in a photo.
Let's choose the tool a brush (to choose round with dim edges better) and in mode Color (Colour).
Just as for degradation in the top panel tools we will choose mode-Color (Mode-colour) Opasity (transparency) of 15-20.
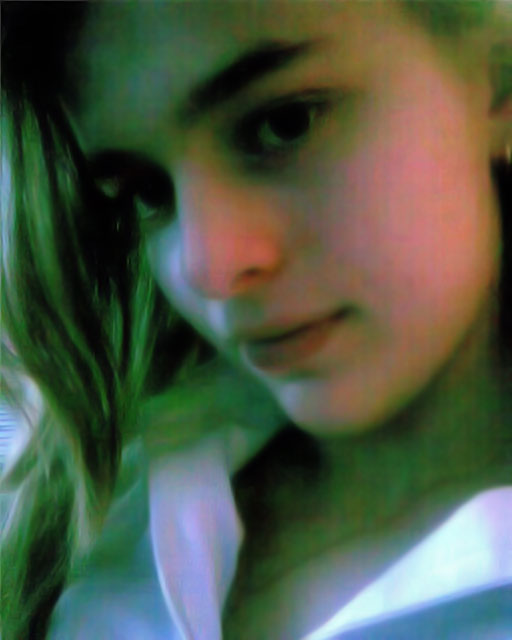
Let's choose normal colour for a skin, from a site where it more or is less similar on natural, I have chosen from area near to an ear, there is painfully ruddy on other sites somehow (pipette).
And gradually we paint over spending a brush twice on places where it is necessary, and even it is more. And so a face at this stage:
6. Further we edit a shirt and hair, for a shirt colour blue too from a site near to edited as in a shade white sees as blue is taken, and for hair colour is taken from other photo (to me so easier, than a trial and error method to select a natural shade for a shading). And eyes a little too should be edited, Where fibers.
Further already, I think, to improve difficult enough business so I suggest to stop on this step and in general to go and teach a retouch of photos, but it, notice, where it is better than the original. Well unless very accurately to make clearness.
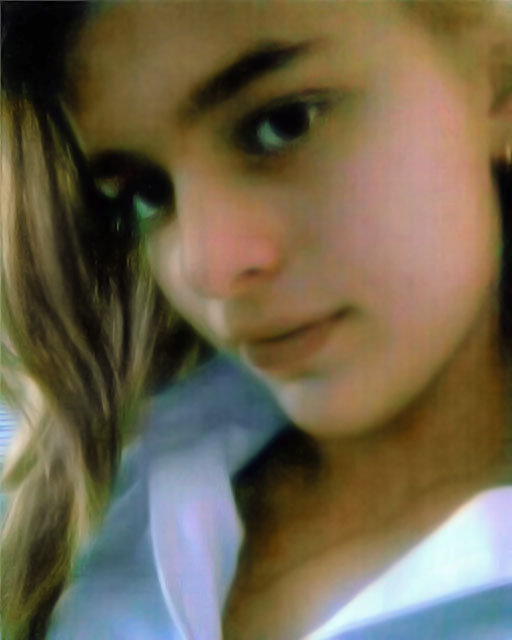
I not undertake to say that this is ideal result, but it already is a quite good basis for the further retouch if the person though something understands it.