We're going to use a two tone gradient to simulate the shiny gloss effect so download this useful set of Web 2.0 Gradients and place the file in your photoshop/presets/Gradients folder and then start up Photoshop.
In Photoshop create a new file with a dimension of 800x300 and just make the background white for now.
Create a new layer in the layer palette and name this layer menu background. With the new layer selected, take the Rectangular Marquee tool and create a box along the bottom and the length of the document at about 40px high. Now either use the paint bucket to fill it black or go to edit - fill and fill the selection with black.

Control + d to deselect. Now create a new layer above your menu background layer and name it gloss.
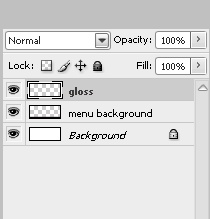
Make sure the gloss layer is selected in the layer palette and control-click the layer below it (the menu background layer). Now take your gradient tool and load the new web 2.0 gradients by clicking the gradient drop down above. With the Web 2.0 Gradients loaded, select the Black 4-Gloss gradient (about the 5th row down). In the upper tool bar make sure reverse is checked and drag the gradient from the top to the bottom of your selection. Your menu bar should look something like this:

Control + d to deselect. With the gloss layer still selected in the layer palette, reduce the Opacity to 60%.
Now, create a new layer above the menu background layer and the gloss layer and name it bar. Zoom in to about 300%. With the bar layer selected, use the rectangular marquee tool to create a small 4px high box that extends the length of the menu. (don't worry if you're not exact, you can just re-size the height after you fill it with the gradient using control + t). Select the Gradient tool and using our black 4-Gloss gradient drag from top to bottom of this small box.


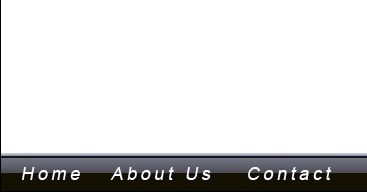
Your menu should look like the picture below:

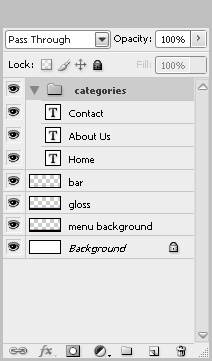
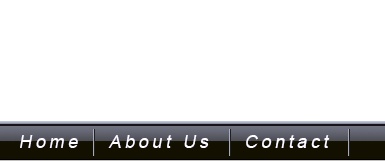
In the layers palette, create a new group folder by clicking the icon at the bottom and name it categories making sure it is above all other layers. Now start making your menu categories and line them up across the menu. For the purpose of this demo I'll only include 3 categories:
Let's create a line to separate the categories. Create a new layer above the categories layer and name it divider. Zoom in on the menu to about 400% and take the rectangular marquee tool and create a box between the first two categories 2px wide and long enough to act as a divider.
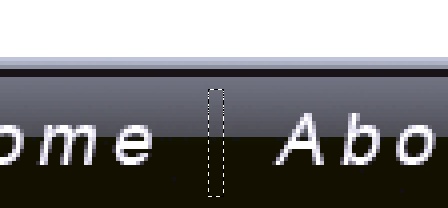
Making sure that the divider layer is selected, take the gradient tool with the black 4-Gloss gradient still selected and drag on the box from left to right.
Check the width by using Control + t to open the transform tool bar and make sure it is at 2px.
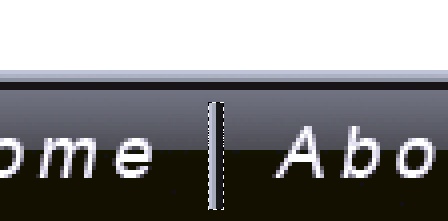
Zoom back out and with the divider layer still selected, hold down Shift and Alt at the same time and drag another copy of the divider between the next two categories. Keep doing this until you have a divider separating all categories.
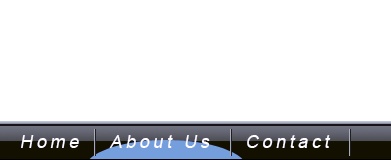
To add a highlight to the menu, create a layer beneath your categories folder and name it highlight. Make the foreground color whatever color you want the highlight to be, take the ellipse tool and create an oval on the bottom half of one of the buttons. Add a Gaussian blur of about 10px and then use the rectangular marquee tool to cut off the excess.

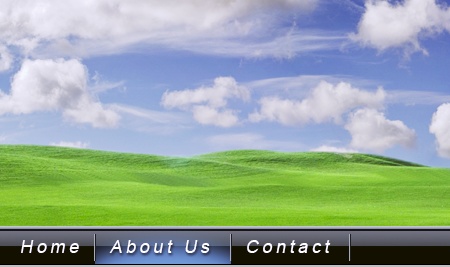
Now you can add a background and use the slice tool to turn this into a fully functional menu.