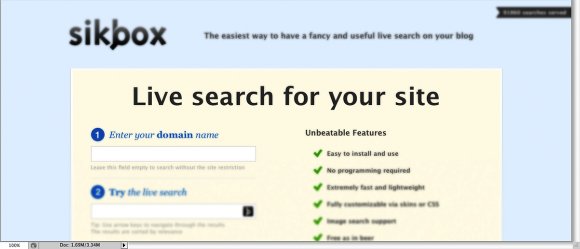
Step 1
Open Photoshop and place an image in your document. I used a screenshot of a website.

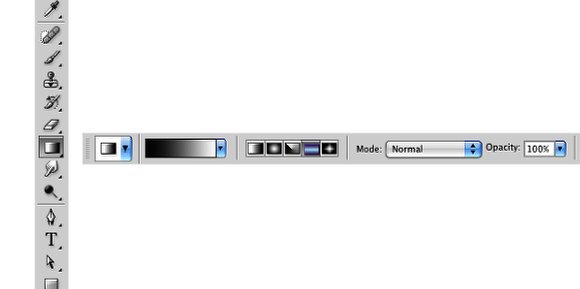
Step 2
Select the Gradient Tool (G). Use Black and White for the colors and select the Reflected Gradient type.
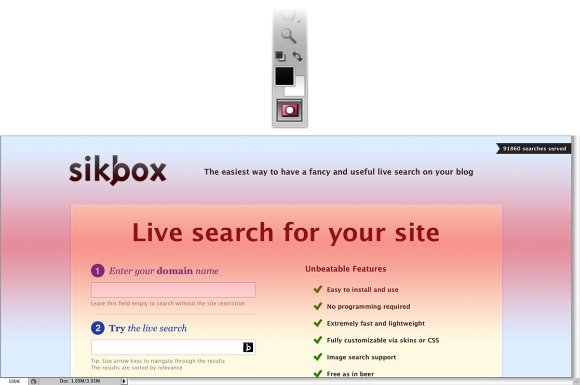
Step 3
Now click on the Quick Mask Mode icon, or just press Q. Then with the Gradient Tool (G) paint a gradient in the area you want highlight. The Quick Mask uses a red color to show the area you are masking. After that just press again on the Quick Mask icon or Q. You will get some marquee selections.
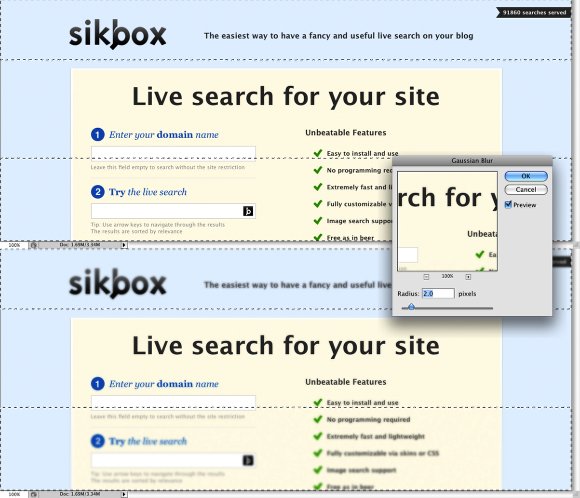
Step 4
Now go to Filter>Blur>Gaussian Blur. Use 2 pixels for the Radius. Tip: Remember, what was black won't be affected while what was white will, then in the quick mask, what is red won't be affected.
Conclusion
Quick Mask is very useful and as I said before, it saves a lot of time. You can create simple mask or apply filter to specific areas very quickly. It's up to you now.