

Create a new file with 500x700 px and 72 dpi and white background. Apply the following settings:
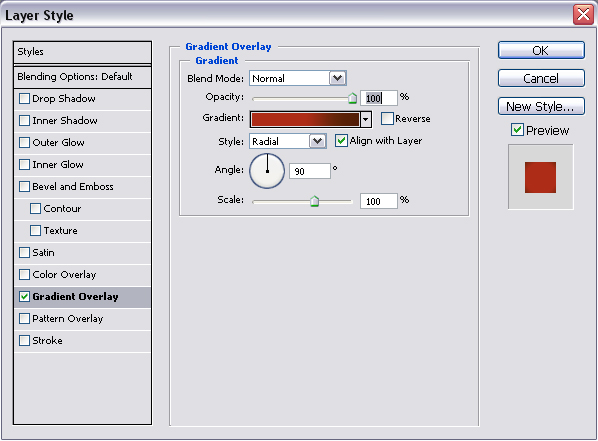
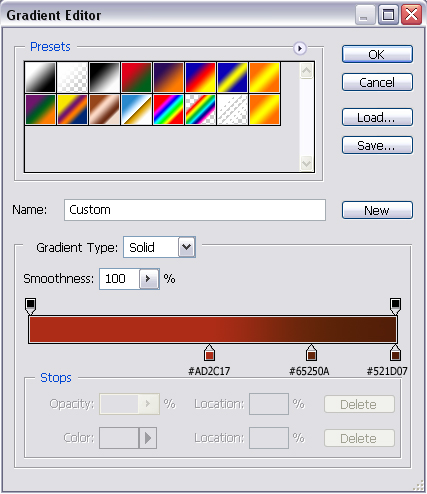

Next create a new layer with background color #590A0E and set the following settings:
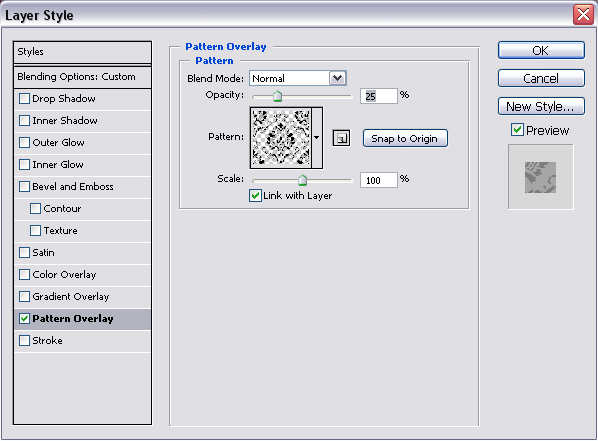
You can download this pattern from here.
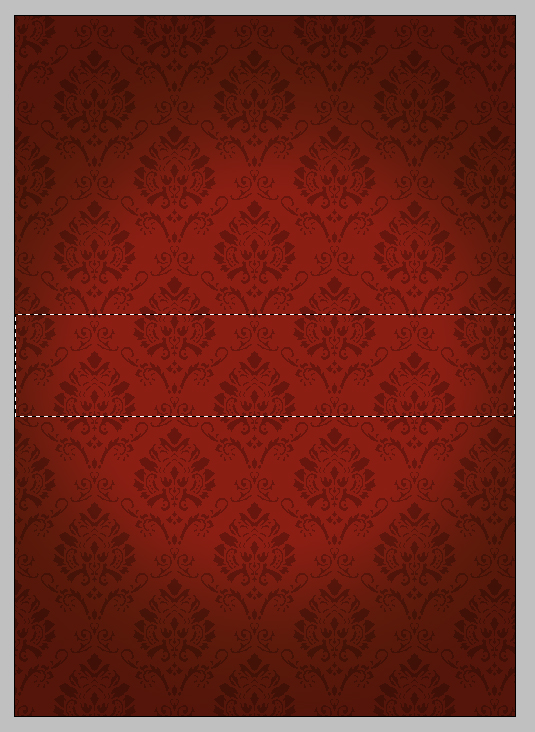
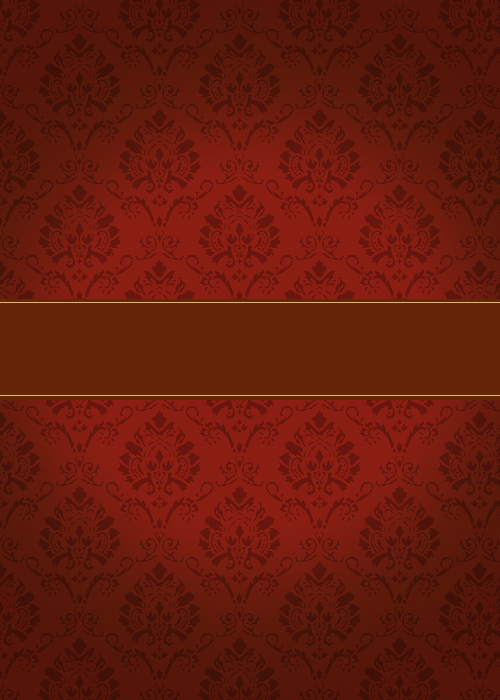
This is my result so far:

Create a new layer. Choose Rectangular Marquee Tool (M) and draw a rectangular in the middle of the greeting card.
Fill the selection with the color - #590A0E.

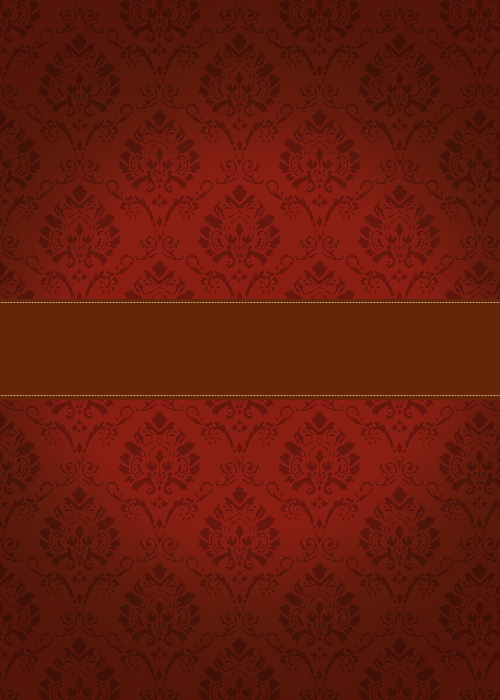
Create a new layer. Again choose a Rectangular Marquee Tool (M) and draw two lines the same way. Back ground color is #D9BB73.
Apply the following settings:
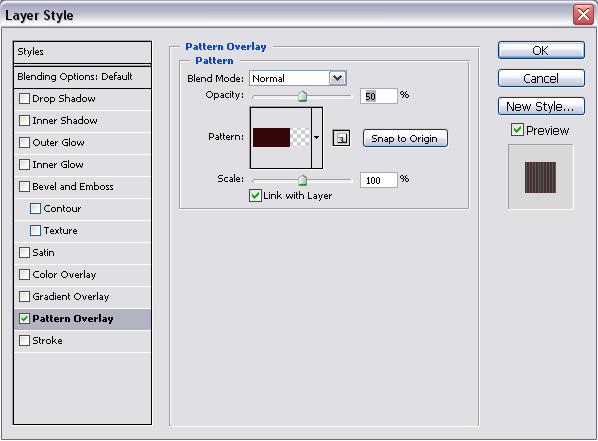
Paremeters of this pattern: 3x1 px, background transparent, foreground color black. Use this tutorial to create your own pattern.
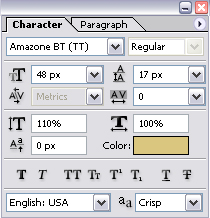
Create a new layer. Choose a Horizontal Type Tool (T) and type "Merry Christmas!" using these settings:

Create a new layer. Set the foreground color to #D9BB73.
Choose Brush Tool (B). Download this floral brush set. Take brush - Swirl Decoration #10 - with diameter 371px and make something like this:

Next delete some part of the swirl.

Create a new layer and repeat the process with a new swirl.

And one more:

That's all. Merry Christmas!