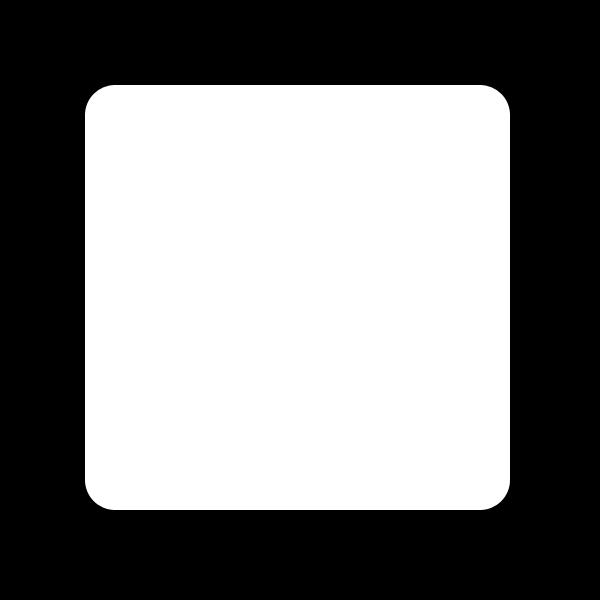
Step 1
At the begining draw new shape layer with Rounded Rectangle Tool.
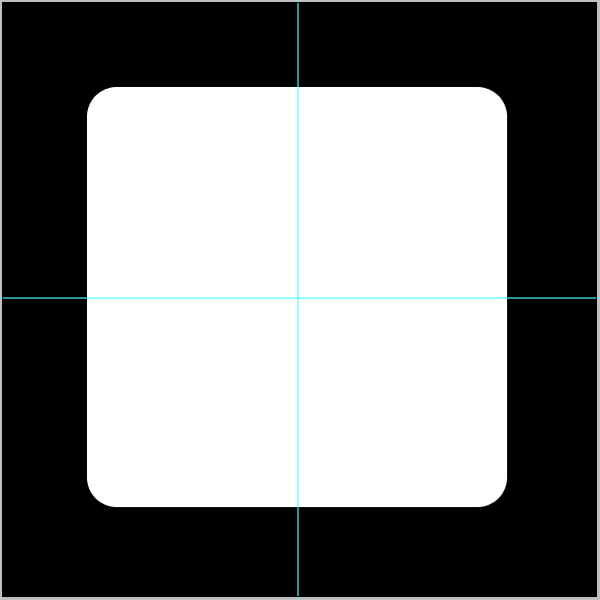
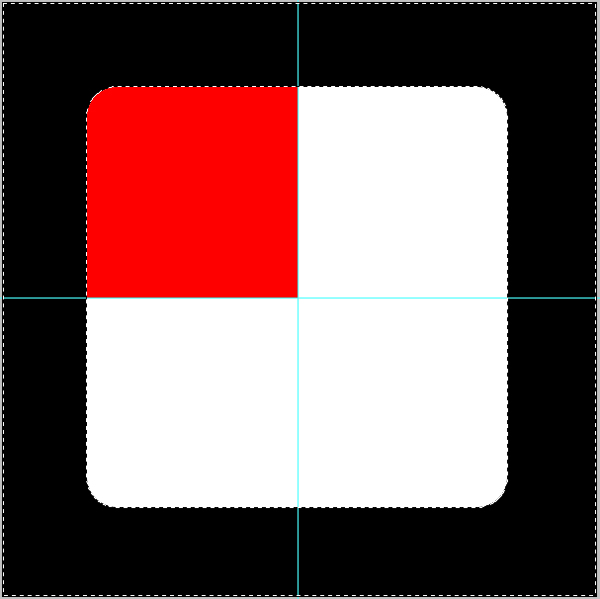
Step 2
With gaudlines define center of document. Then centered new shape layer.
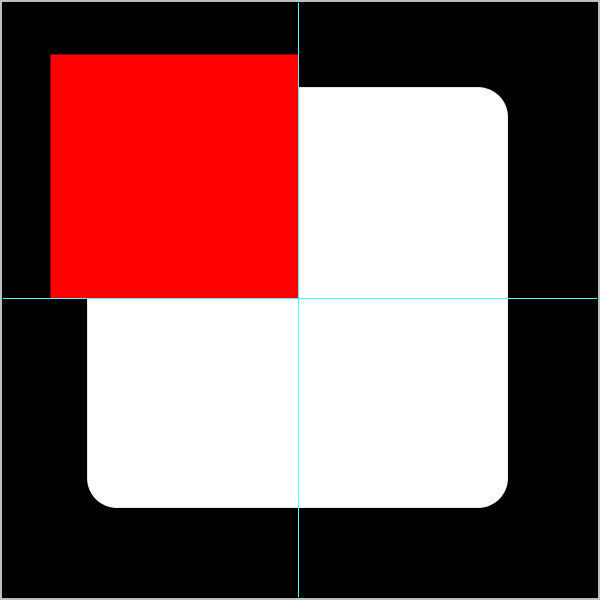
Step 3
Open new layer and make new quadrant shape.
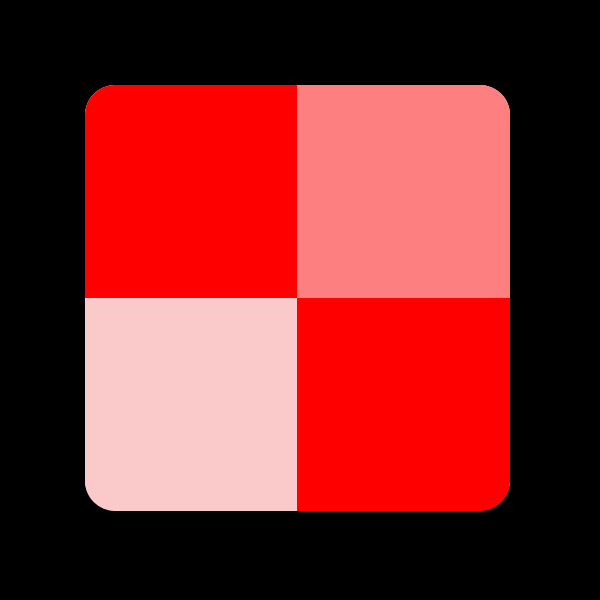
Step 4
To made indentical border shape of first and second layer do next.
Made selection of first layer. Select second layer and use inverse selection.
Press delete.
Step 5
Duplicate second layer and place them like in picture.
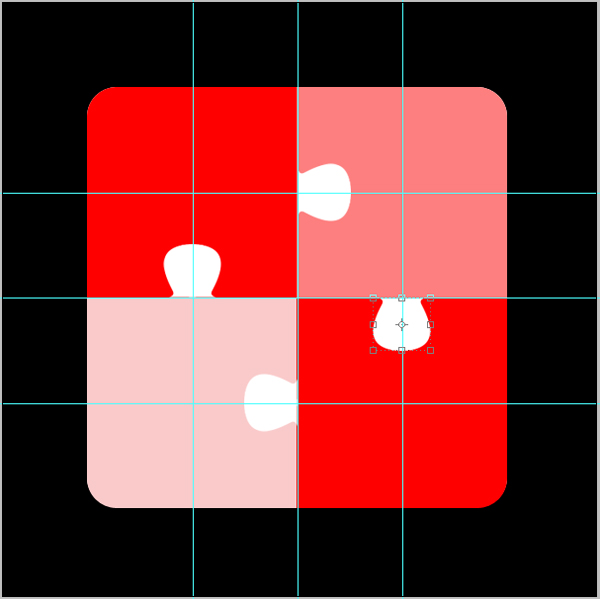
Step 6
Open new layer and start to drawing new shape (third layer) like in picture.

Step 7
Helping with gaudlines duplicate third layer and place them like in picture.
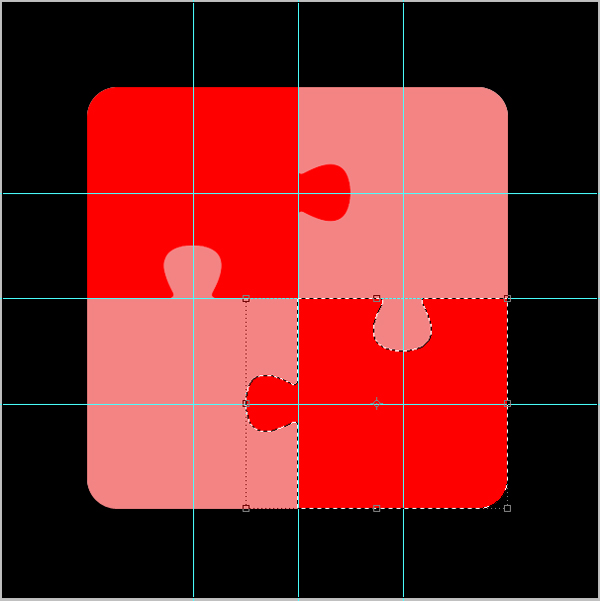
Step 8
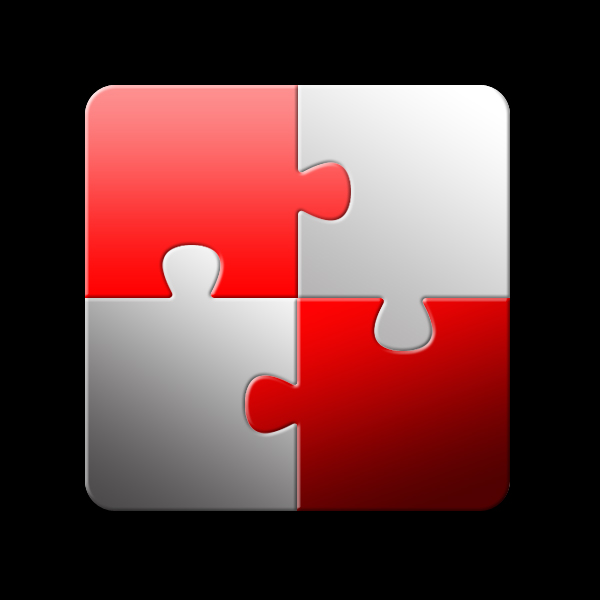
Now merge toghether one second and one third layer.You can see how it looks in the picture below.
Now we have four new layers.
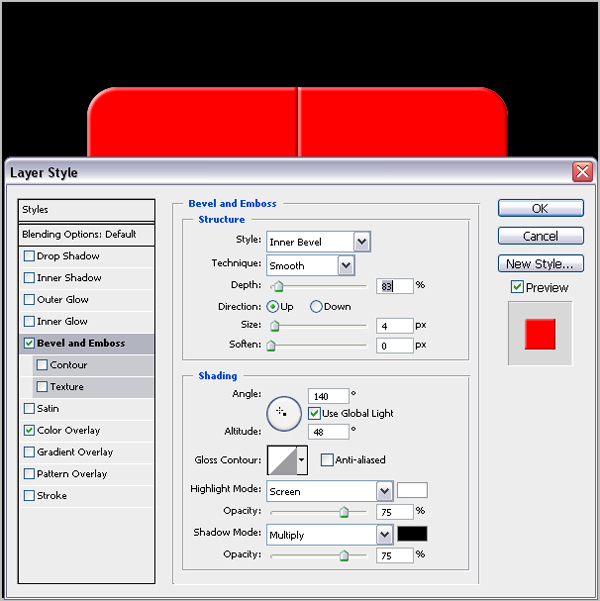
Step 9
For every layer give Bevel and Embos.
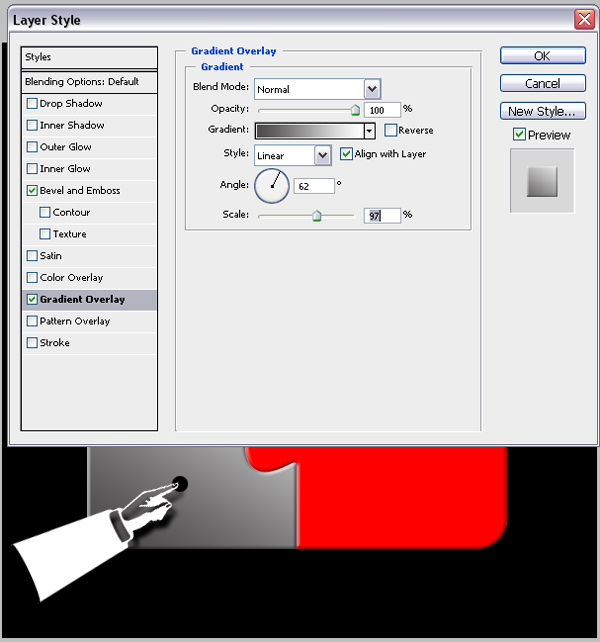
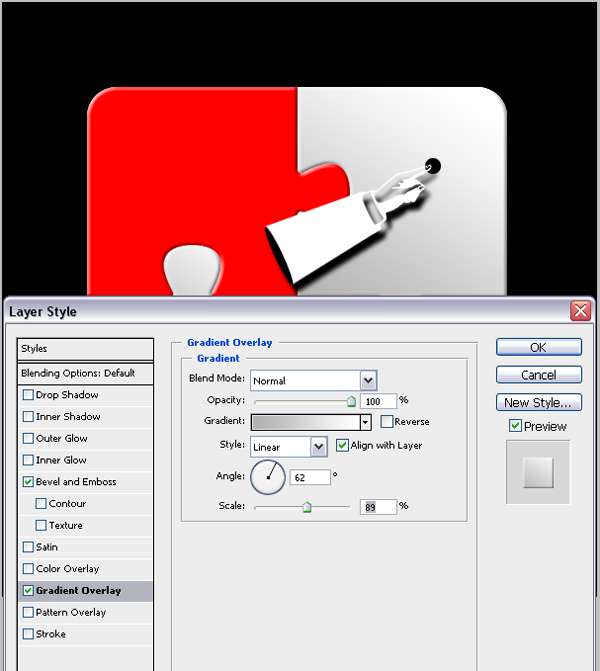
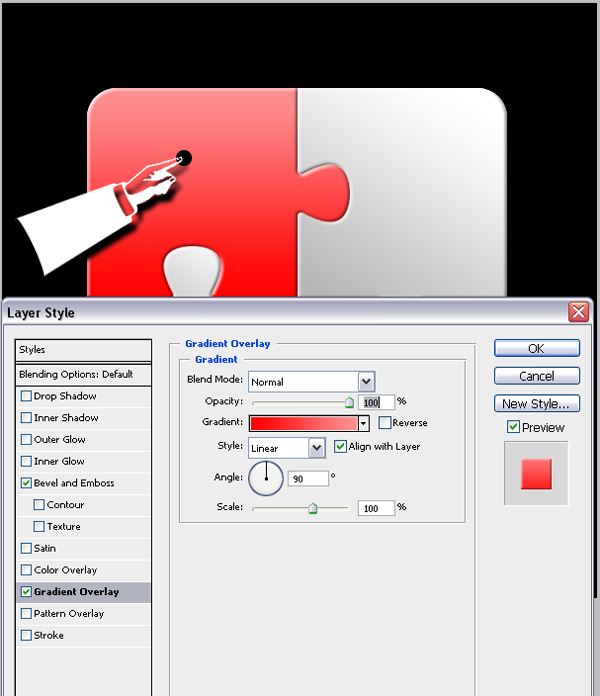
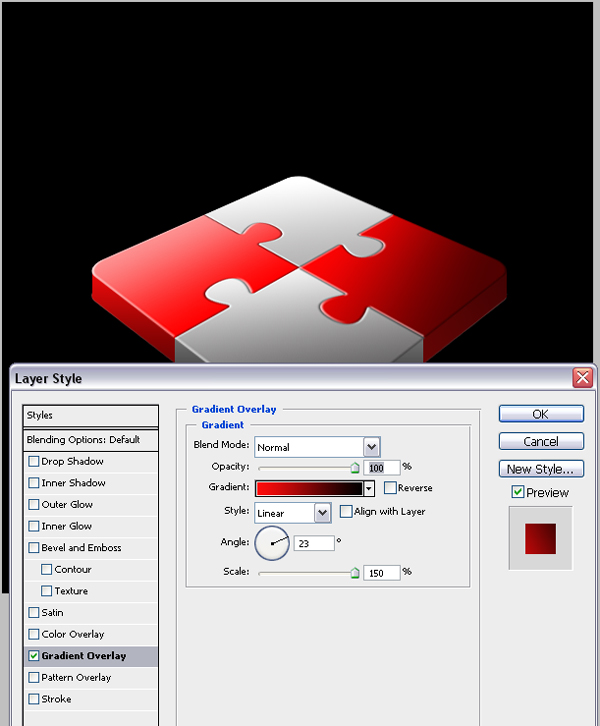
Step 10
Then use Gradient Overlay for next four steps.
Step 11
Step 12
Step 13
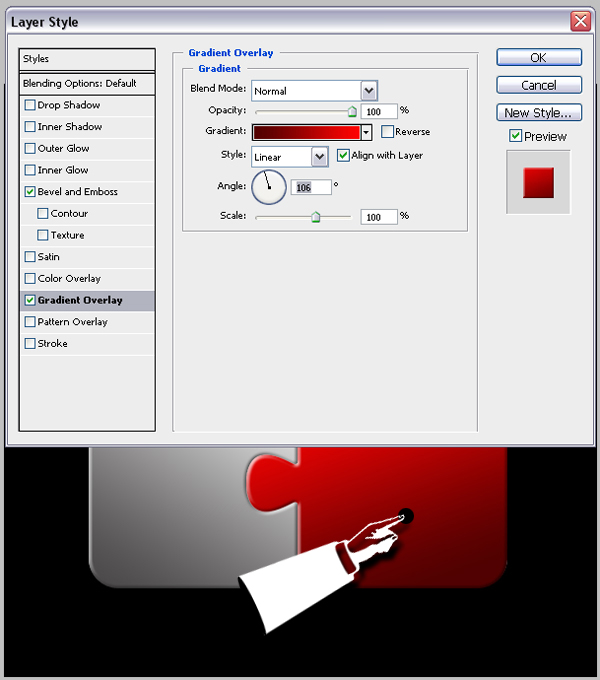
Step 14
Ok. Now we have some nice effects, but we just started.
Step 15
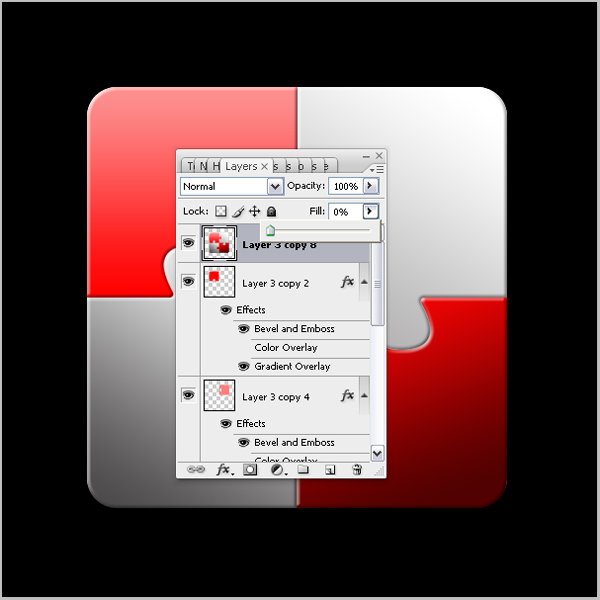
Now select all four layers and duplicate them. Then merge them toghether in one layer (fift layer).
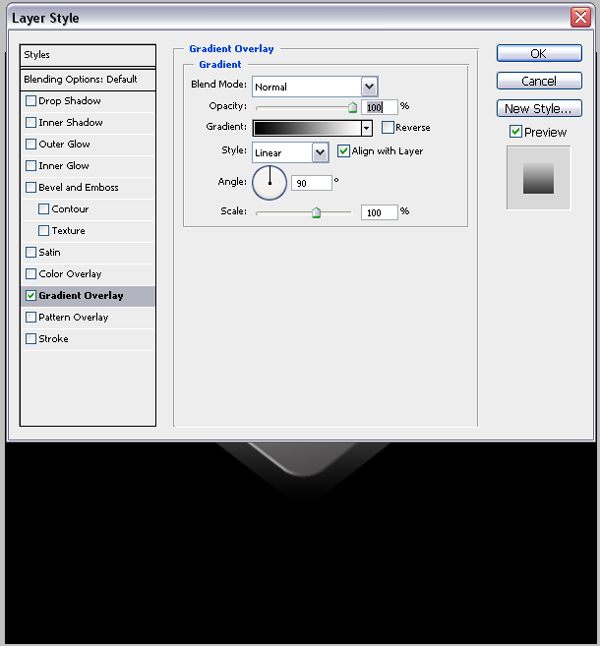
Step 16
To fift layer give Gradient Overlay like in picture. Dont forget to put smaler opacity.

Step 17
Ok. Now select all five layers, merge them in one layer and rotate him like in picture.

Step 18
Then give some free transformation.
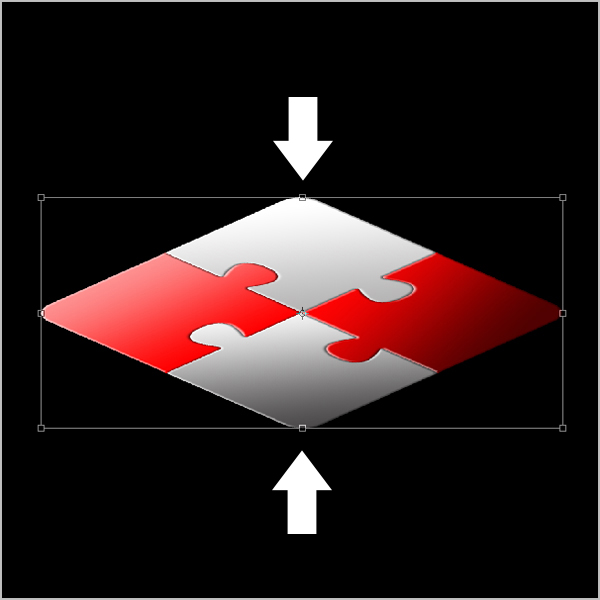
Step 19
And use Perspective Transformation.
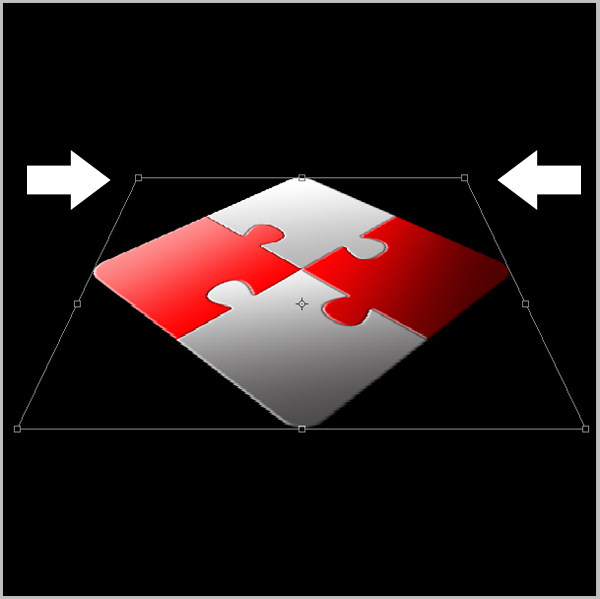
Step 20
Duplicate layer, move him down and color him.

Step 21
Fill part who's missing. Use Rectangular Marquee Tool.

Step 22
Now we have some 3D effect.

Step 23
To duplicated layer give Gradient Overlay.
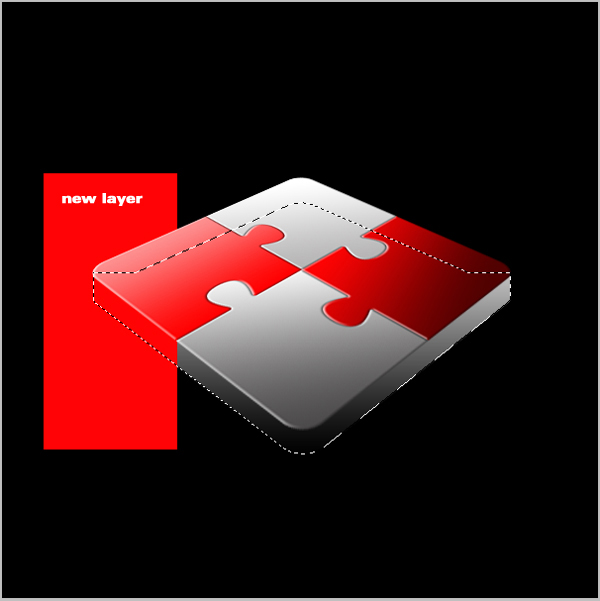
Step 24
Open new layer, color him in red.
Then go back to second layer and give selection.You can see in the picture.
Select again new layer, use inverse selection and delete rest of the layer.
Step 25
This is how it look's.

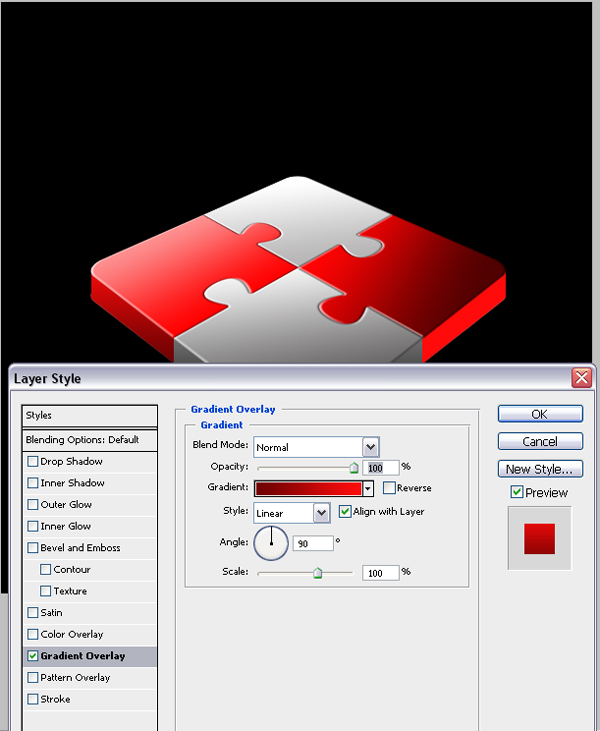
Step 26
Repeat same with another side, and for both new layers give Gradient Overlay like in next two steps.
Step 27
Step 28
When you finish all this, select again all layer, duplicate them and merge them in one layer.
Move him down like in picture and give layer opacity to 20%.

Step 29
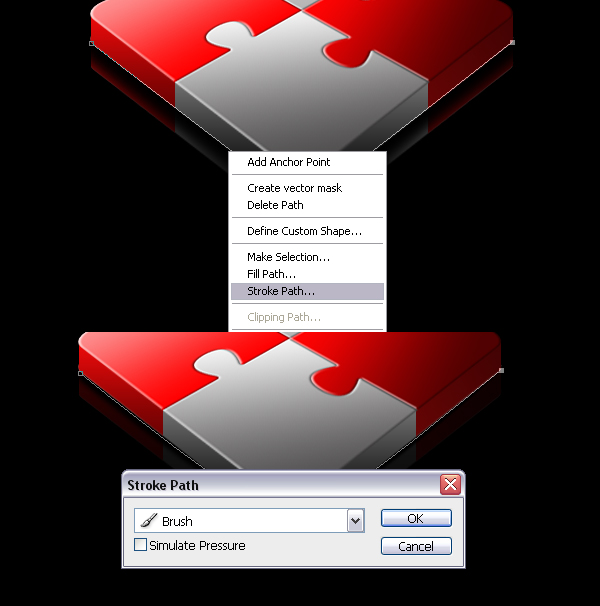
Then use Pen Tool, go across the edge like in picture.
Wit the right click of the mouse select Stroke Path.
Make sure that Stroke Path be set on Brush.
With this we get nice shadow effect.
Step 30
In the end you can play with the background.
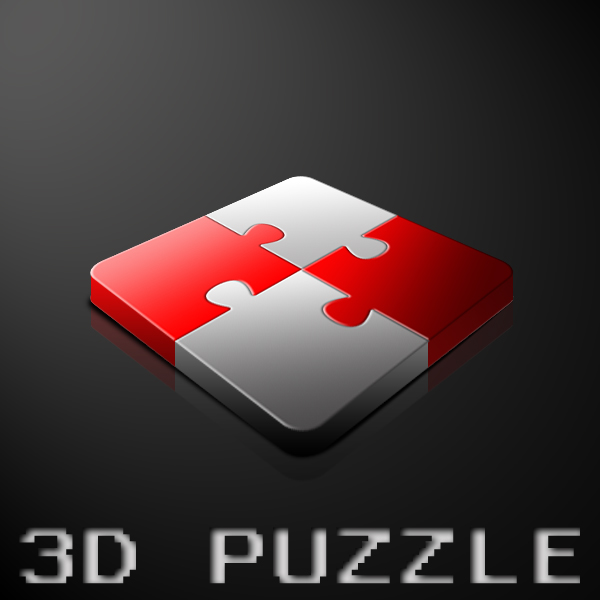
Finish