

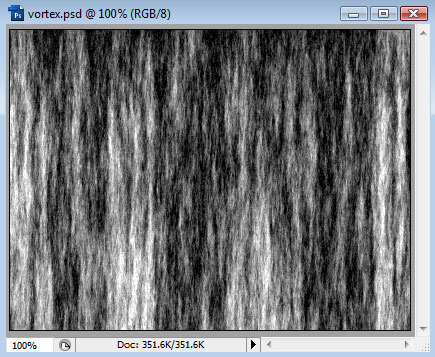
We will start with a blank canvas of 400x300 pixels. Press D to make sure we have the Default colors - black and white, then goto Filter > Render > Fibers. Play with the settings until you get a look you prefer, and then click Ok:
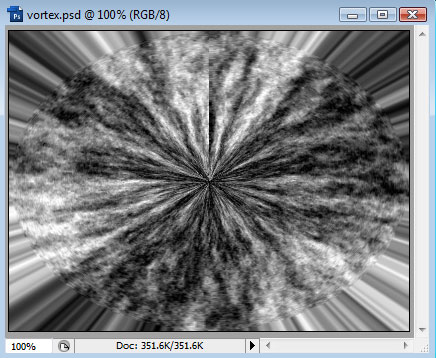
Next, choose Filter > Distort > Polar Coordinates, and choose Rectnagular to Polar:
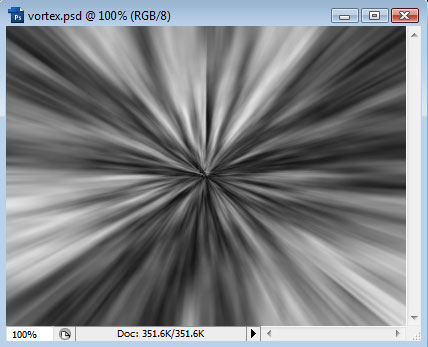
Now we will use the Filter > Blur > Radial Blur, choosing Zoom and Best. We will also slide the Amount up to maximum:
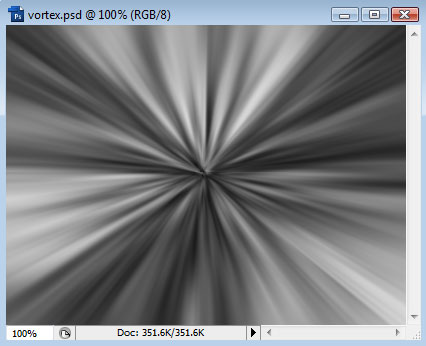
You may want to repeat this filter once or twice - to do so, press Ctrl+F:
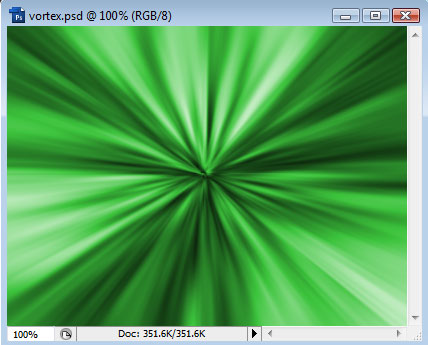
Once we have a Vortex we like the look of, we can add some color by going to Edit > Adjustments > Hue/Saturation. Making sure that the Colorize option is checked, use the sliders to choose a color you want your Vortex to be:
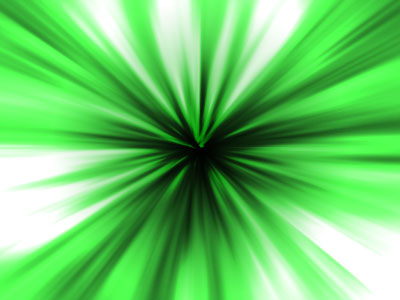
As an added effect, right-click the layer we've been working on and choose Blending Options (if the current Layer is locked, double-click it first to make it a proper layer).
Add a Gradient Overlay to the layer, set the Blend Mode to Overlay and the Style to Radial. We can choose a regular Black/White gradient like this:
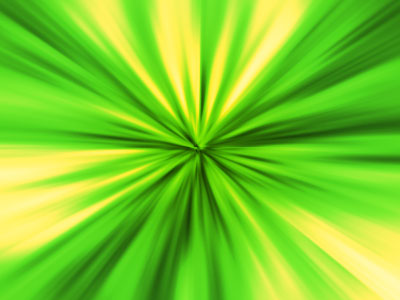
Or go for a more colorful approach, like this:
As with everything in PhotoShop, experiment with the settings to get the best outcome.