


The techniques included in this tutorial are layer styles, gradient fills, clone stamp tools, blur filters and various image adjustment and transformation tools. It's a simple tutorial so have a go!
Ok let's get started!
Step 1
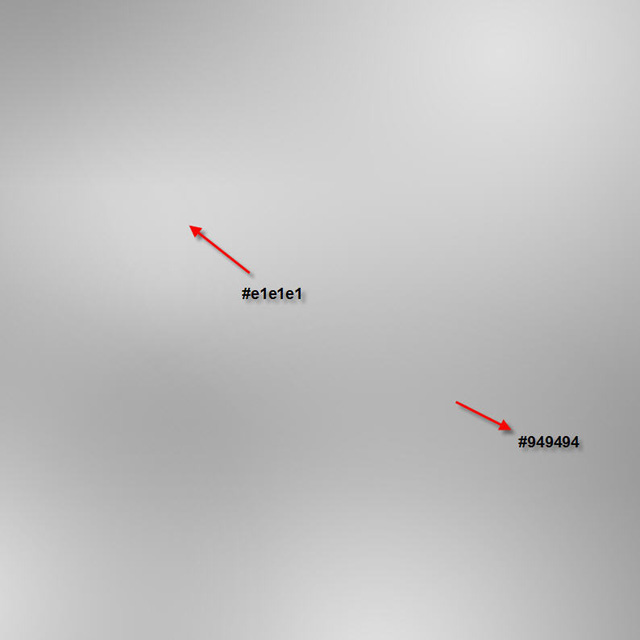
Create a new document sized 800 x 800px. On the background layer, use the Gradient Fill tool to create some irregular lighting as shown below:
Step 2
On the background layer, type some texts onto it (Make sure you choose a bold font as we need to make room for transparency, I used this font from fontspace.com).
Position the text as shown below:

Step 3
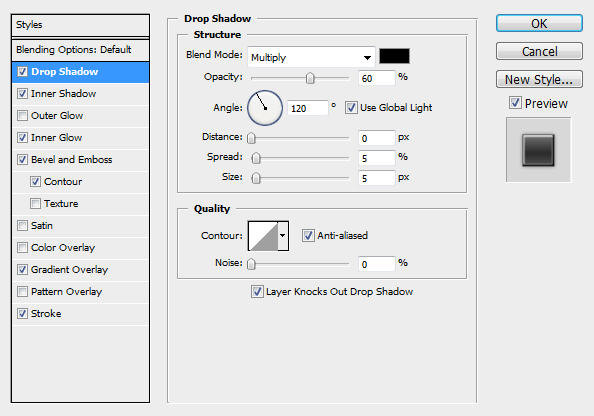
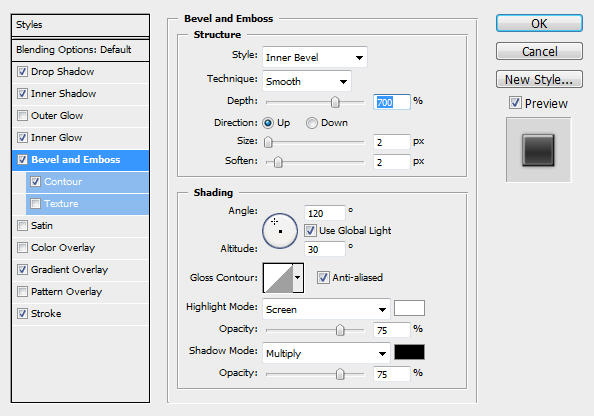
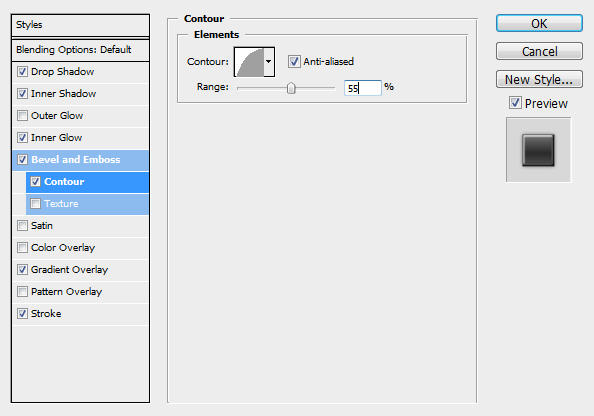
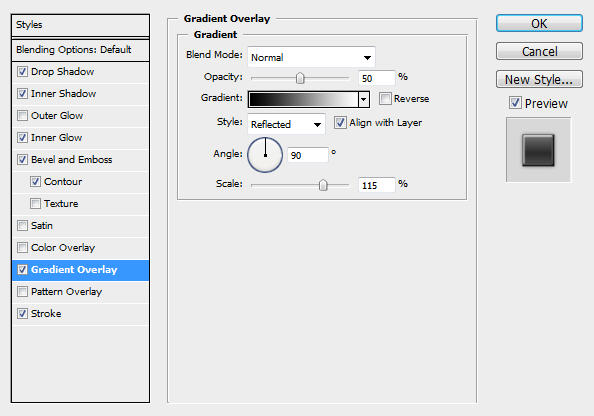
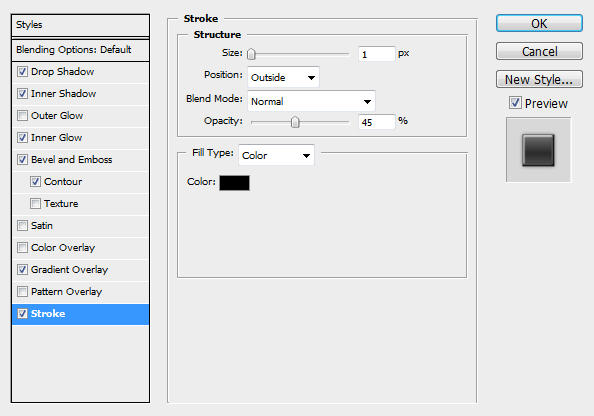
On the text layer, apply the following layer blending options:
Drop Shadow
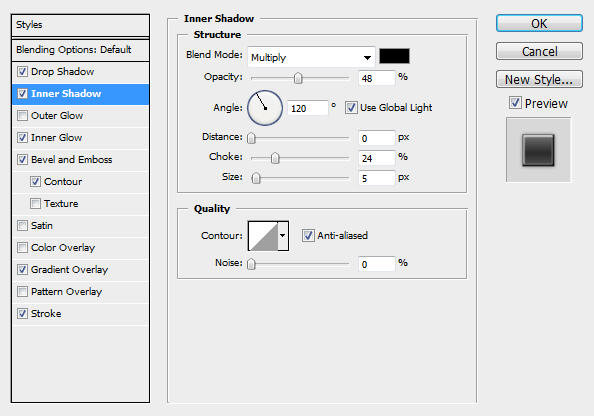
Inner Shadow
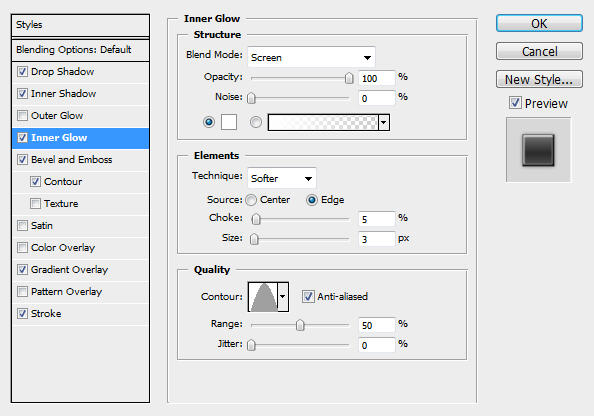
Inner Glow
Bevel and Emboss
Contour
Gradient Overlay
Stroke
The effect so far will look like this:

Step 4
Now we're onto apply some nice cloudy texture onto the text. Download a copy of this image from CG Texture and select a nice portion of it as shown below:
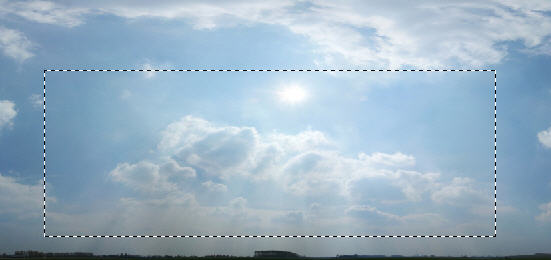
Copy and paste the selected portion onto our text and name this layer as "cloud" .
Use the Eraser Tool (with a big, soft and round brush, set opacity and flow to 60%) to gently erase the outside of the cloud:

Step 5
Still on the "Cloud" layer, use the Clone Stamp Tool (again with a big, soft and round brush setting) and clone the cloud so it covers all of our texts:

Then hit Ctrl + M and apply the following Curve settings:
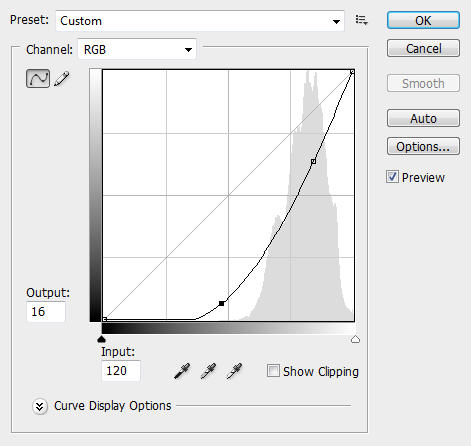
Change the blending mode of this layer to "Overlay" and you will have the following effect:

Step 6
Duplicate the "Cloud" layer once, then apply the following Black and White adjustments:
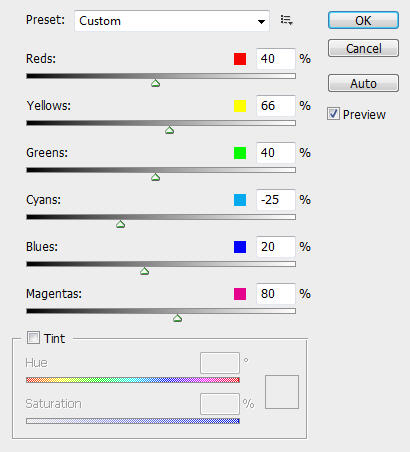
This create some colour depth for the image and you will have the following effect:

Optionally, you can duplicate the "Cloud" layer again and this will add some more colour to the image:

Step 7
Rasterize the text layer and do a multi-select for all the layers created, distort the image until you reach the effect shown below:

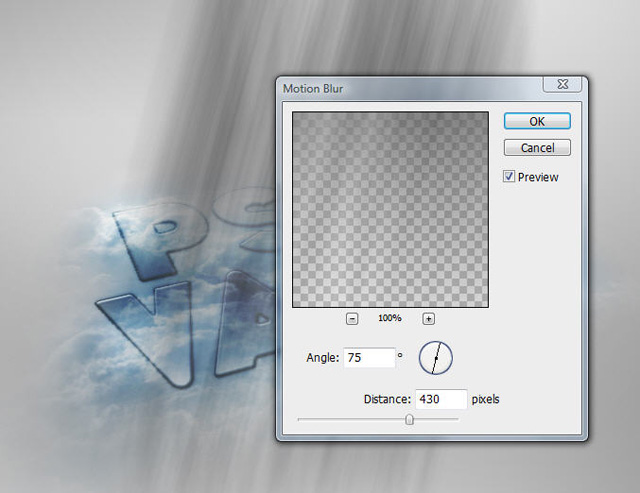
Then we can add some light over the text. To do this, create a new layer called "light" and select a rectangle portion just above the text, fill the selection with White colour and render some fiber:
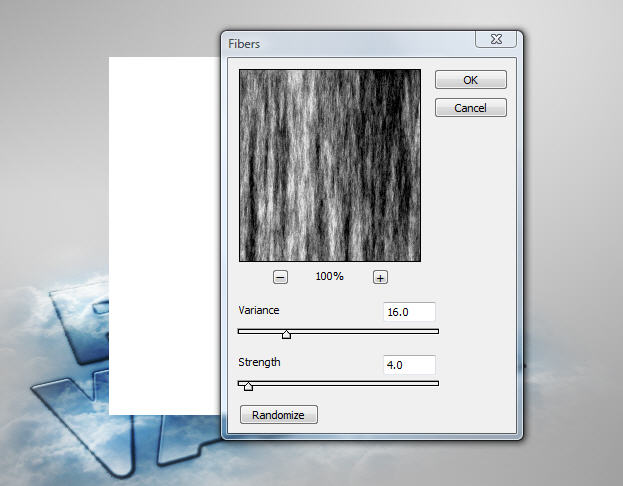
Then de-select the selection, apply the following motion blur settings:
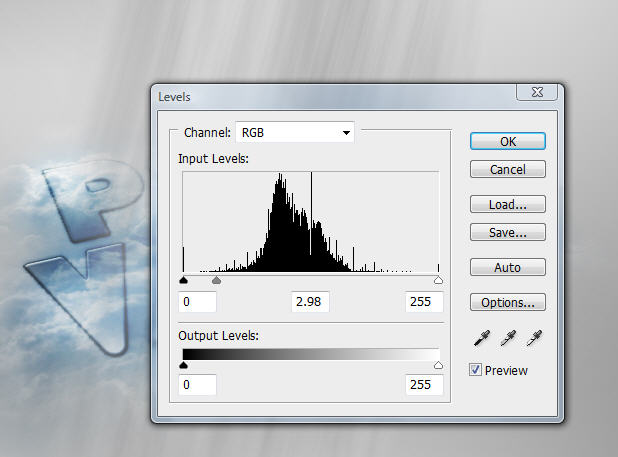
Then hit Ctrl + L and apply the following Levels adjustment settings:
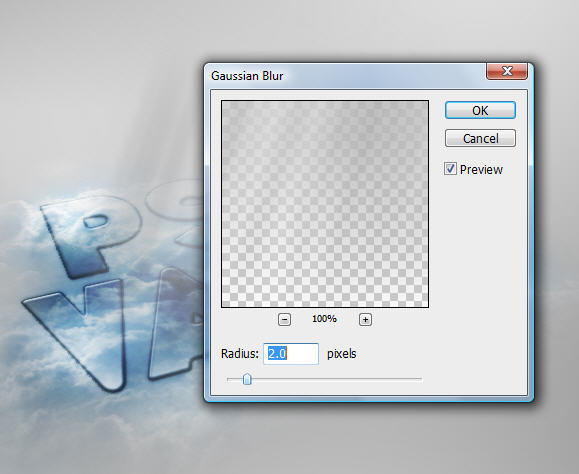
To make the light a bit soft, apply the following gaussian blur settings:
After that, use the Eraser Tool to get rid of the unnecessary bits of the light, and free-transform (or distort, rotate, perspective) it until reaching desired effect:

Ok that's it for this tutorial, the rest is left your own creativity. You can duplicate the cloud layer a few times, or add some extra lighting to the text. Totally up to you.
Here is my final image for this tutorial:

Hope you enjoy it and find it useful and inspirational!
Have a nice day!