As usual I will start with a new document with the following size 760x770 pixels.
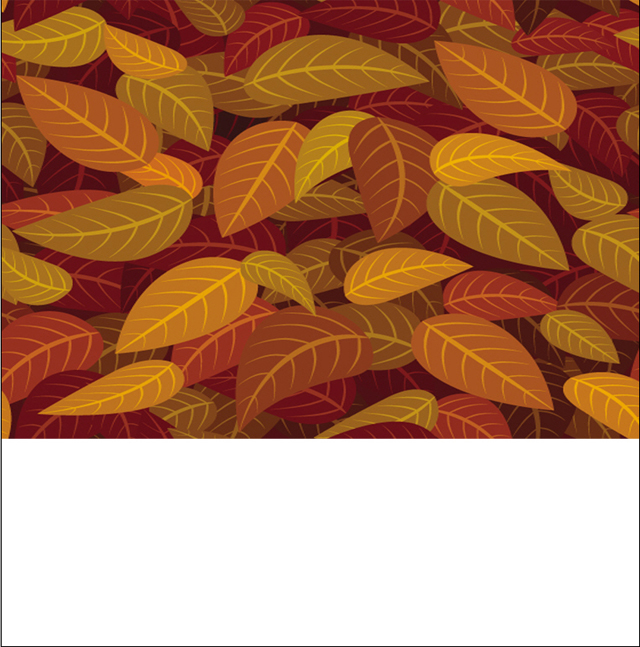
I will place an image with some great leaves:
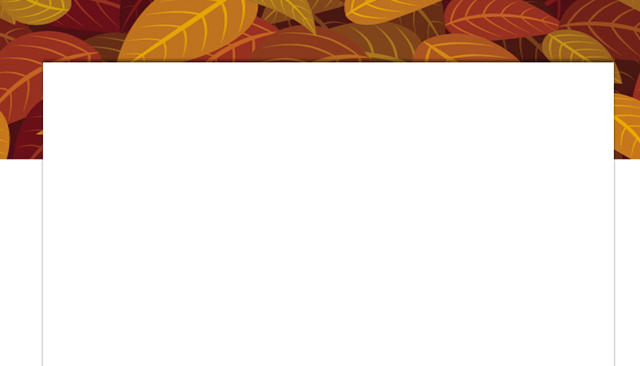
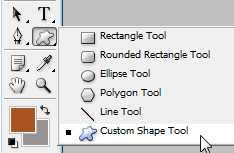
With Rectangle Tool.

I will create a white rectangle and I will place it like in the next image:

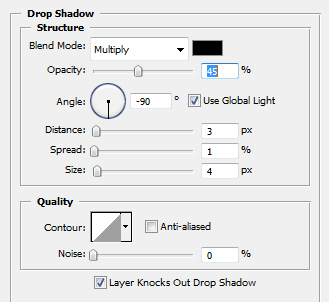
For this white shape I will add some layer styles:
Drop Shadow
And this is my result:
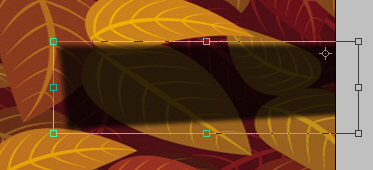
I have selected again Rectangle Tool, and I have created another rectangle.
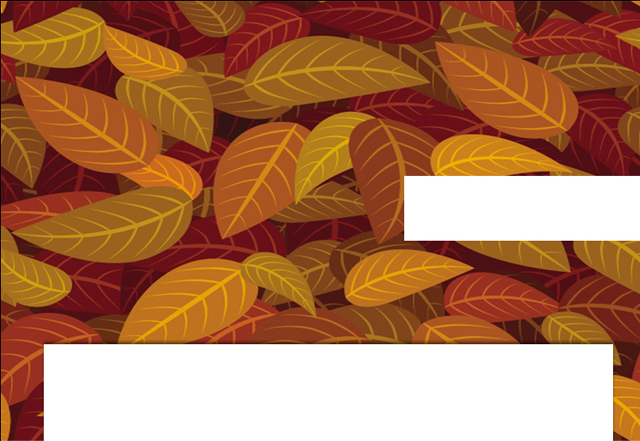
I will duplicate this shape by pressing Ctrl+J. Then I will change the color for this second copy to black.
I will press on Ctrl+T and I will rotate the shape to the left:
The next step is to go to Filter > blur > Gaussian Blur.
Note: Photoshop may ask you if you want to rasterize the shape ( press Yes ).
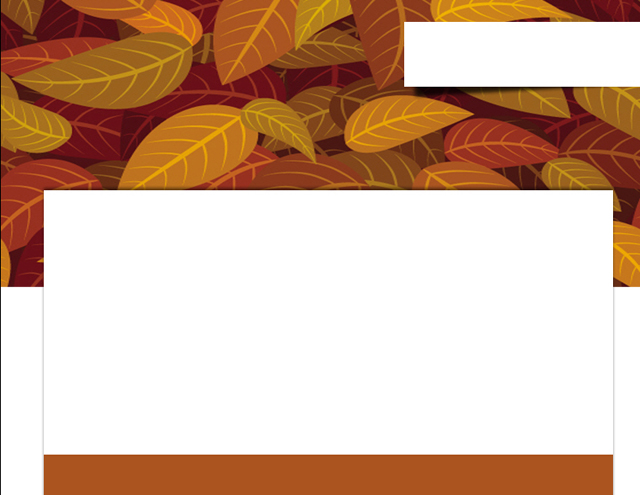
At the end you will have something like that:
And after I turn the visibility to on for the white layer, you will have the following result:

I will create another shape with the same tool Rectangle Tool, and I have used the following color #ae521f .
I will place this shape like in the following image:
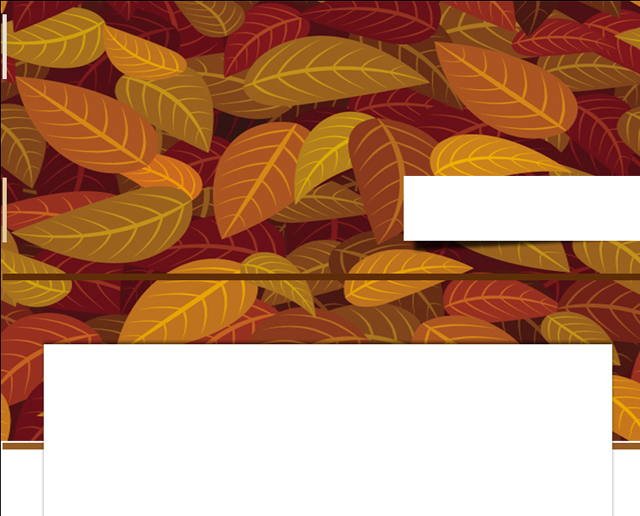
I will grab Line Tool:
And I will create some lines. It is your choice how thin you want the lines.
After that I will select one more time Rectangle Tool and with a white color #ffffff I will create a big rectangle:
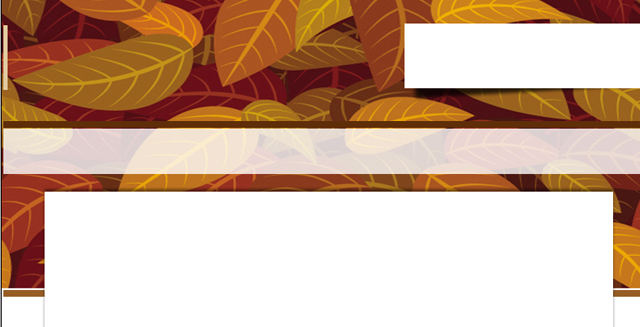
Please note that I have changed the opacity value for this layer to 80%.
I will select Custom Shape Tool
And from the preset custom shapes I will choose the following shape:

I will select the foreground color to #a6c21c then I will place the shape like in the following image:

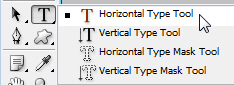
I will select Horizontal Type Tool:
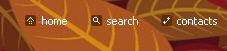
And I will write some text over my layout:

I will add some pixel icons on the right side of the layout. You will find this set of web pixel icons inside this package: Talk-Mania Big-Pack :: Photoshop Designer's Pack.
To see all the brushes included in this package I highly recommend you to download the sample pdf file from here.
The last step is to add some other images from your collection. At the end here is my final result. I hope you like it.