


Step 1
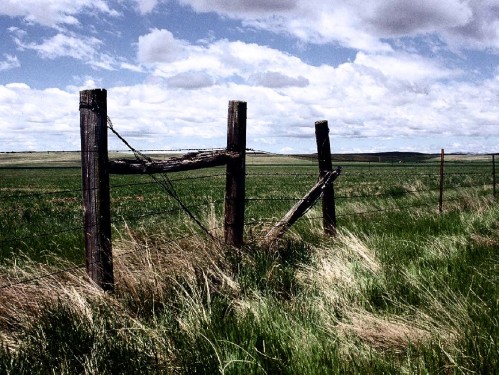
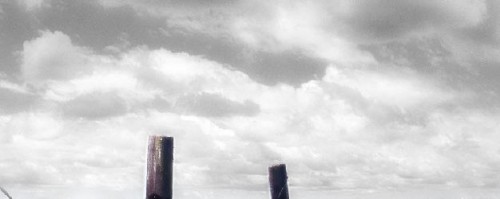
Download a copy of this image and load it into Photoshop. Duplicate the background layer Three Times as shown below:
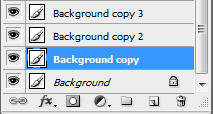
Change the layer blending option for "Background copy", "Background copy 2″, "Background copy 3″ accordingly:
"Background copy" - Overlay
"Background copy" - Hard Light
"Background copy" - Color
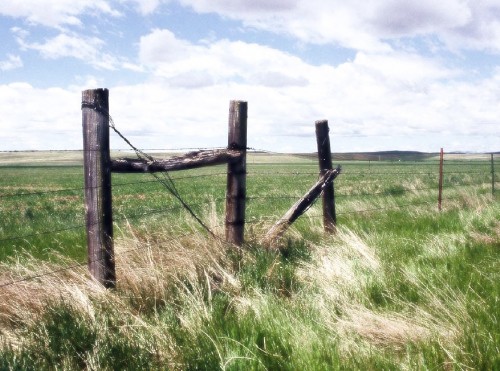
And you will have the following image:
Step 2
Duplicate the Background once more and drag the duplicated layer on top of all other previous layers, apply the following Surfuce Blur settings to it:
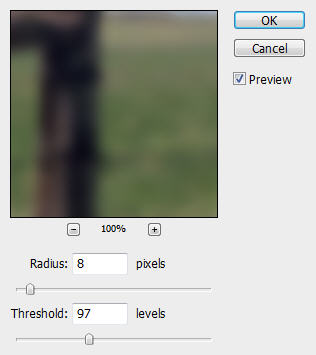
Change the layer blending of this layer to "Screen" - this will add a glowing effect to the image.
Step 3
Now we will seperate the sky bit from rest of the image so that we could edit it without affecting other part of the image.
To do this, hide all previously duplicate layers and go back to the background layer, use the Pen Tool to create a path around the sky portion of the image:
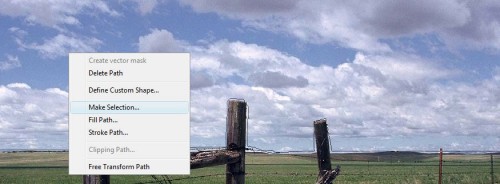
Then right-click and choose Make Selection, choose 0 px feather and this will transform the path into a selection:

Then hit Ctrl + J to make a layer via copy, name it as "Sky" and Drag it above all other layers. (Optional: you can use the Clone Stamp Tool to refine the edges of the sky so it fits better with the landscape.)
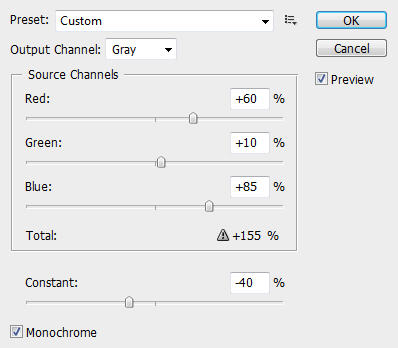
Apply the following Channel Mixer image adjustment to the "Sky" layer:
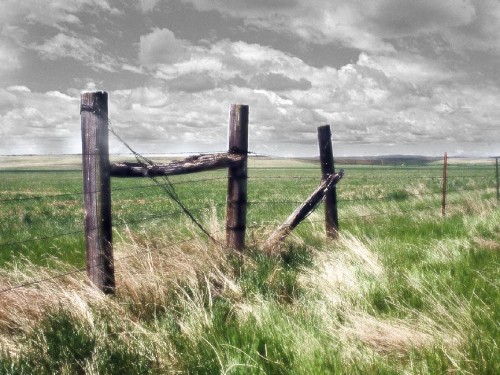
And the effect so far will look like this:
Step 4
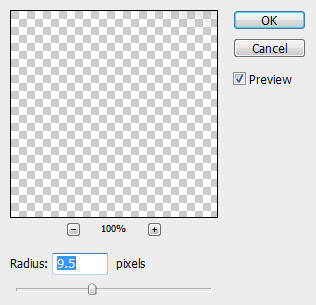
Now duplicate the "Sky" layer once, apply the following Gaussian Blur settings to the duplicate layer:
Change the layer blending option to "Overlay" and this will add some extra softness to the cloud:
Duplicate the "Sky" layer once more and drag this dupcliate layer on top of all other layers, load the selection of this layer by holding down Ctrl key + Left-click the thumbnail of this layer within the layer palette, fill it with colour shown below:
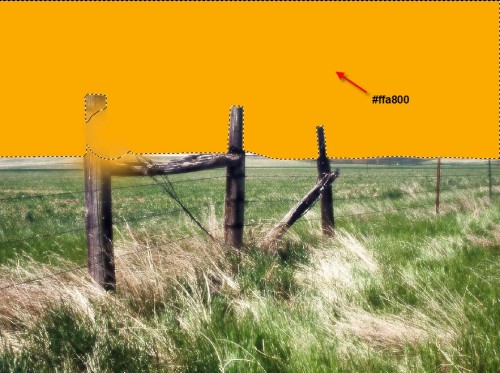
Change the layer blending mode to "color" and you will have the following effect:
Step 5
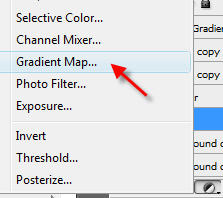
Now we add some colour for the grass and the landscape as well. To do this, create a Gradient Map on top of all layers:
and apply the following settings:
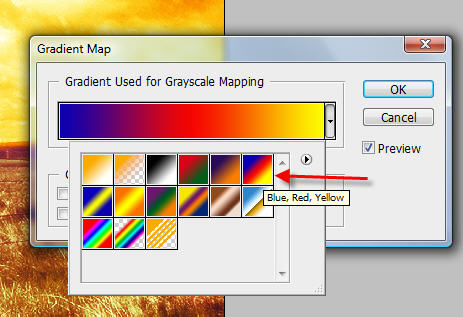
Change the layer blending mode of this adjustment layer to "Soft Light" and opacity to 80%. And you will have the following effect:
Step 6
If you would like to add some more lighting and reduce the amount of the brightness of the sky a bit, you can go back to the origianl "Sky" layer, use the Eraser Tool with a big round brush and 0% hardness, erase to the parts you want:
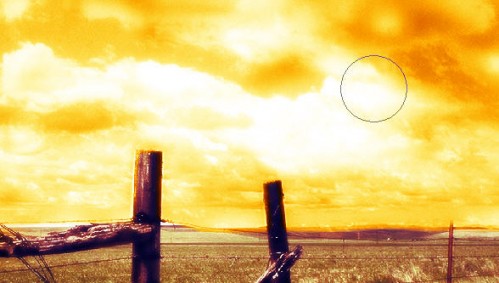
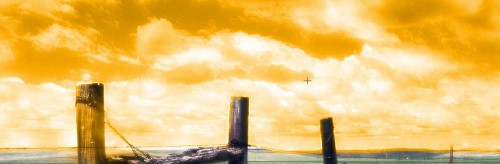
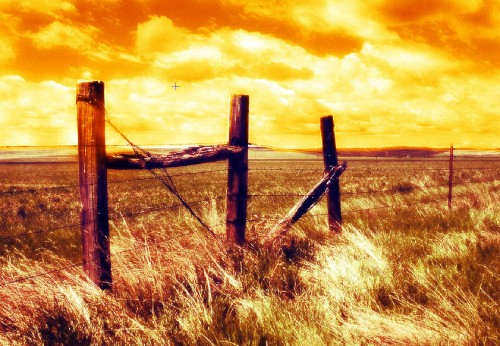
Here is the effect so far:
Ok that's it for this tutorial! The rest is again left upon your own creativity :)
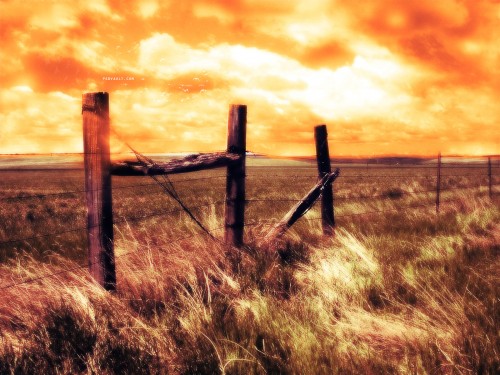
Below is my final image for this tutorial: (Click to Enlarge)
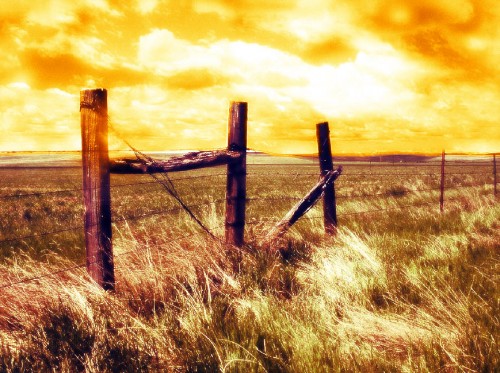
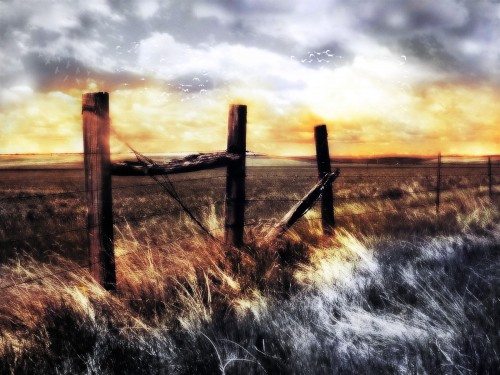
An alternative version:
Cheers and have a nice day!