

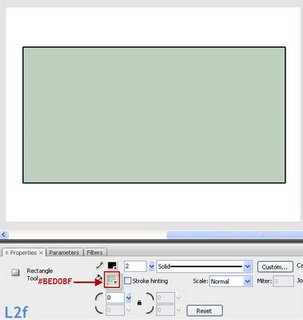
Step 1. Create a Default Flash document e.g. width 550, height 400. Using the rectangle tool (R) to draw a rectangle, Stroke Height is 2 and the Fill Colour is #BED0BF.
Step 2. Select the rectangle you just created along with the border and convert it into a Movie Clip Symbol.
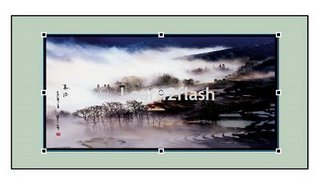
Step 3. Ctrl+R and import a picture which you like to the stage. Right-click on the green rectangle and click on Arrange -- Send to Back.
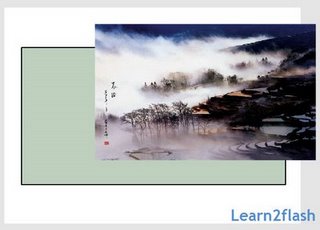
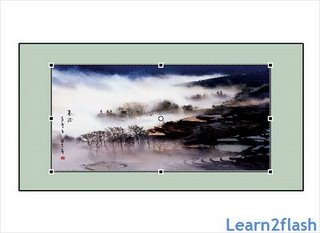
Step 4. Using the Free Transform tool, adjust the size of your picture to an appropriate size and align it to the center of the green rectangle.
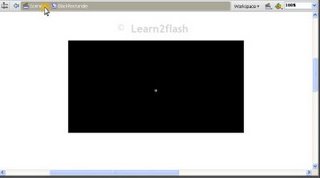
Step 5. Go to Insert New Symbol (Ctrl+F8) and when you come into a blank stage, draw a black rectangle using the Rectangle Tool with Stroke: None, Fill: Black. Now exit the symbol and back onto Scene 1 by clicking on the tab as shown in the image below.
Step 6. Drag the black rectangle from the library and onto the stage. Right-Click on the image -- Arrange -- Send Backward.

Step 7. Using Free Transform (Q), adjust the width and height of the black rectangle until it looks like a border around your picture. (P.S Turn Snap to Objects off)
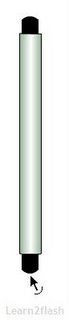
Step 8. Create a new Movie Clip Symbol and name it "Scroll Bar". Using the Rectangle Tool (R), draw a rectangle that is about the size of the green rectangle (see the above picture).
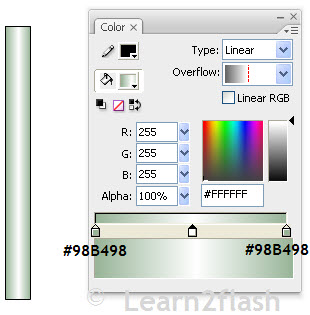
Step 9. Use the Rectangle tool again and draw a black rectangle.
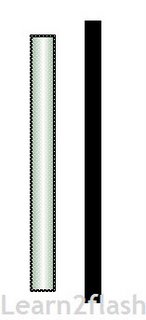
Step 10. Select (V) the whole green bar and using the arrow keys, move the green bar over the top of the black rectangle.
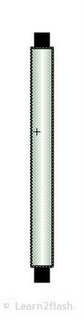
Step 11. Using the selection tool (V), make the two ends of the black rectangle into curves.
Step 12. Exit the Symbol and onto your Scene 1, drag the scroll bar from your library and onto the stage. Copy and Paste the Scroll bar and move them to the left hand side of the picture.

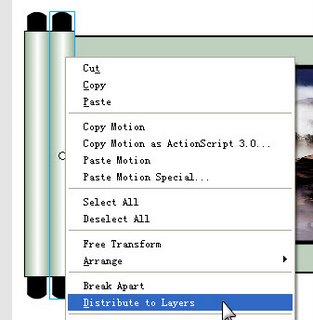
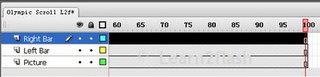
Step 13. Right-click on your scroll bars and Distribute to Layers.
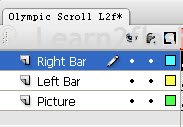
Step 14. You will end up with 3 layers, the bar on the right is on the top layer, the bar on the left is on the 2nd layer and the picture is on the bottom layer.
Step 15. Create a New Movie Clip Symbol called "White Square". Using the Rectangle Tool (R), draw a rectangle that is enough to cover the picture on the bottom layer, Stroke: None, Colour: White.
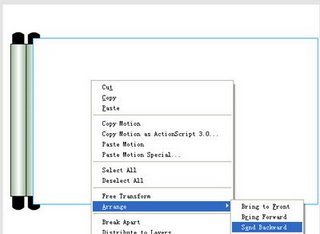
Step 16. Exit and click on the Layer "Right bar". Drag the white square symbol from the library and onto the stage covering the bottom picture. Right click on the white square, Arrange -- Send Backward.
Step 17. Press down Shift and click on the Right bar and the white square. While the two are selected, press Ctrl+G to group them together.

Step 18. Go to Frame 100 and press F5 to all the three layers to create new frames.
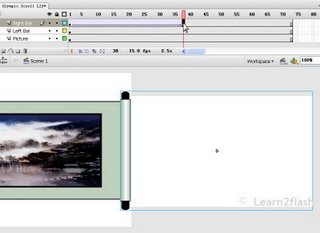
Step 19. Select the top layer (Right Bar) and go back to frame 50 and press F6 to create a Key Frame. Still on frame 50, move the right bar and the white square which you have just grouped to the right until the picture on the bottom layer shows fully. Right click anywhere between Frame 1~50 and select Motion Tween.
You have now completed the wanna be Olympic Scroll.
The Final Effect: