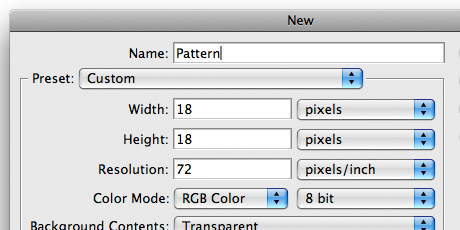
Step 1: Create a new Photoshop document 18 pixels wide by 18 pixels high at 72 pixels/inch. Make sure to set the background contents to "Transparent".
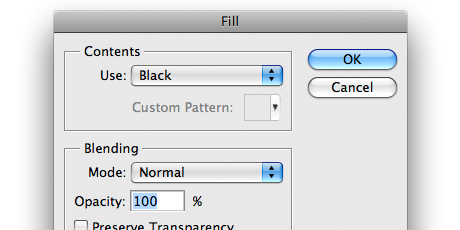
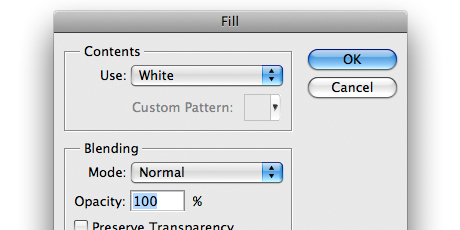
Step 2: Fill Layer 1 of the new document with solid black. Edit > Fill.
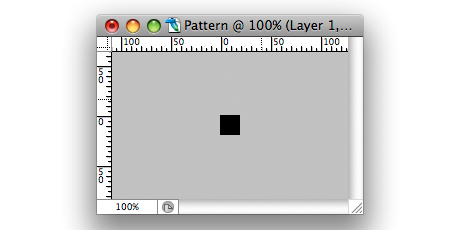
Step 3: Select the Move Tool (M) and hit the left arrow on your keyboard seven times and then hit the up arrow on your keyboard seven times.
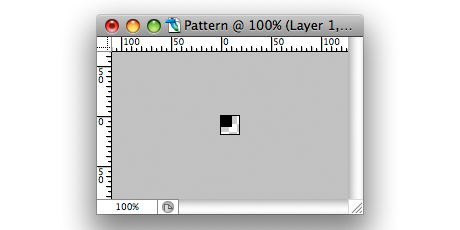
Step 4: Create a new layer above Layer 1 (Layer > New Layer) and fill it with solid white. Edit > Fill.
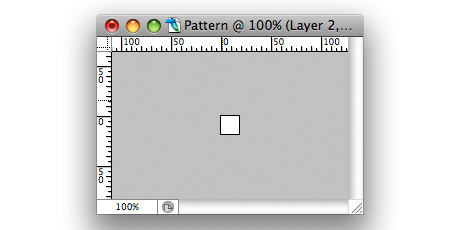
Step 5: Select the Move Tool (M) again and use your keyboard to move the solid white fill left 7 pixels and up 7 pixels.
Step 6: Select the entire image. Select > All.
Step 7: Crop the image to remove the excess areas outside of the artboard. Image > Crop. You now have two 11 pixel by 11 pixel squares to play with.
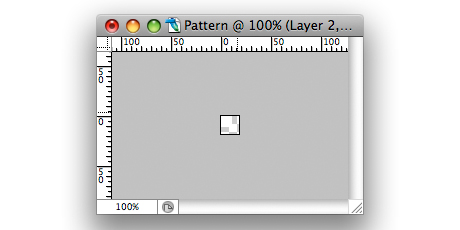
Step 8: Select the Move Tool (M) one final time, and nudge the white square 2 pixels to the right and 2 pixels down.
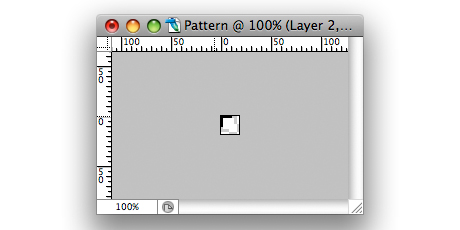
Step 9: Set the opacity of the white square layer (Layer 2) to 14%.
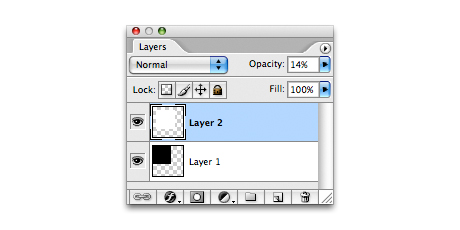
Step 10: Set the opacity of the black square layer (Layer 1) to 60%.

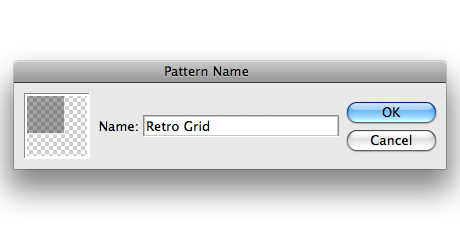
Step 11: Define your new pattern. Edit > Define Pattern.
Step 12: Close the pattern document.
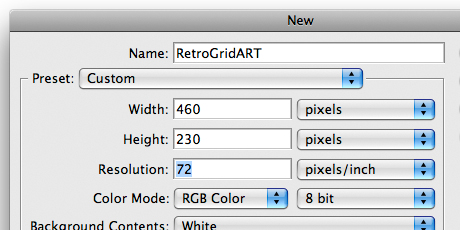
Step 13: Create another new Photoshop document.
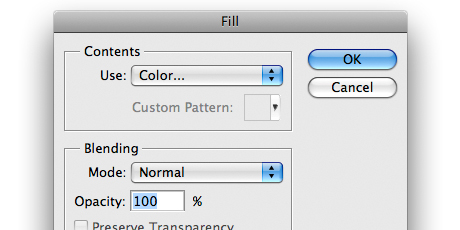
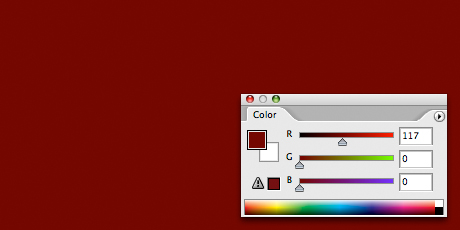
Step 14: Fill the background layer of your new document with medium red (R 117, G 0, B 0). Edit > Fill.
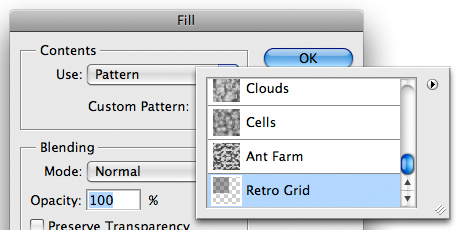
Step 15: Create a new layer to hold your pattern. Layer > New Layer.
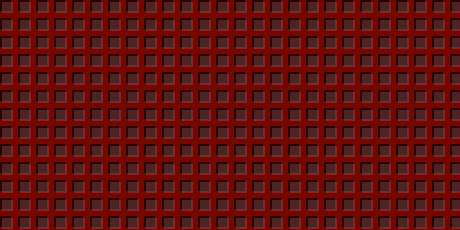
Step 16: File the new layer with your grid pattern. Edit > Fill.
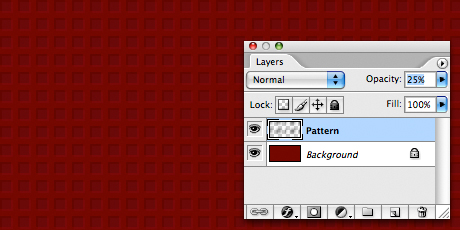
Step 17: Set the opacity of the pattern layer to 25%.
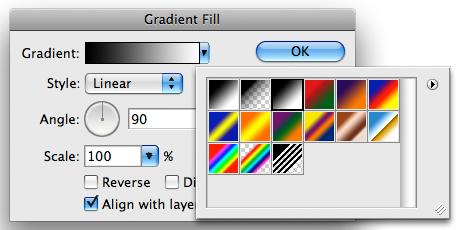
Step 18: Add a gradient fill layer above the pattern. Layer > New Fill Layer > Gradient. Choose the black to white gradient fill (usually third one from the left).

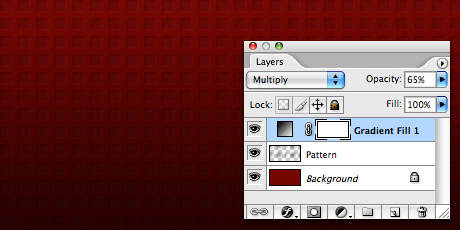
Step 19: Finally, set the blending mode of the gradient fill layer to "Multiply" and the opacity to 65%.

Extra: Play around with the Transform tools and Distort filters to give your pattern some perspective.