

Step 1
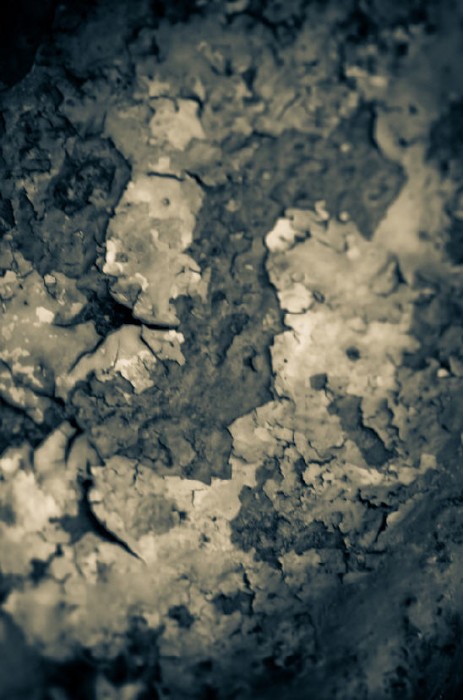
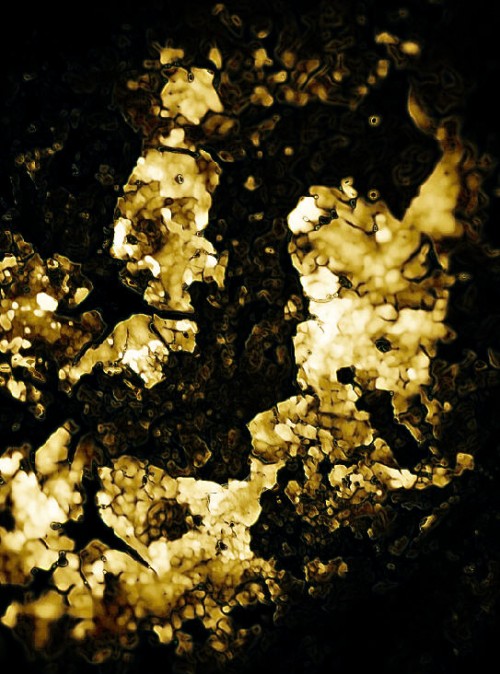
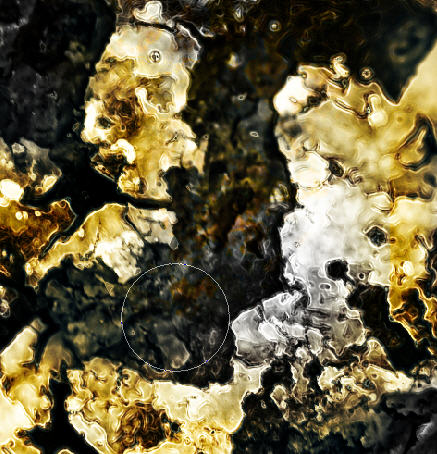
Download a copy of this grungy image from stockvault.net and load it into Photoshop. We will use it as the background of this poster.
Rotate the canvas by 90 degree CW by going into Image > Rotate Canvas > 90 degree CW:
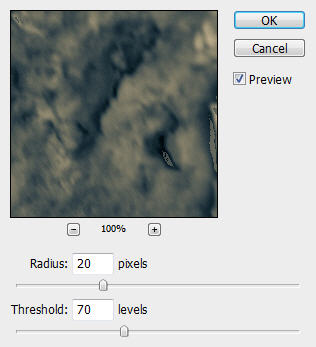
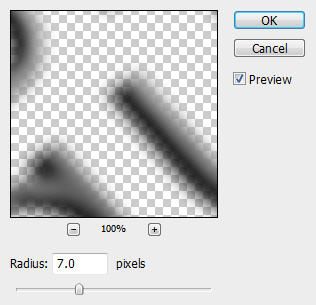
We can add a bit of noise on the background image and make it look more grungy. To do this, duplicate the background layer and go to Filter > Noise > Dust & Scratches and apply the following settings:
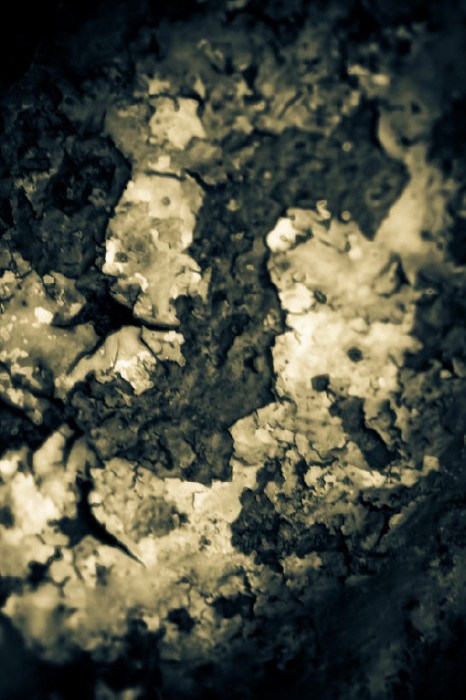
Change the layer blending option to "Overlay" and you will have the following effect:
Step 2
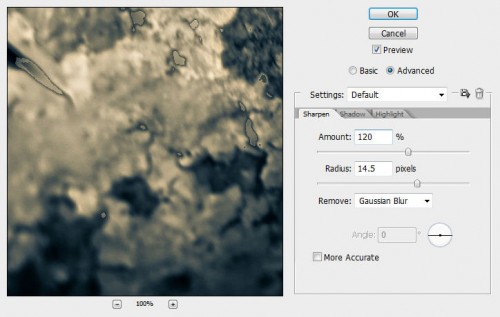
Duplicate the "Background copy" layer once, go to Filter > Sharpen > Smart Sharpen and apply the following settings:
Keep the layer blending mode as "overlay" and you will have the following effect:
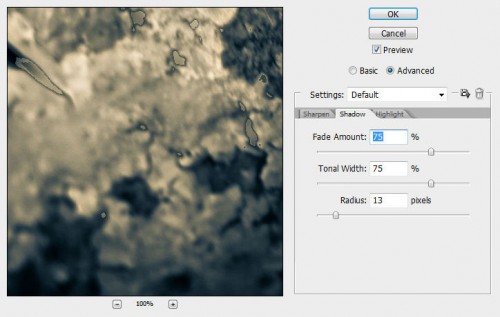
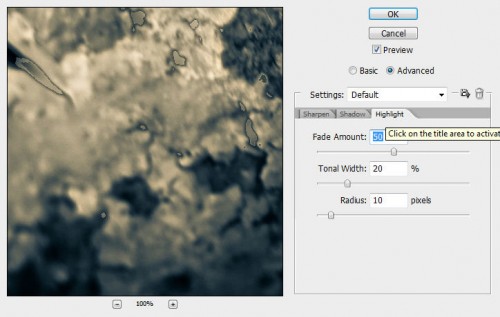
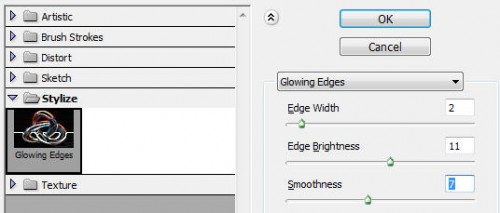
Step 3
Duplicate the "Background copy 2″ layer once and go to Filter > Stylize > Glowing edge and apply the following settings:
Keep the layer blending option as "overlay" and you will see the following effect:
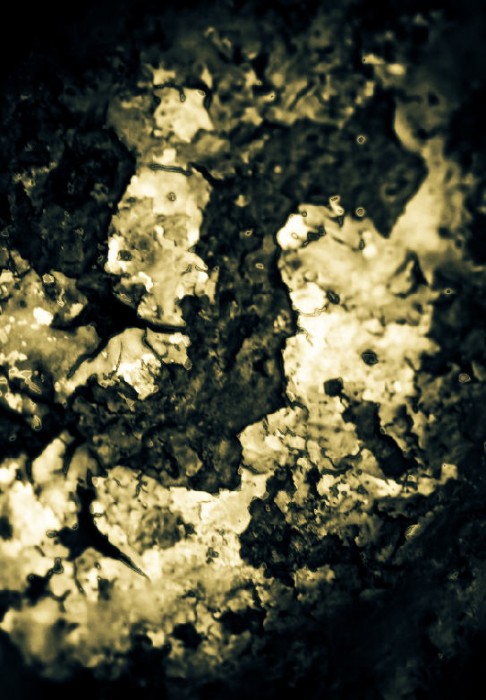
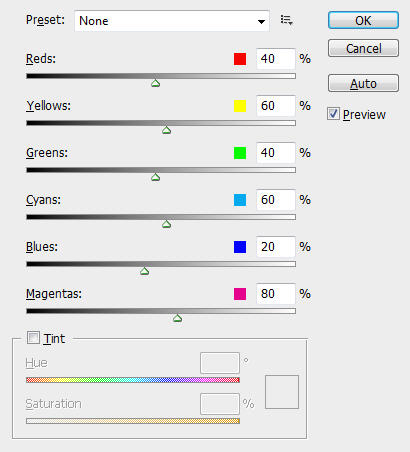
Then hit Ctrl + Shift + Alt + B and bring up the Black and White adjustment Tool, apply the following settings:
And you will have the following effect:
Step 4
Duplicate the "Background Copy 3″ layer once, change the blending option of the duplicated layer to "Screen" and you have the following effect:
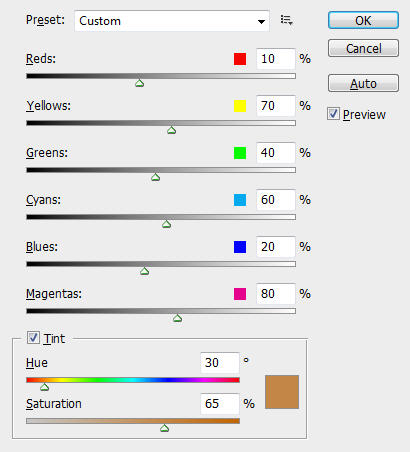
To create a bit of colour depth, we apply the Black and White adjustments to this layer (Ctrl + Alt + Shift + B) with the following settings:
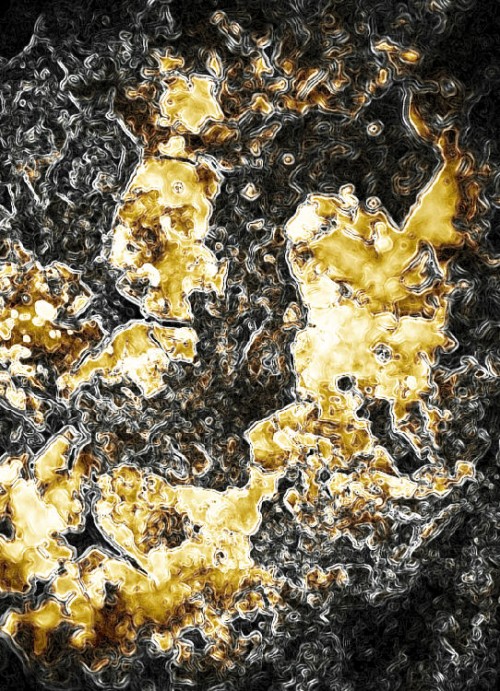
Step 5
Still on the previous layer, grab the Eraser Tool with a big soft round brush, erase the area where covering the yellow/golden part:
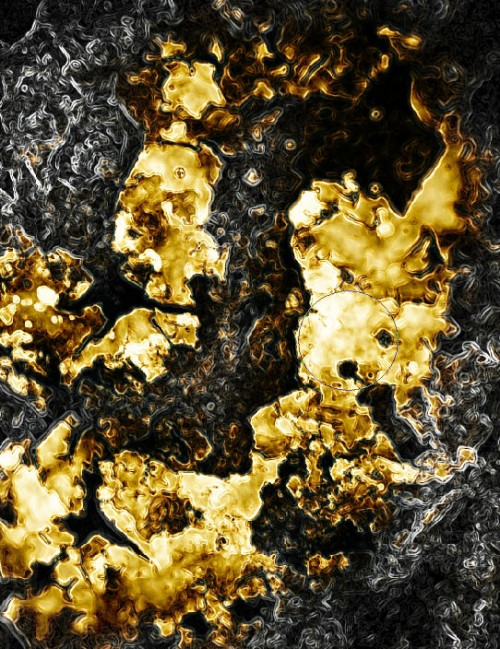
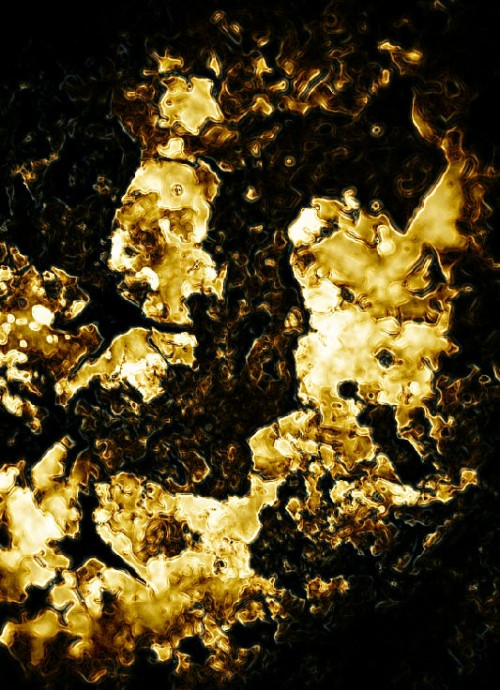
Change the layer blending option to "Color" and you will have the following effect:
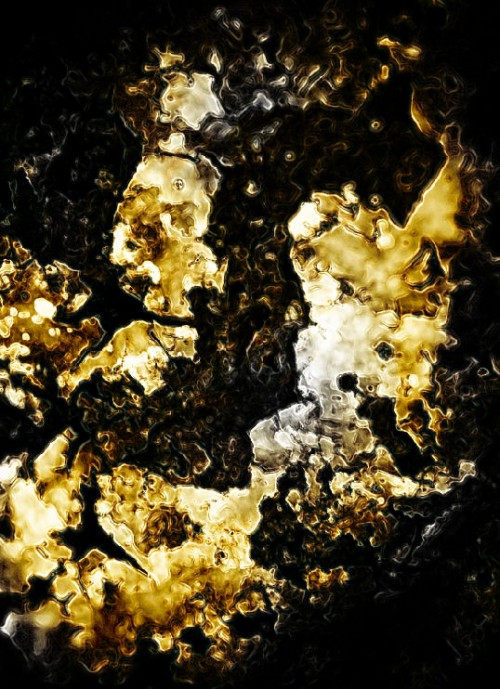
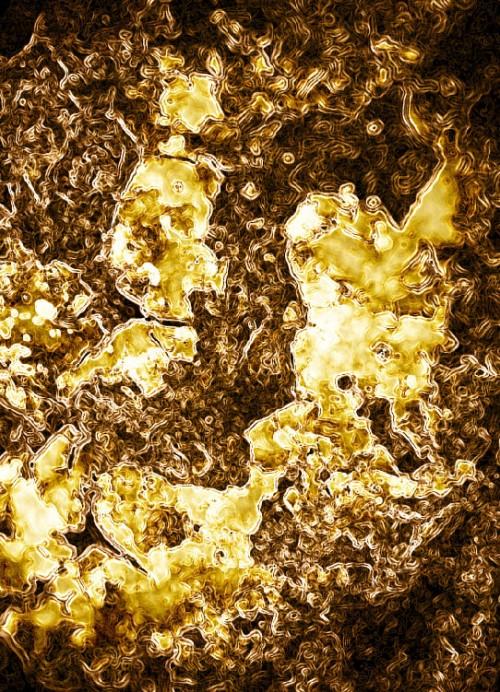
Go back to the "Background copy 3″ layer, again use the Eraser Tool with a big soft brush to erase the centre portion of the image:
Step 6
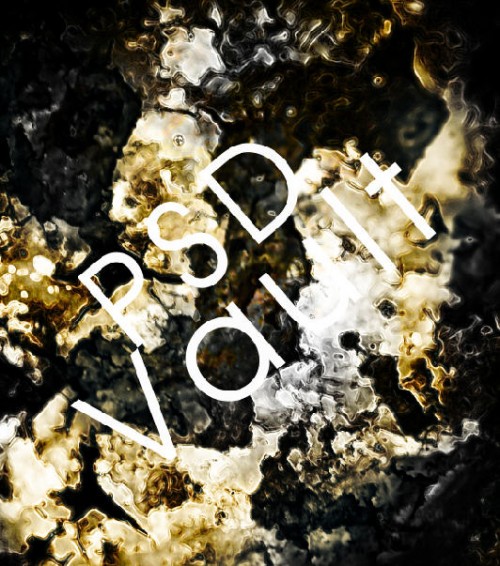
Now let's add some text onto the background texture. Download a copy of this font and type some text onto the canvas:
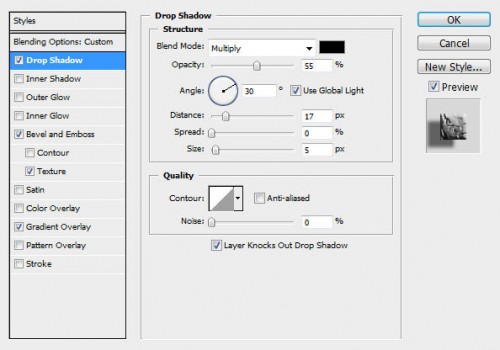
When you're happy with the text, rasterize it and change its layer blending mode to "Hard Light". Apply the following layer blending options:
Drop Shadow:
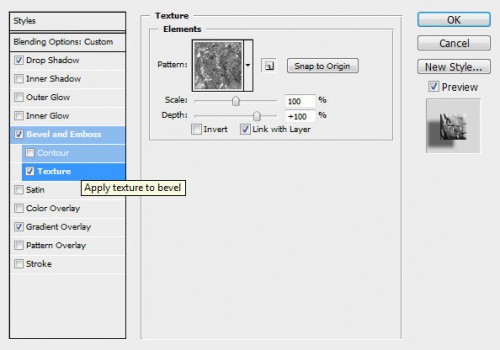
Bevel and Emboss:
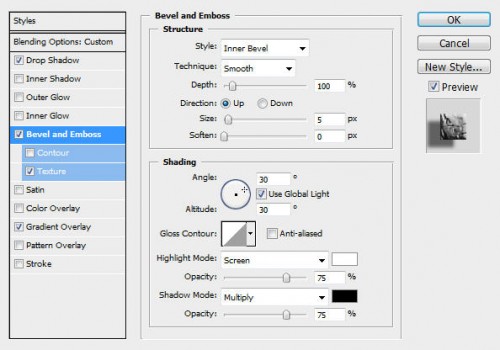
Texture
Gradient Overlay:
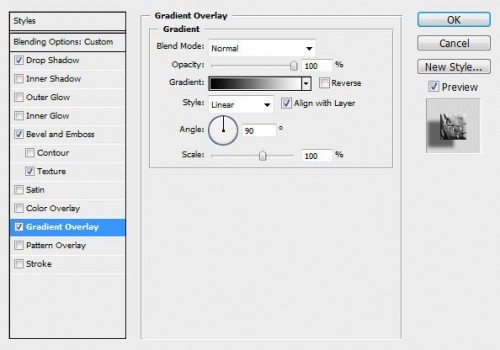
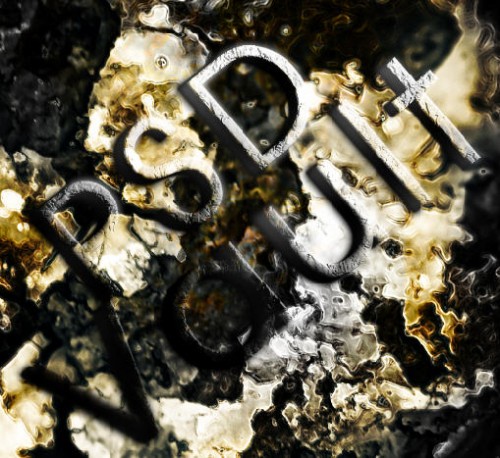
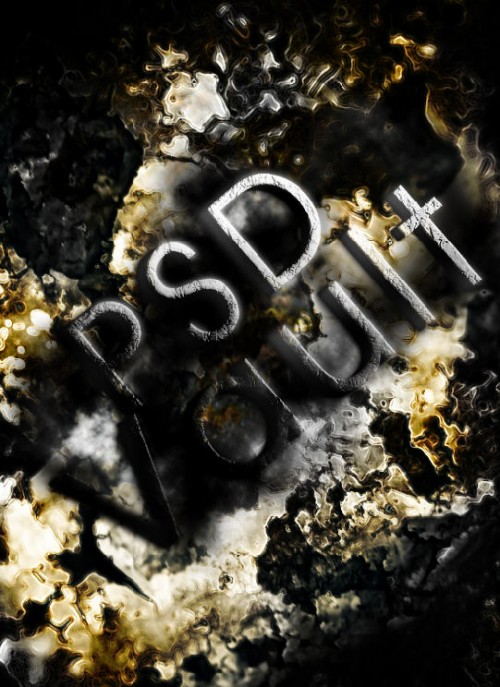
And you will have the following effect:
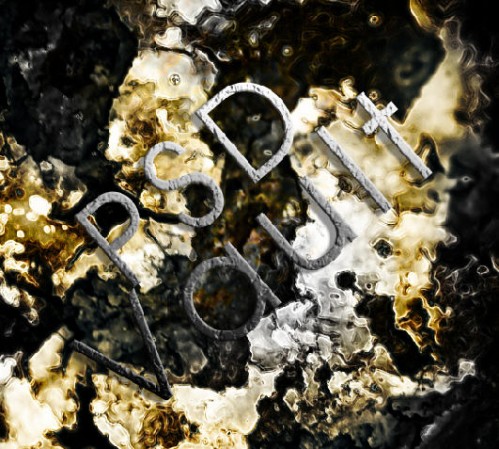
Duplicate the text layer 7-8 times, keep the blending mode of each layer as "hard light", and you will have a deeper text effect as a result:
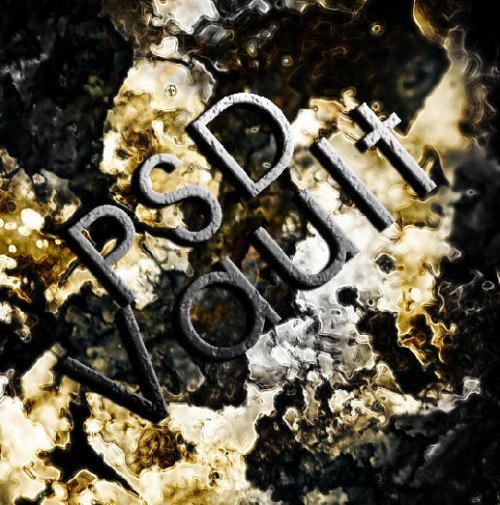
Merge those duplicated layers together and name the merge layer as "Text".
Step 7
Change the blend mode of the text layer to "Hard light", duplicate it once again and apply the following Gaussian Blur filter on the duplicated layer:
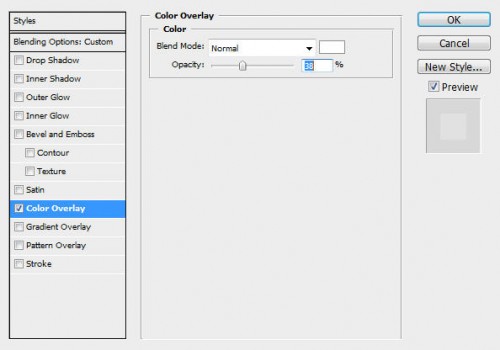
After applying the Blur filter, duplicate this layer once more. On the duplicated layer, add a White colour overlay blending option as shown below:
Then on this layer, use the Eraser Tool to gently eraser some part of the text, by doing so you can create a uneven lighting effect and make the text look 3D:
Step 8
To a bit of extra flavor to the image, we can add a new layer called "cloud" in between the text and the background texture layer, use the Lasso Tool with 40px feather to make a selection around the text and render some cloud inside:
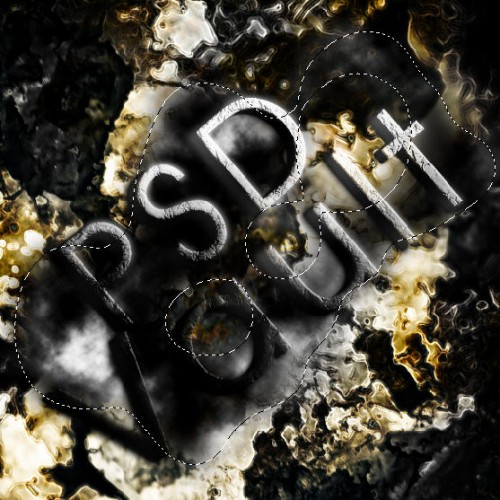
To make the cloud look a bit uneven, we can simply duplicate the existing cloud layer once and set the blending mode of the duplicated layer to "hard light".
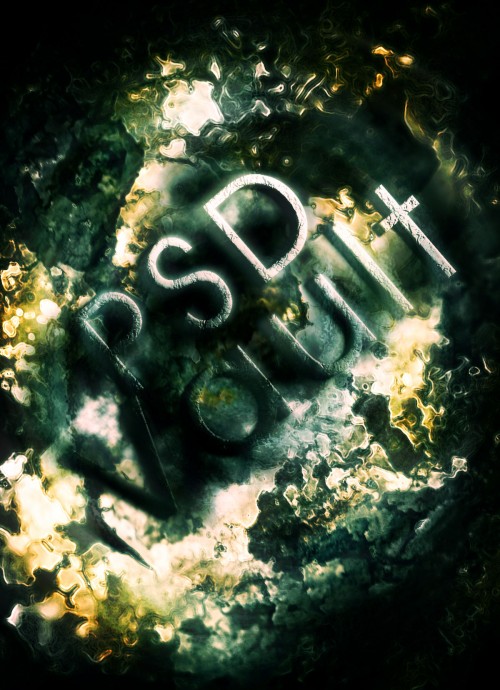
Here is the effect so far:
Ok that's it for this tutorial! You can of course add some of your own texture or filter effect and see what the end results are!
Here is my final result for this tutorial: (I add a bit of radial blur, and adjusted the colour balance a bit):
Hope you enjoy this tutorial. Cheers and have a nice day!