


Step 1
Firstly we need to download the following textures:
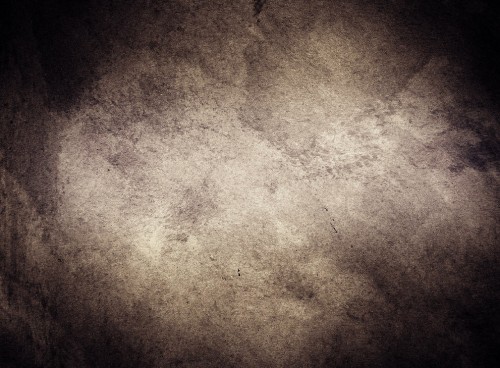
Load the wall texture in photoshop, duplicate the background layer once and set it as "soft light", you can see the background texture darken a bit: (Personally I would like to make the overall light darker a bit and later on it will be easier to create light source and other lighting effects)

Make another duplicate of the background layer and drag it to the top, add a vector mask to the duplicated layer. Hold down the Alt key and left click on the mask thumbnail on the layer palette, use a big soft brush to draw a black line across the centre of the canvas:

You will see the centre portion of the image is now highlighted, whereas the rest of the image being further darkened. We will be placing our text on the highlighted area:
Step 2
Type some texts using this font you just downloaded on the centre of the canvas:

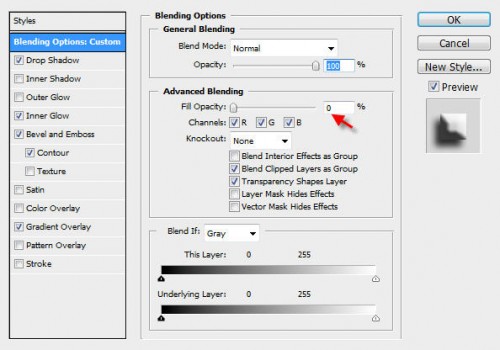
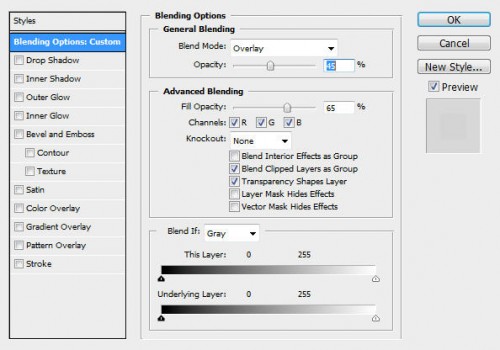
Apply the following blending options:
General Blending
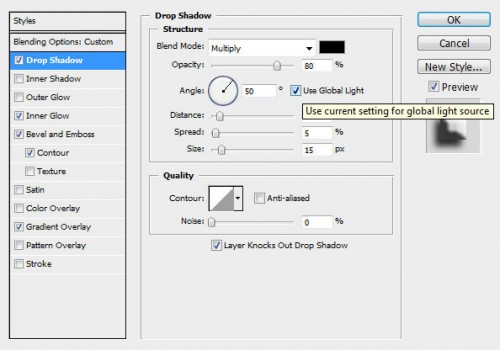
Drop Shadow
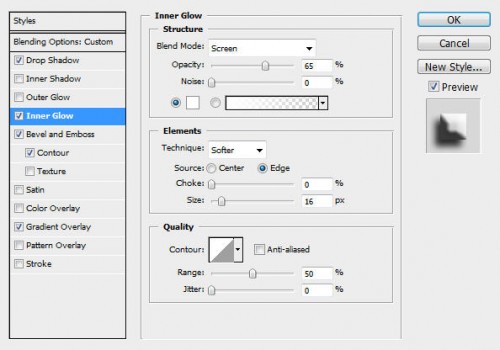
Inner Glow
Bevel and Emboss
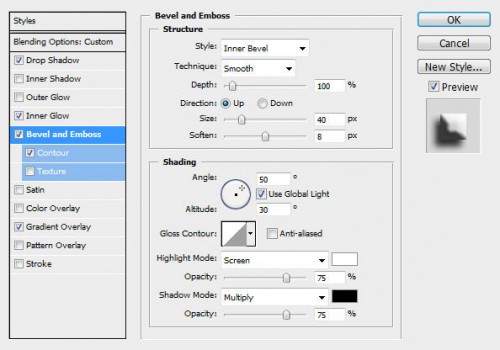
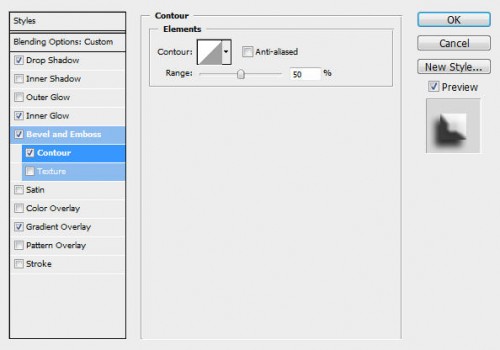
Contour
Gradient Overlay

And you will have the following effect (the text become transparent and you can see the stone texture appears on the text)

Step 3
Now let's add some freshness onto the text. Load the "Leaves" texture into photoshop, go back to our document and load the selection of the text layer (ctrl+left-click the thumb of the text layer on the layer palette). Drag the selection onto the leaf texture as shown below:
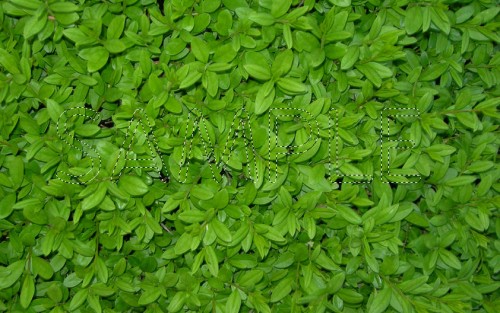
Copy the selection and paste in back to our document:

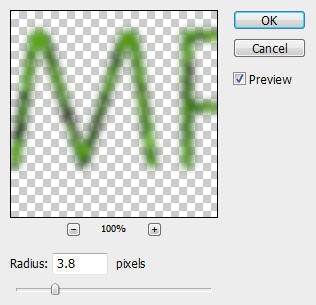
Name the newly created layer as "leaf". Apply the following Gaussian Blur setting to it:
Change the layer blending option as shown below:
Duplicate the leaf layer once and apply the following blending option to the duplicated layer:

And you will have the following effect to the text:

Step 4
Now let's create some uneven lighting and give some depth to the image. Create a new layer and name it as "lighting overall", use the Lasso Tool with a 30px feather to draw a selection as shown below:

Go to Filter > Render > Cloud (set foreground colour to #555555 and background colour to black) and render some cloud inside the selection:
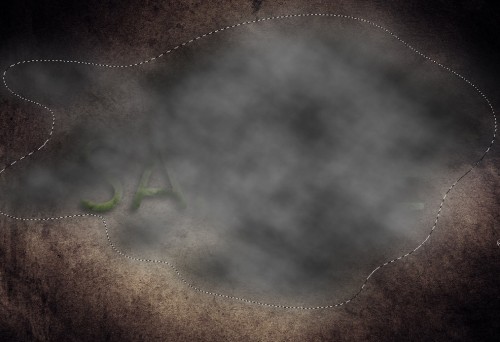
Set the blending mode of this layer to "Soft light" and duplicate it a couple of times. You will have the following effect: (The centre portion of the image become highlighted so it's easier to focus on the text)

Step 5
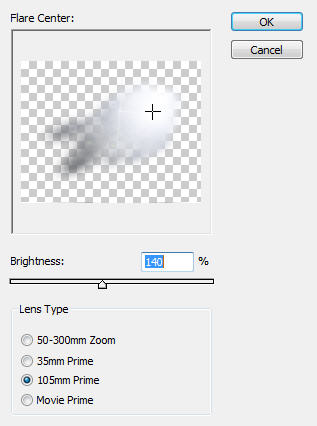
Now let's create a light source for this image. Duplicate the "lighting overall" layer one more time and rename it "light source". Drag this layer to the top and go to Filter > Render > Lens Flare and apply the following settings:
Then use the Free Transform Tool (Ctrl + T), rotate, distort this layer until it look similar to the image shown below (light coming from the top right corner)
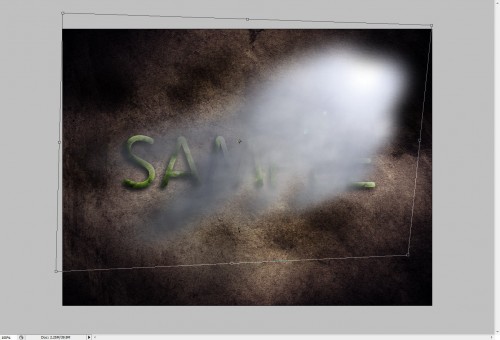
Set the blending mode to "overlay" and you will have the following effect:

Step 6
To further adjust the lighting contrast, we can add a few new adjustment layers on top of all previous layers. Firstly we can add a new curves adjustment layer and apply the following settings:

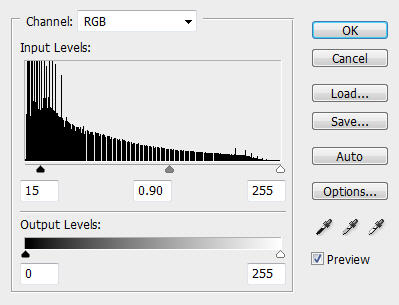
Then add a new Level adjustment layer and apply the following settings:
And you will have the following image as a result:

Ok that's it for this tutorial! You can have a play with layer blending options and add a few more adjustment layers (hue and saturation, channel mixer) and see what result it gives you!
Here is my final image for this tutorial: (I added some colours and reduce the saturation a bit)

Hope you enjoy this tutorial. Cheers and have a nice day!