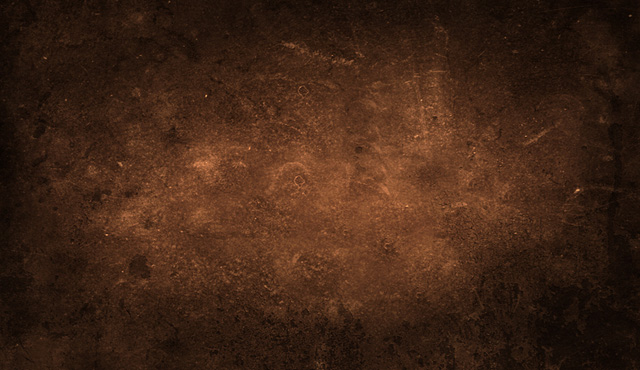
Let's choose our background, try to search in deviantart.com. I found this one. Cause its color is cyan and our color is brown, we need to change it. Image - Adjustments - Desaturate. Go to Image - Adjustments - Variations and choose the suitable color, if you are too lazy, you can download the ready variation and load it in the Variations window. You can try to a little bit unsharp this texture. Now let's add the dirt. There are tons of these textures in the net, in deviantart.com too. Once you have found the suitable texture, add it. Select - Color range, select the light areas and then delete. Layer - Layer style - Blending options - Multiply. Use the Dodge and Burn tools to make a light effect.
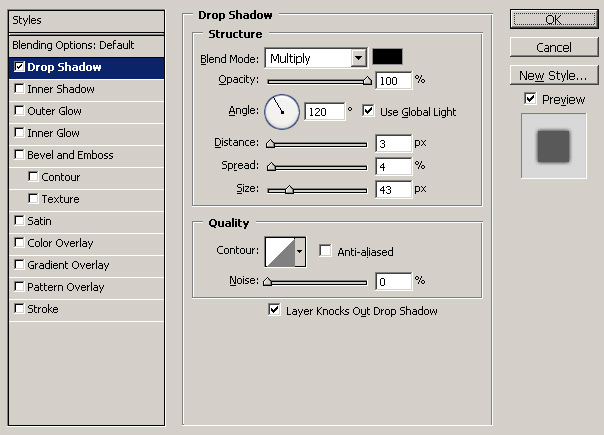
Now add your text. Type it using the the Type Tool, I used the bold Liberation Sans font. Layer - Layer style - Drop shadow:
Add this texture, place it one your text. Select the text using Magic Wand tool, Select - Inverse, go to the texture layer and delete the selected part. Now it should have the shape of the text. Desaturate it. Set the Blending Options of the texture to Multiply and Opacity to 70%. Add this image, note that we will not use the brushes. Place this image above the previous texture. Set the Blending Options of the texture to Overlay and Opacity to 70%. Delete the parts that don't belong to the text, as I described earlier.

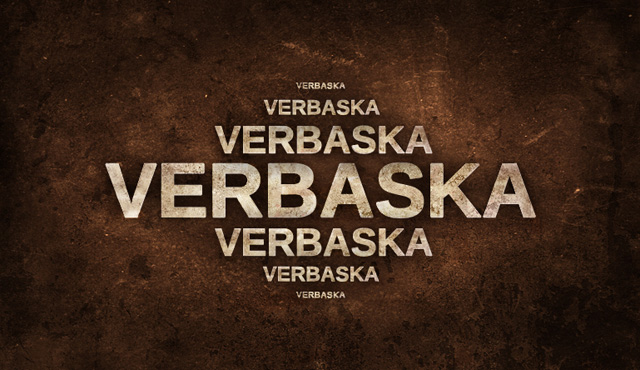
Select these three layers in the layers list, while holding the Shift button and link them, using the 'chain' button in the bottom-left part of the layers list. Now move this selection to the 'paper' button in the bottom-right part of the layers list to duplicate it. Use the Free Transform (Ctrl+T) to make it smaller, and then, place it near the original text. Do it for several times to make the form below. That's all!