

Ok let's get started!
To complete this tutorial, you will need the following stock images: (I'm non-religious, but I do love temples ^^)
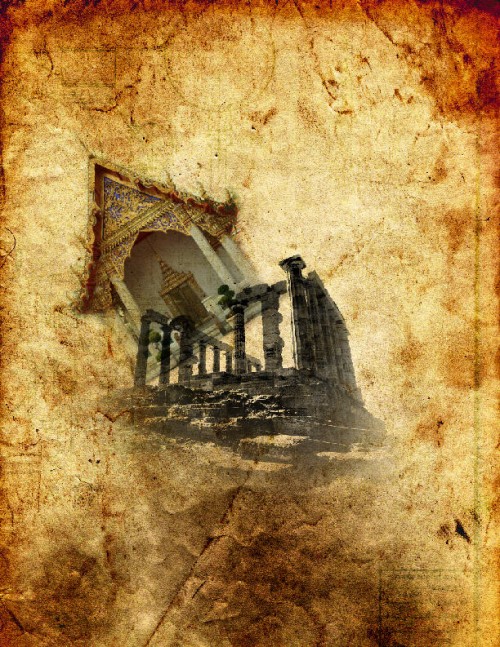
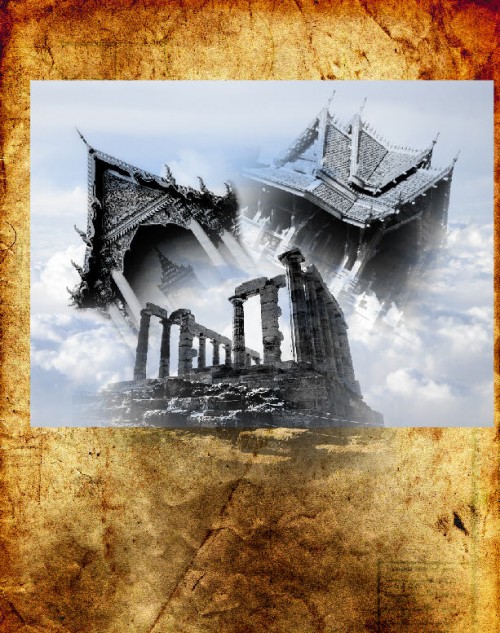
Grungy Texture
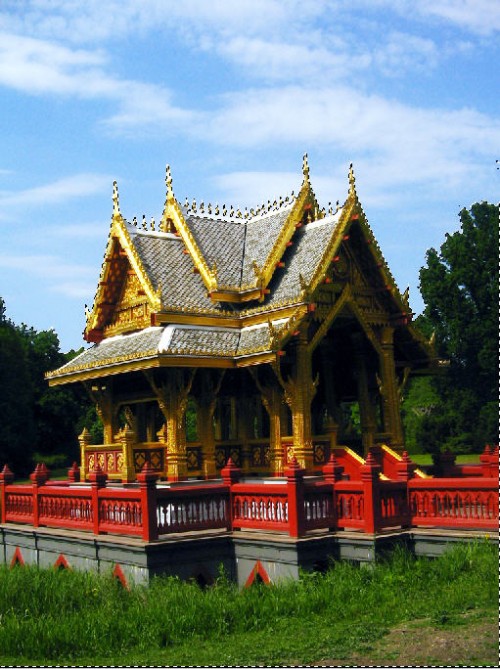
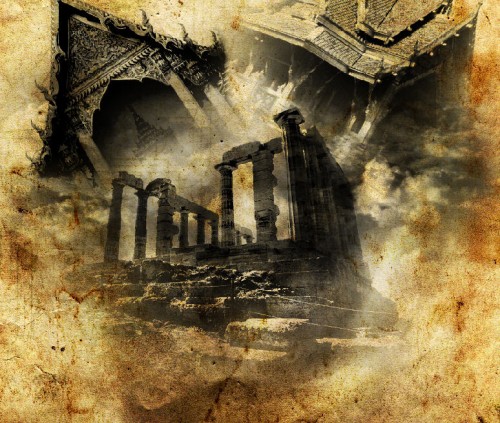
Temple Stock 1
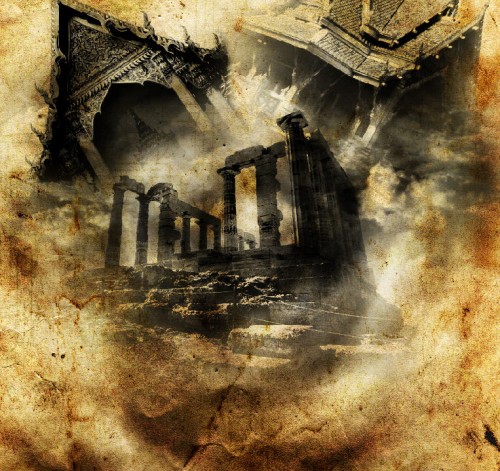
Temple Stock 2
Temple Stock 3
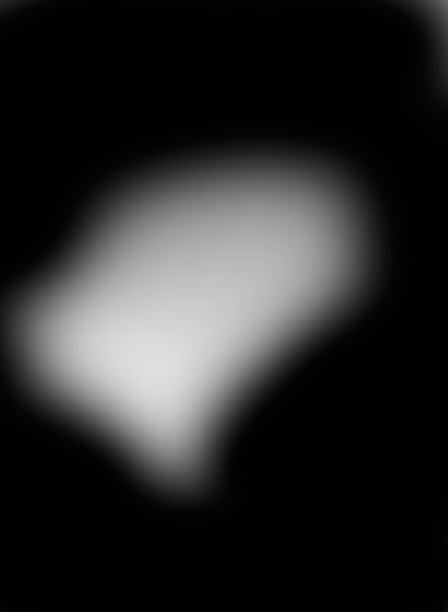
Cloud
Step 1
Let's prepare some background to work on first. Load the "Grungy Texture" image into Photoshop, make a duplicate of the background layer. (Personally I think this is a good habit because in case you mess up something, you always revert back to the original image quickly.)
Set the blending mode of the duplicated layer to "Darken" and you will have the following image:

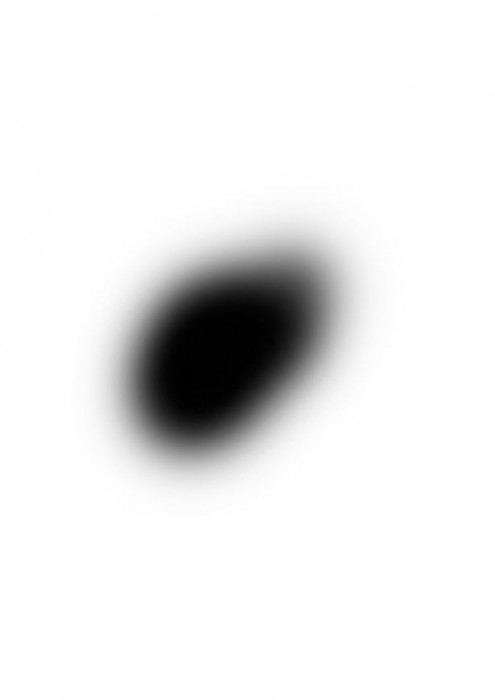
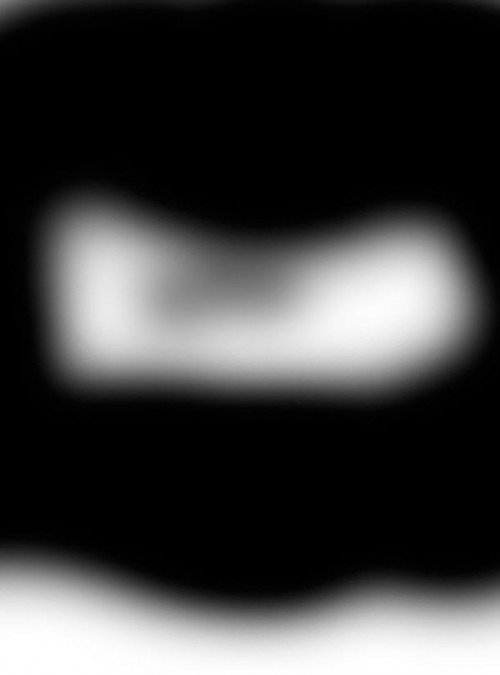
Duplicate the background layer once more and drag the duplicated layer to the top, apply the following the following vector mask to the layer:

Set the blending mode of this layer to "Overlay" and you will have the following effect:

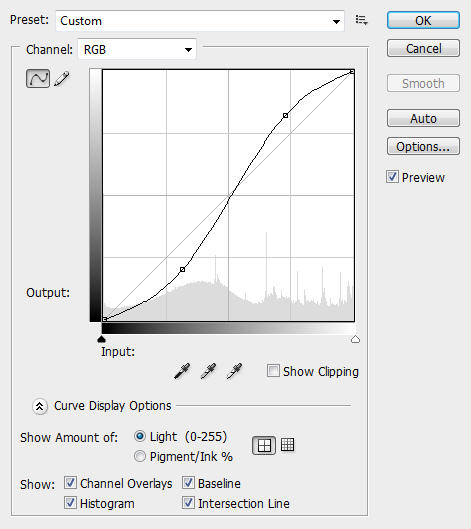
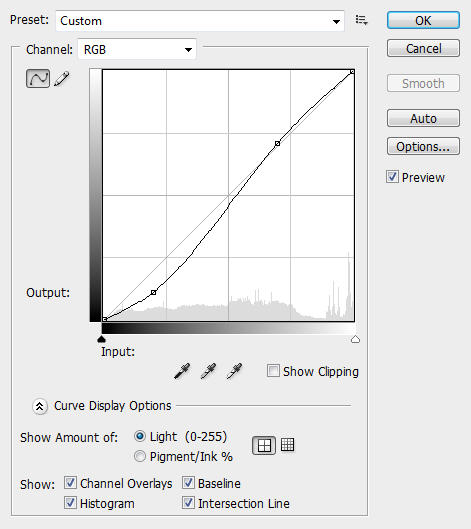
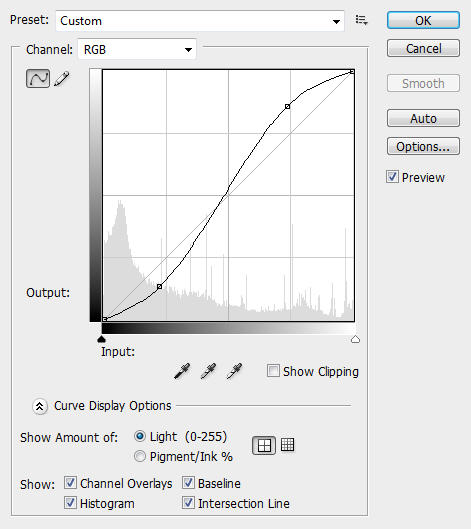
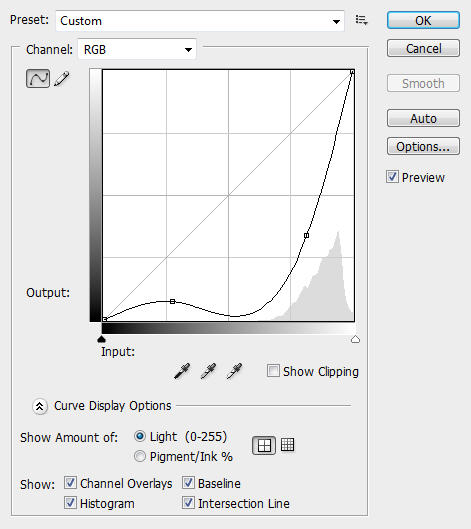
Add a new Curves Adjustment Layer (Layer > New Adjustment Layer > Curves) and apply the following settings:
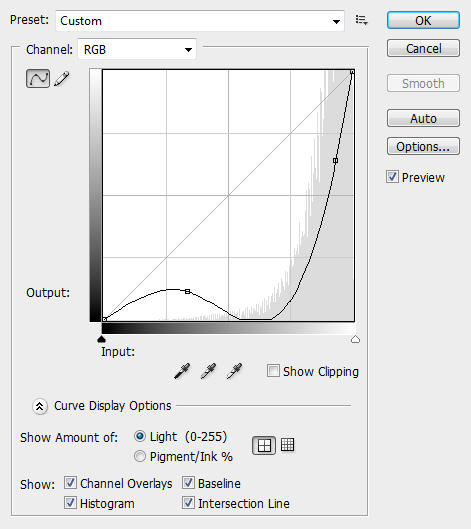
And you will have the following effect:

Step 2
Now we have a very grungy-looking background to work on. We can now add our objects onto it.
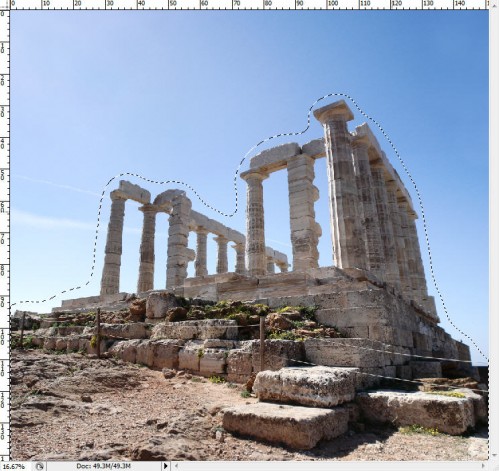
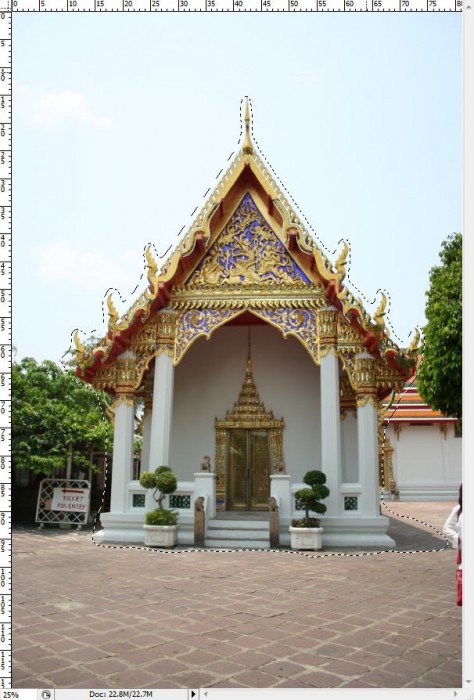
Load the "Temple Stock 1″ into Photoshop. Use any selection tool you prefer to make a selection around the temple (I would recommand you have a practice with Pen Tool, it's a good tool and in the future you may use it a lot for a variety of purpose ^^)
If you did use Pen Tool to draw the Path, make sure after you close the path, right-click and choose the option called "Make selection…" and set the feather radius to 0px.
Then hit ctrl+alt+R and apply the following Refine Edge settings:
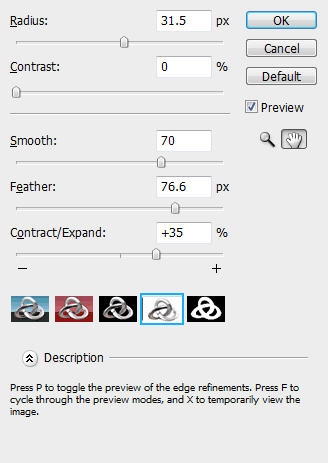
You selection will look similar as shown below:
Copy and paste the selection onto our document, resize (Ctrl + T) and position it as shown below:
Rename this layer as "Temple 1″. On top of this layer, create two adjustment layers as shown below and make both of them Clipping Mask to the "Temple 1″ layer:
Curves
Black and white
Then set the "Temple 1″ layer blending mode to "Multiply" and you will have the following effect:
Step 3
Load "Temple Texture 2″ into Photoshop. Again we use any selection tool to make a selection around the temple building as shown below:
Hint: use the Refine Edge tool to further adjust the edges of the selection, the goal is to make the selection as smooth and seamless as possible, so it will be easier to blend it into our work later on.
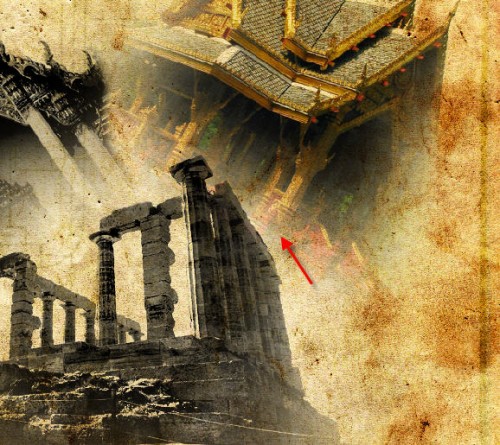
Copy and paste the selection onto our document, resize, rotate it and place it onto the position as shown below:
Name this layer as "Temple 2″ and add a vector mask on it as shown below:
You will now see the bottom part of the "Temple 2″ layer is not under the mask:

On top of the "Temple 2″ layer, add two adjustment layers - curves and black and white and make both of them Clipping Mask to the "Temple 2″ layer:
Curves
Black and White

Set the blending mode of this "Temple 2″ layer to "Multiply" and you will have the following effect:
Step 4
Load "Temple Stock 3″ image into Photoshop. Again we extract the temple building out of the image by making the selection as shown below:
Copy and paste the selection onto our document, resize, rotate it and place it onto the position as shown below:

Name this layer as "Temple 3″ and add a vector mask on it as shown below:

And you will see the bottom part of the building is now hidden:
On top of the "Temple 3″ layer, add two adjustment layers - curves and black and white and make both of them Clipping Mask to the "Temple 3″ layer:
Curves
Black and White

And you will have the following effect:
Step 5
We can see the the centre of the canvas look a bi empty - why not add some cloud in there. (I personally love cloudy effect and I think it can be used in all sorts of occasions)
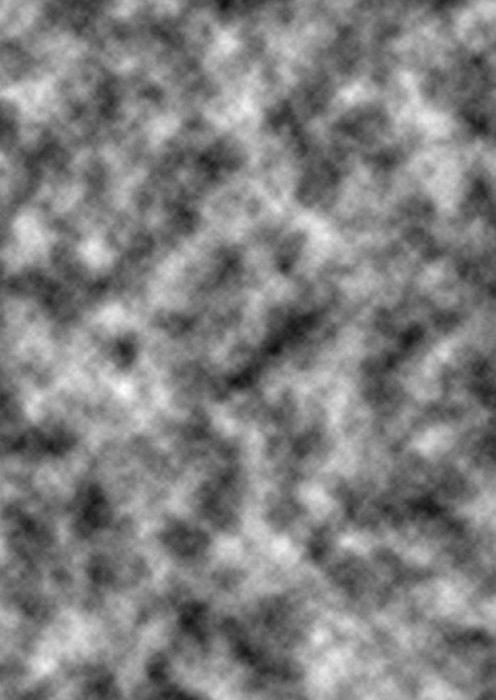
So load the "Cloud" texture into Photoshop. Copy and paste the entire image onto our document and place the newly-created layer below the "Temple 1″ layer, resize and position it as shown below:
Rename this layer as "cloud" and add the following vector mask onto it:
And you will have the following effect:
Again on the "Cloud" layer, we add two more adjustment layers and make them both the clipping mask for "Cloud" layer:
Curves
Black and White
Set the blending mode of the "cloud" layer to "Multiply" and you will have the following effect:
Step 6
Create a new layer called "Radial Blur", fill the layer with Black and go to Filter > Render > Cloud and render some cloud (set foreground colour to white, background colour to black)
Go to Filter > Blur > Radial Blur and apply the following settings:
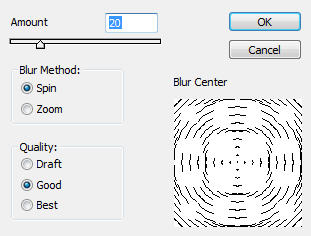
Set the blending mode to "overlay" and you will have the following effect:
Duplicate the "cloud" once and set the duplicated layer blending mode to "soft light", you will have the following effect:
Duplicate the "Cloud" layer once more, on the duplicate layer add a vector mask as shown below:
Change the blending mode of this duplicated layer to "colour dodge", you will see we now have a centre area of the canvas highlighted and more lighting depth is created:

Step 7
Create a new layer called "fiber" on top of all previous layers, fill it with black and go to Filter > Render > Fiber and apply the following settings:

Set the blending mode of this layer to "soft light" and drop the opacity of around 80%:
Step 8
If you're happy about the colour/contrast of the image so far, this step will become optional for you.
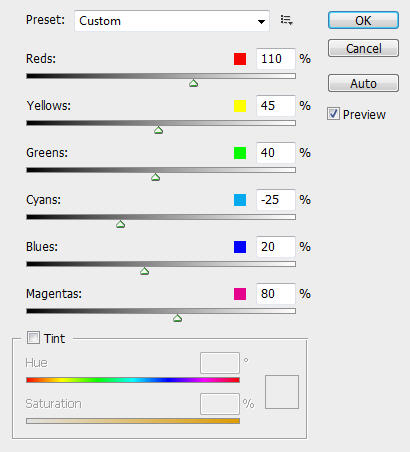
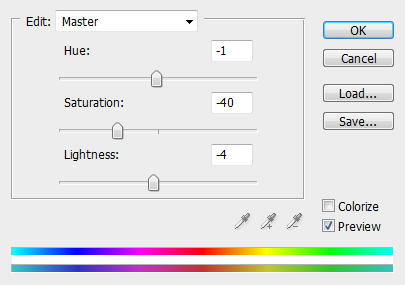
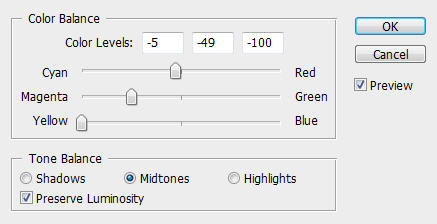
To further adjust the overall colour balance and contrast of the image, we can add the following two adjustment layers on top of all other layers:
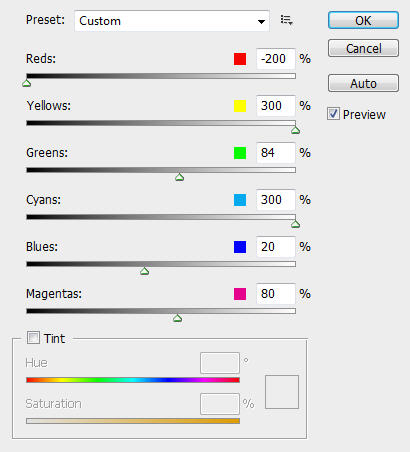
Hue/Saturation
Colour Balance
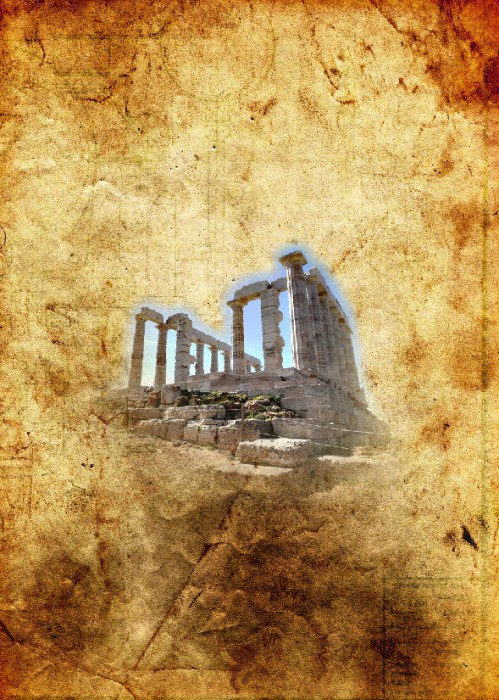
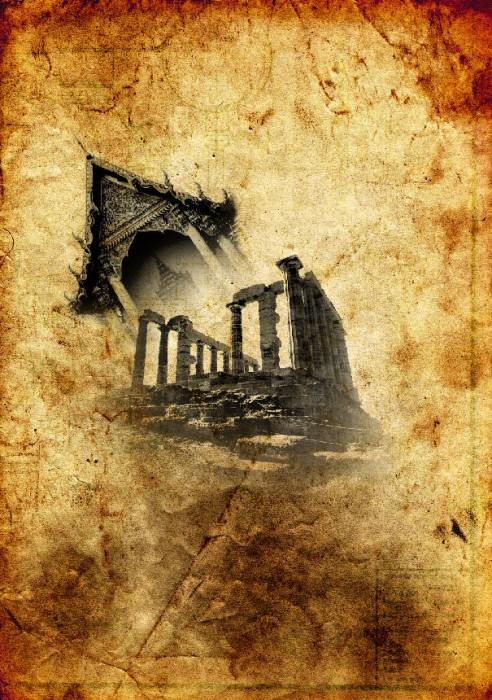
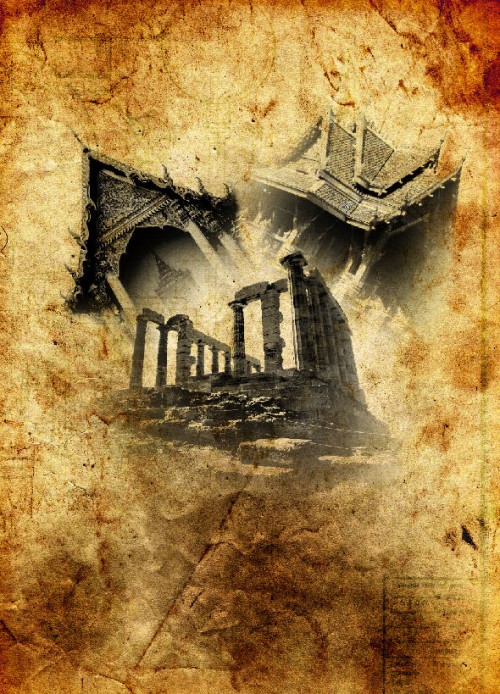
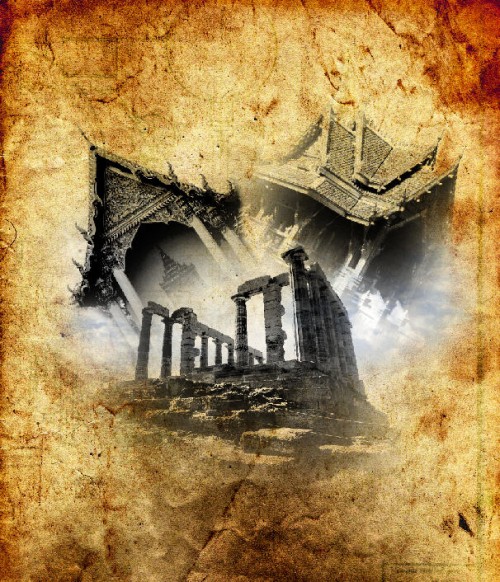
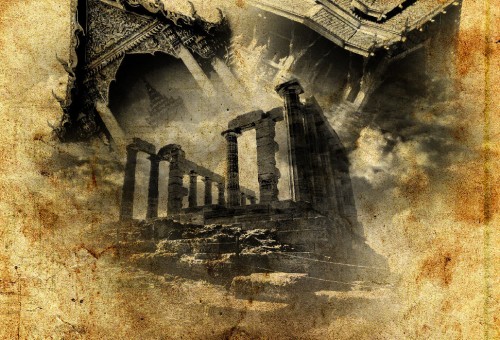
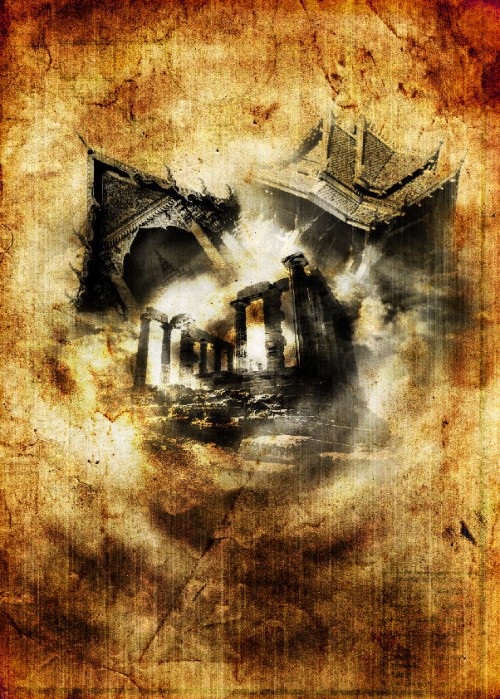
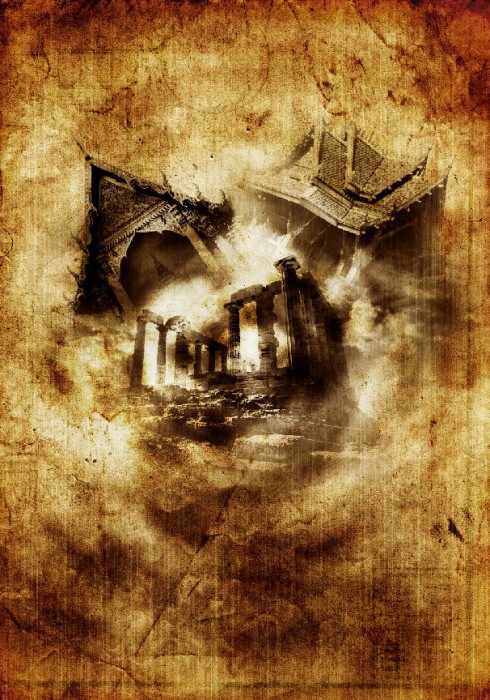
And you will have the following result image:
Ok that's it for this tutorial! You can of course add some of your own texture or filter effect and see what the end results are!
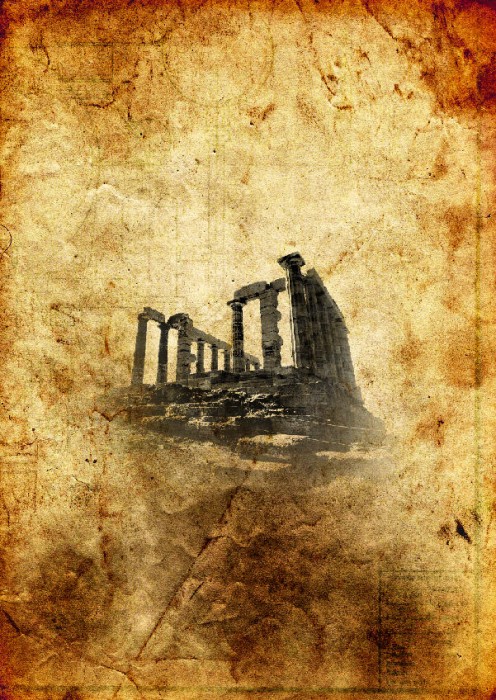
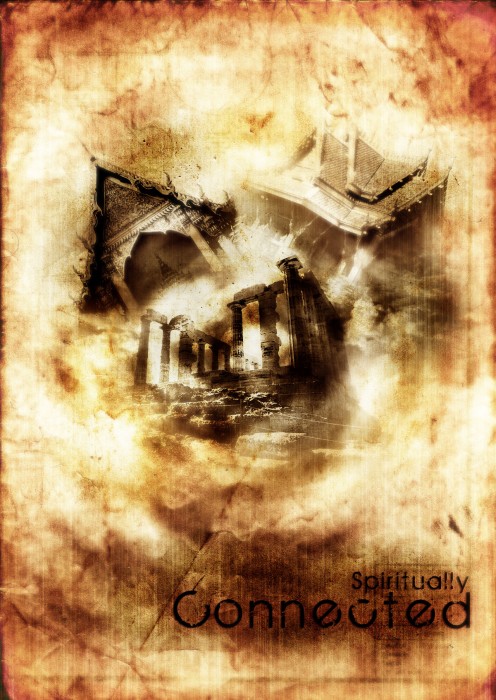
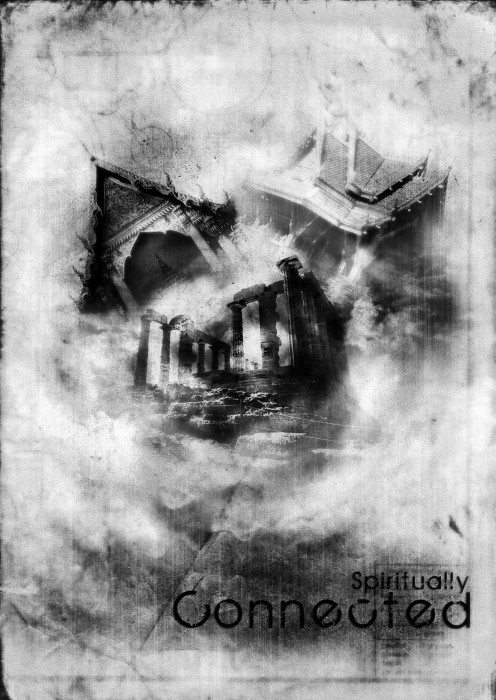
Here is my final image for this tutorial: (I slightly adjusted the colour balance and add some gaussian blur overlay to make the image shining) - Click to enlarge:
Black and white version:
Hope you enjoy this tutorial. Cheers and have a nice day!