

Step1
Allright lets start out by making a new document. in this example i use 200x200. now lets reset your colors. simply press D
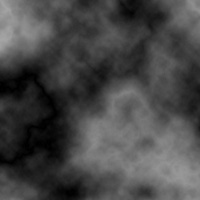
Step2
Now lets start the actual fabrication of the project. go to filter > render > clouds. then filter > render > different clouds. you can see what i got with both below to compare them to yours if you are useing the same colors as me. you can keep rendering clouds until you find something that you like.
Step3
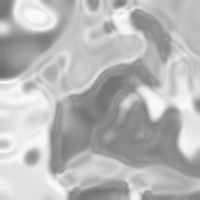
After doing that go to filter> sketch> chrome .
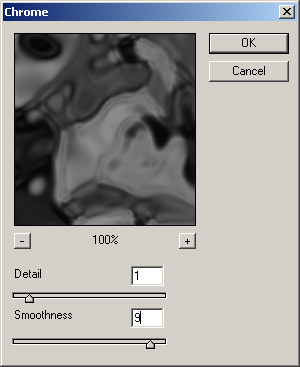
You can change settings to your likes
Step4
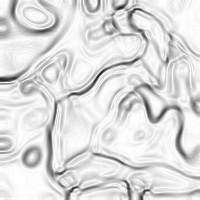
Now after giving your image a little gel effect invert the image colors (CTRL+I). Then filter> stylize> find edges (right image)
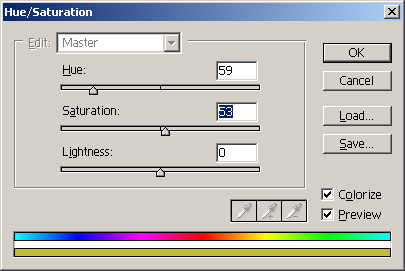
Step5
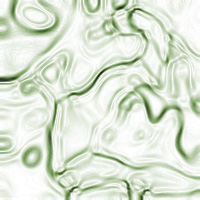
Now you can add a little color to it if you would like. hit CTRL+U or go to image> adjustments> hue/saturation.
After you do that your image shoud look a little something like this (maybe a little different in color)
Tips
You may not like the way your final image turns out... but there a few things you can do to make a better one next time. some things you can do; start out with a much bigger work area... maybe 800x600 then when you get to the final product resize the image to something smaller by going to help > resize image.