Step 1:
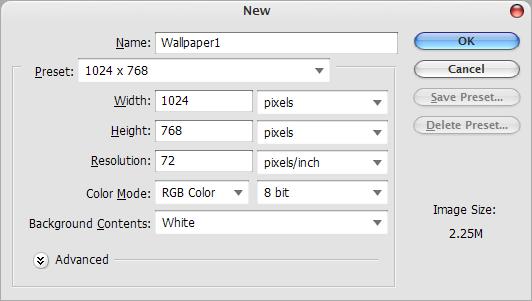
First, we must create a new document. To do this go to File->New. For this tutorial I will be using dimensions of 1024x768. You can use any dimensions that you like or whatever your current resolution is.
Step 2:

Now its time to select some nice colors for the base of the wallpaper. For this one I will be using #58add6 for the foreground and #0d4c94 for the background. If you have trouble picking good colors try to find an image with nice colors and use the color picker tool to get two nice colors. Make sure the colors that you choose have nice contrast so that the wall can run from light to dark.
Step 3:
![]()
Now select the gradient tool.
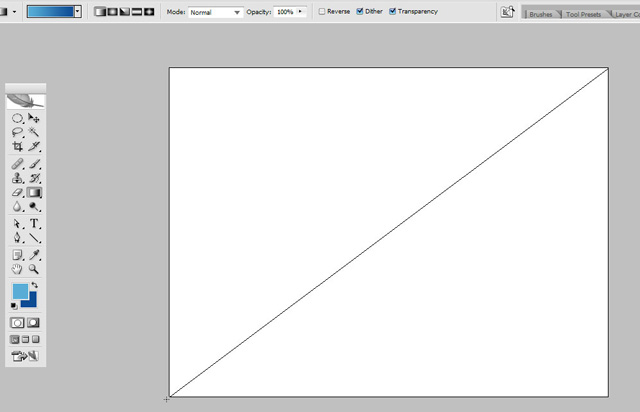
Now drag the gradient from top right to bottom left and release.
Step 4:
Here comes the hardest part of this tutorial. If you have never used the pen tool you may be able to catch on without a problem but if you are struggling this may help: http://www.elated.com/articles/paths-and-the-pen-tool/
![]()
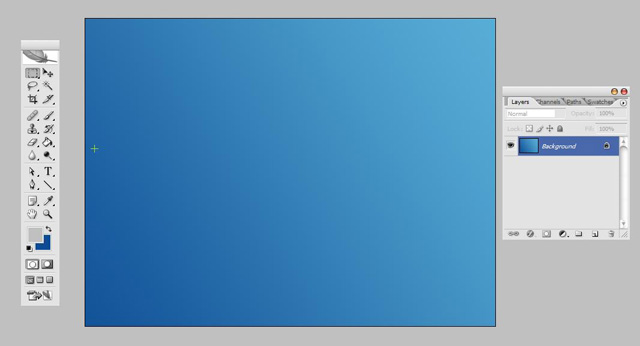
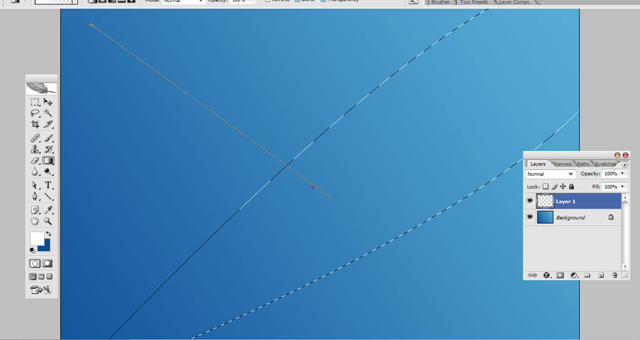
First, grab the pen tool.

Now click once at the bottom left of your image and a second time at the top right of your image and drag a bit upward and to the left to curve the line a little bit. Now close the path by clicking on the beginning point again. Since we are working with a big image we will make the line more curved at a later time so we can have more control of the path.
![]()
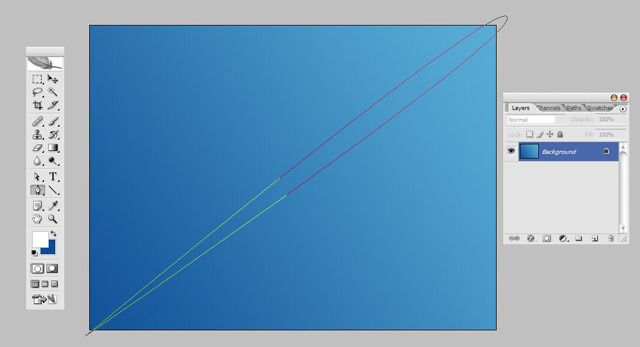
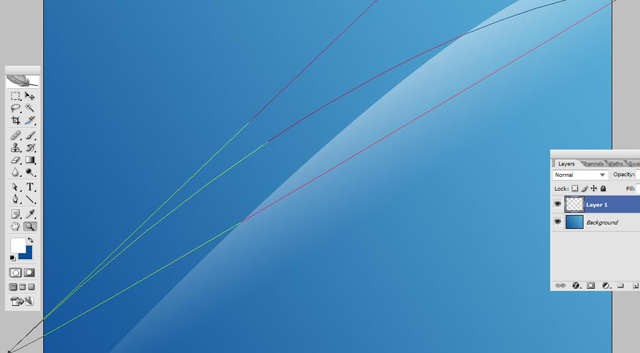
Now grab the Direct Selection Tool.
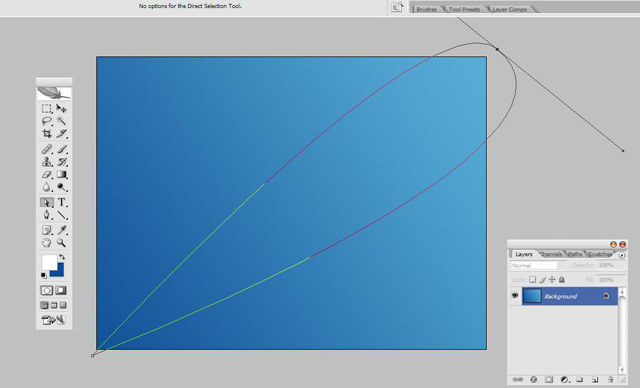
Click on the top right of your curve once with the Direct Selection Tool and it will bring up one adjustment line, click it a second time to bring up both adjustment handles. See the little dots on the end of the lines? Those are the adjustment handles. Click on the adjustment handles and drag the lines out longer to make the your path more curved.
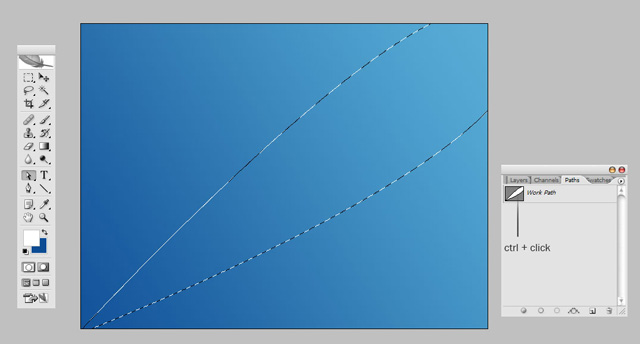
Next, go to the Paths palette which should be in the window with the layers. Ctrl-Click the image of the path to select it.
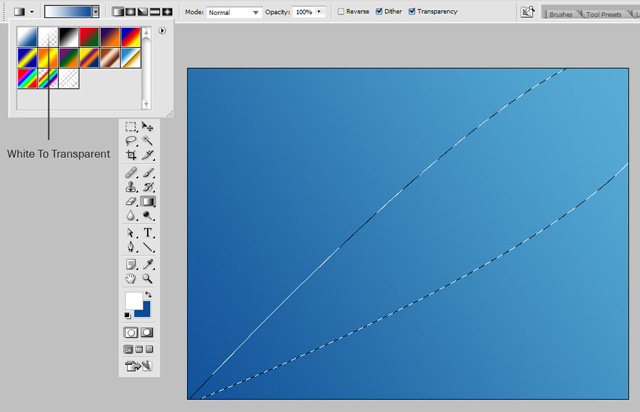
Set your foreground color to white(#ffffff) and select the gradient tool. In the gradient preset drop down located in the top left of the screen select the gradient that goes from white to transparent.
Go to your layer palette and make a new layer. Up to this point I have been working zoomed out at 66.7%, from now on I will be zoomed in 100% while I work with the gradients.
Now drag from top left down into the selection. The more vertical the gradient the better, but you don't want it completely vertical. It requires some playing with.
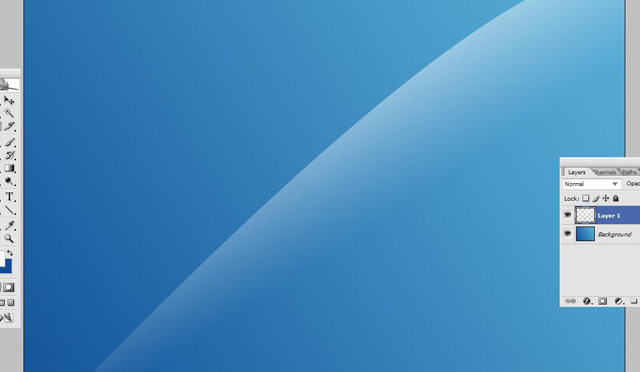
Try to get something like this.
Time for you to take some incentive. Repeat the steps of making the curved path but make it different from the first you made. Do the same steps and fill it with a gradient. Repeat this as many times as you like, usually 3-4.
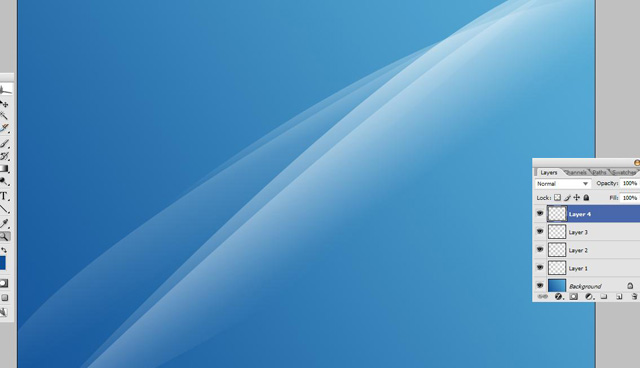
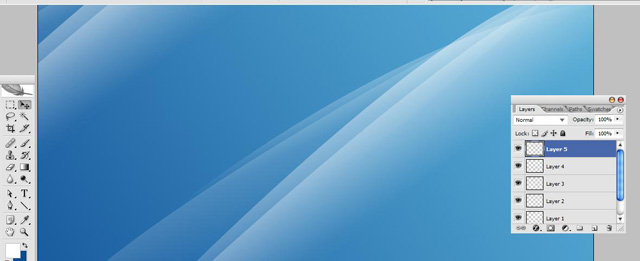
Here is what I have so far. As you can see I made 3 additional gradient fills.
Step 5:
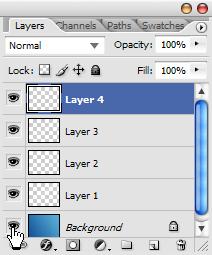
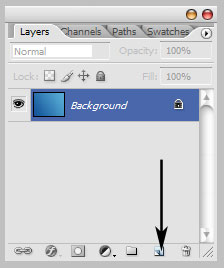
First, hide your background layer by clicking the little eye beside it.

Next, create another new layer.
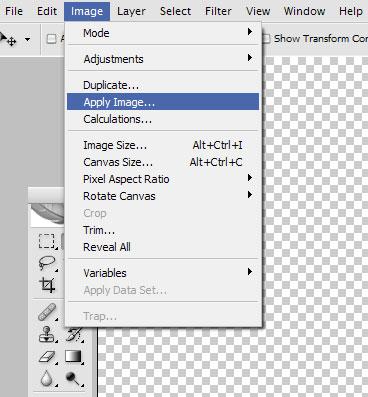
Then, go to Image->Apply Image
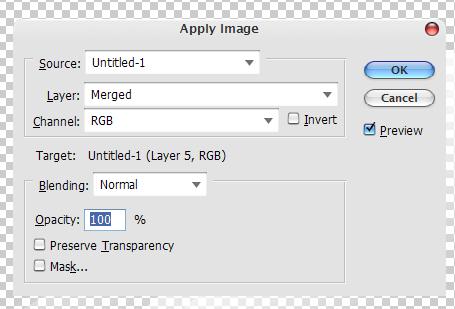
Use the above settings.
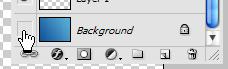
Next, you can unhide your background layer.
Move the contents of your new layer into the upper left of the wallpaper.
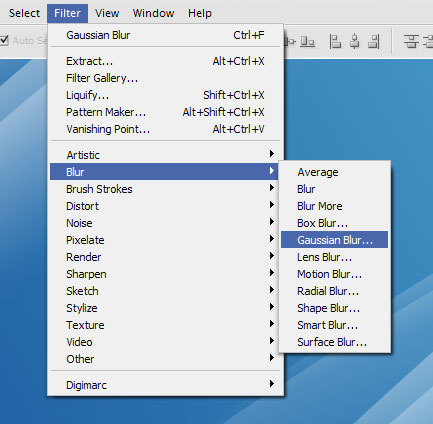
Next, go to Filter->Blur->Gaussian Blur
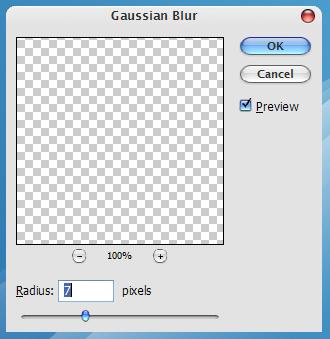
Set the Radius to 7 and click Ok.
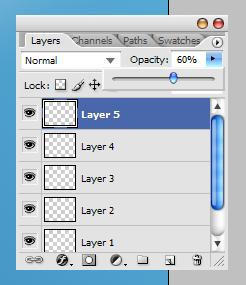
Change the opacity of this layer to something that looks good. I will be using 60%.
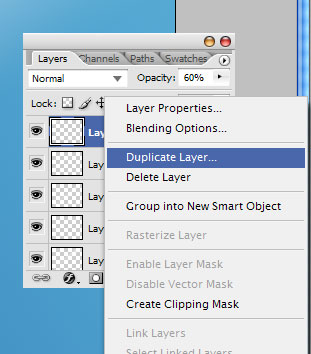
Right Click on the layer and go to Duplicate Layer.
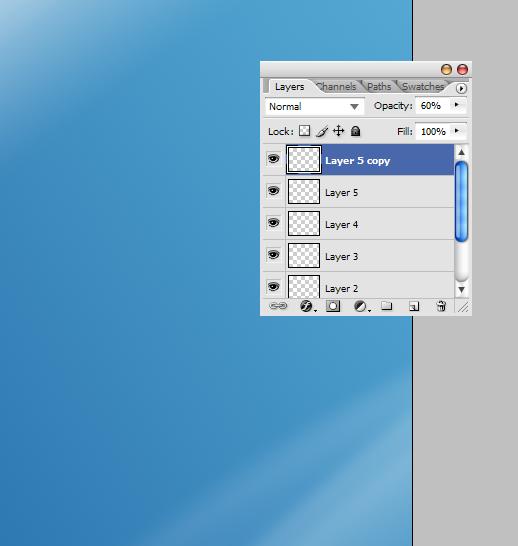
Move this duplicated layer into the bottom right of your wallpaper.
Step 6:
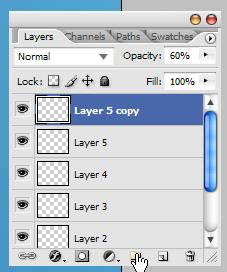
First, create a new group.
Next, move all of the layers except Background, which we cannot move right now, into the group.
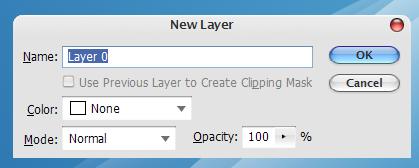
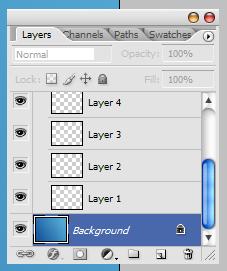
Double click on the background layer and click OK on the dialog box that opens. Now you can move Background into the group.
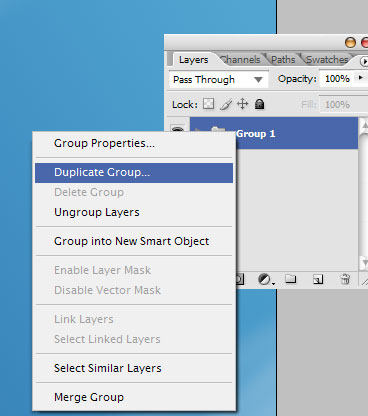
Right click on the group and duplicate it.
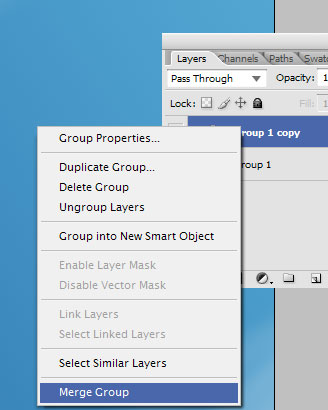
Merge the duplicated group all into one layer by right clicking on it and going to Merge Group.
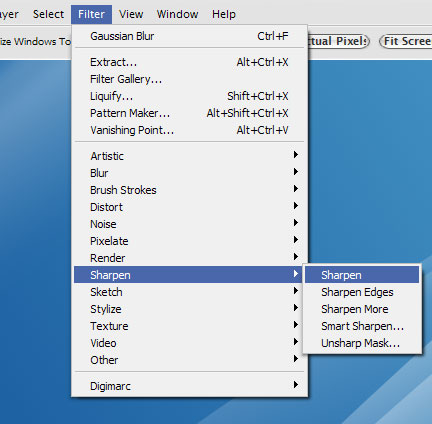
Now go to Filter->Sharpen->Sharpen and do this twice.
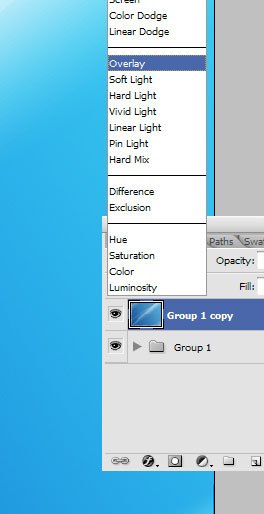
Now set this layers mode to Overlay.

And You're Done!