

Nowadays personal pages and blogs have become very popular. And it's hardly possible to find a person in the world (not counting kids and elderly people) who doesn't have a personal website. Personal websites become one of the most convenient ways of communication with other people, even more - they become a way to reflect on life or works of art.
Personal page is one of the best means to express yourself, share with your thoughts, ideas, feelings and emotions and everything what happens around you. That's why this time we will try to create a personal page on the basis of a FREE website template. It's almost budget-friendly project, because all what you need is only a couple of hours of your time.
So, this tutorial will teach you how to make a website and perform all necessary customization on the basis of a website template. At the end you will also read our recommendations concerning domain name and hosting provider.
Choosing a template design
The fastest and easiest way to create a professional looking website (if you are not a web designer, of course) is to take an opportunity of pre-made web templates on the basis of which you will create an attractive website. When you start searching for free web templates, you will come upon a great number of recourses. But the most reliable among them all is Free Templates Online. It provides quality attractive web templates that meet web standards. Well, my choice is a web template # 63.
After download you will find fonts folder, .psd and html files in the archive.
Template Customization
Now it's time for the template customization. But if you feel that you don't have enough knowledge or time to go though the whole customization process, you may take the opportunity to use Template Tuning services. Here you can order the template customization at an affordable price. Their web developers will easily and skillfully do all the necessary changes for you. But if you are not afraid of difficulties, then let's go on! As it was said above, we will start from the HTML version.
To perform all necessary modifications you will need Adobe Photoshop CS+; Adobe Dreamweaver 8+ or any other HTML editor. Before you start you should install necessary fonts (usually they are placed in "sources/fonts" folder- in this tutorial you'll find more detailed description. After that open .psd file in Photoshop and let's learn how to make necessary customization.
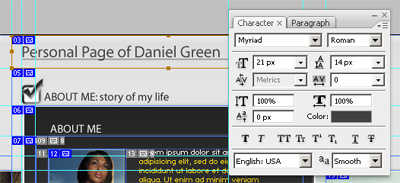
The first thing we are going to do is to modify the template header. With the help of Horizontal Type Tool enter your company name instead of the default one and change a tag line. If the slice is not long enough and your site title goes out of its limits, don't worry. You may easily resize the slice. For this choose the Slice Select Tool and highlight the logo (mouse left click + CTRL). By mouse left clicking stretch the slice borders.
After making all these changes we need to save the customized logo and then replace the existing one. While the slice is still selected, go to "File" -> "Save for Web and Devices". Leave the settings as they are because everything has already been done by a coder. Press the Save button to save files to the Image directory replacing the file name.jpg.
The next step is to modify text titles. I must admit that all text titles in this website template are made as pictures. And if you even don't want to modify them, you need to re-save them anyway.
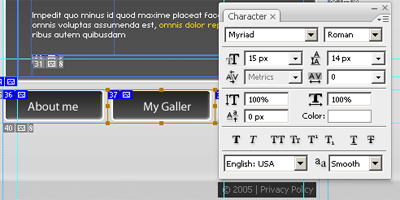
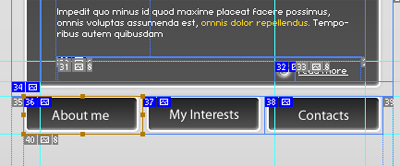
Let's proceed and re-save the menu buttons. Edit the button names using a Horizontal Type Tool. I decided to modify the central button and renamed it to "My Gallery"
Then save the menu button for web and devices in the Images folder replacing the old ones.
After that you should replace an image in the central part of the template. Pay attention to the size of the photo - it should fit the dedicated section accurately to prevent harming your layout. Save a new photo replacing the old one in the Images folder.
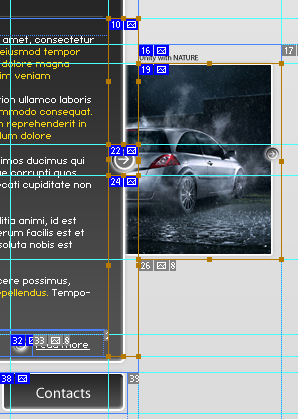
And now it's time to customize the images from both sides. We still continue to work in Photoshop. First, define the images size in pixels. In our case their size is 188 x 187 px. Then create a new layer below the layer on which the arrows are located and paste a new image into it. Repeat this step for the second image. If you did everything right, the new images would be displayed with the arrows above them.
Each image is cut into four slices (as displayed on the screenshot below). This means that you should resave each slice separately; and replace old files with the new ones. Save them one by one.
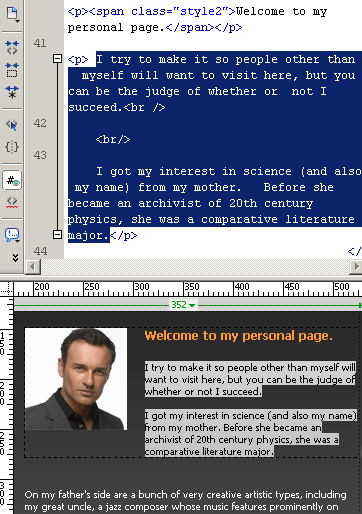
Then open file index.htm in HTML editor and start customizing text. Write about yourself, your background and family, about your interests and friends. Don't forget to change the footer.
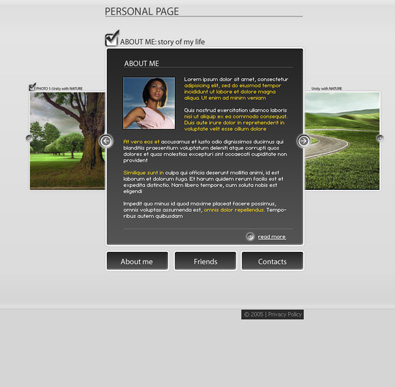
The first page of our design is ready. Let's look at what we have:
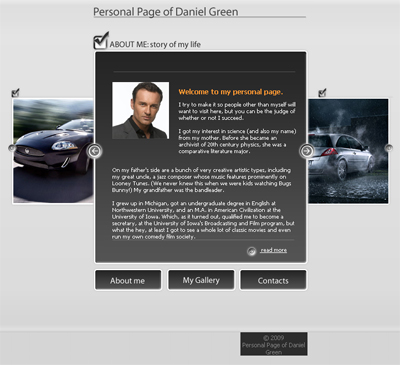
You might have noticed that the package doesn't contain subpages. It's a typical free web template package. But don't worry. The subpages can be easily created. Just copy file index.htm and name it index-1.htm - it's your design for the Contacts page. Edit the text in HTML editor and that's it.

My Gallery
And now the most interesting part of the customization process. Personal website seems incomplete without a photo gallery. Brighten up your web pages by adding colorful quality pictures of yours. I want to recommend you a convenient way to view and manage your photos and then publish them to share or print online - Slimbox 2 - JavaScript script that allow you to overlay images on the current page. It works perfectly on all major browsers. To start download it from the official site and unpack into your templates folder.
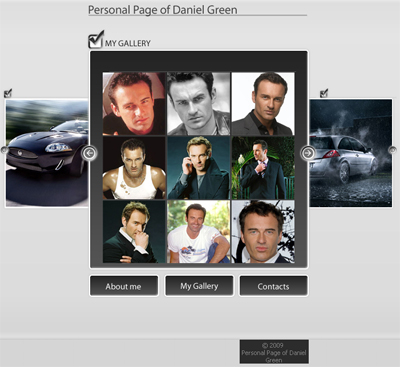
Now follow simple usage instructions to setup Slimbox 2. After create folder "photos" and put there your photos in 2 variants - original size and smaller copy, i.e. thumbnail preview. Then copy index.htm and call it "photos.htm", for example. Put your thumbnails like I did:
Then you should activate Slimbox 2 by adding rel="lightbox-personal" code to your links, like here:
| <a href="photo/01-big.jpg" rel="lightbox-personal" title="personal gallery"><img src="/img_articles/17645/images/01.jpg"></a> |
Repeat this step with all images you have. If you did everything right, your page would look like this:
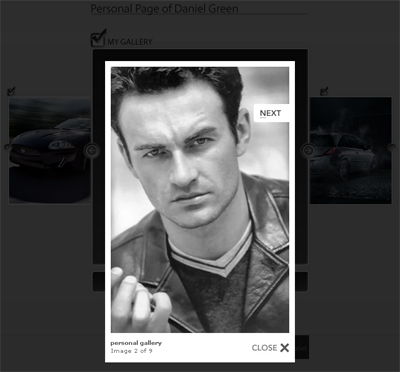
All photos should open in a splash window.
Choosing a hosting provider
When choosing the hosting services you should be guided first of all by other people reviews, prices and quality. On this basis I recommend you webhostingbuzz.com.
If you experience any troubles with registering a domain name or hosting you can always contact TemplateTuning.com professionals.
That's it! Now you can see that just a little should be done with an ordinary web template to make it look attractive and stylish. The main things are persistence, patience and desire to learn something new. Good luck!
You can visit sample website to see the final result or compare your code.