Step 1
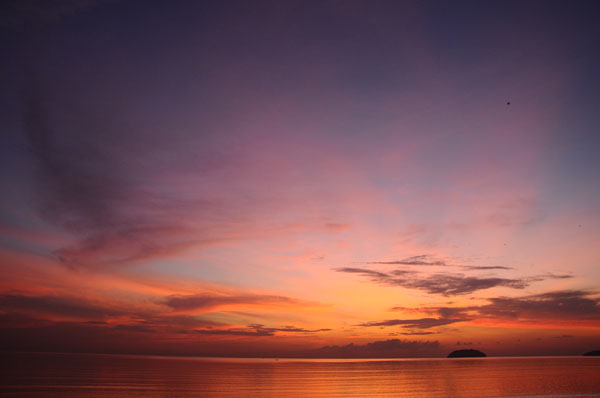
Open up a new document, and paste in an image of a sunset sky. Call this layer 'sky'.
Step 2
Go to filter>sharpen to give your image more definition.
Then go to image>adjustments>levels and apply the settings shown below. This will give your sky more impact.


Step 3
Now go to image>adjustments>hue/saturation and reduce your saturation to -40.


Step 4
Now duplicate your 'sky' layer and call the duplicate 'sky light'. Go to filter>render>lighting effects. Then apply the settings shown below.
Then go to filter>sharpen>sharpen. Reduce this layer's opacity to 40%.


Step 5
Now create a new layer called 'sky gradient overlay'. Create a gradient ranging from blue, to pink, to white, to blue, to purple (see below). Then drag this gradient across your canvas. Reduce this layer's opacity to 50% and change the layer blend mode to 'overlay'. This should give your sky line tints of color and make it look more interesting.


Step 6
Paste in an image of a grassy bank. We want to get rid of the sky from this image, and make the sunset sky image blend nicely with it. To do this won't involve any difficult masking techniques, but simply a bit of erasing. As we're going for quite a soft looking image, you can simply use a medium-sized, soft eraser brush to eraser away the sky in your grassy bank image.


Step 7
Go to image>adjustments>levels and apply the settings shown below:


Step 8
Now we want to blend our grassy area with our sky better. To do this we need to match our colors. Go to image>adjustments>color balance, and apply the settings shown below:


Step 9
Erasing the top of the grassy bank worked well to help blend it with the sunset sky image. However, the edge of this bank is now a little too soft, and lacks definition. It's amazing how much little details can help to define areas of photo manipulation like this. To define the edge of my grassy bank a little more, I select the smudge tool, set to 95% strength. Then I zoom in, and smudge out individual blades of grass all along my grassy bank. Just by smudging out several blades of grass, my grassy bank becomes much more detailed and refined looking.


Step 10
Now create a new layer called 'grass highlight'. I want to make the center of my grass bank lighter, to give the impression that the lightest part of the sky is illuminating it.
Use a medium-sized, soft white paintbrush to brush over this central area of grass. Then change the layer blend mode to 'overlay' and reduce it's opacity to 20%.


Step 11
I want to play around with the color of my sky to make it blend better with my grassy area, so I select my original 'sky' layer and go to image>adjustments>color balance and apply the settings below:
I also choose to reduce the opacity of my 'sky gradient overlay' layer from 50% to 20%.


Step 12
Now I'm happy with my main background, I can start placing in my martial arts figures. My first figure has his feet in grass, and this seems perfect for merging into the grass in my main composition.
To do this, I select my figure using the lasso tool, and make sure to select around the grass covering his feet/ankles.


Step 13
To make your warrior more intense, go to image>adjustments>levels and apply the settings shown below:


Step 14
Select around the man's feet using the lasso tool. Then go to image>adjustments>color balance, applying the settings shown below. This will only alter the color balance of the grass around the mans feet, not the entire man. This is to make the grass color more similar to the grassy mound surrounding it.


Step 15
To blend the man's feet into the grassy mound more, select part of your grassy mound using the lasso tool. Then copy/paste this onto a new layer over your man's foot. Then use a small, soft eraser brush to carefully blend the pasted grass into the main background. To improve the realism of this technique use a 1px smudge brush to smudge out individual grass blades over the man's legs. Repeat this technique with both of his feet, covering them with pasted mounds of grass.

Step 16
Now I want to add a subtle highlight to the warriors leg, to fit with the illuminated center area of the grassy mound, and highlights from the sky. To do this, I create a new layer called 'warrior 1 highlights'. Then I use a small, soft white paintbrush to paint over this inner part of the warrior's leg. Then I change this layer's blend mode to 'overlay'.
Finally, some of the highlighted white area is overlapping into the background. As I only want the highlight to cover his leg, I option+click on the original warrior layer in my layers palette. This selects the entire warrior. Then I go to select>inverse to invert my selection. Then I return to my highlight layer and hit delete, leaving a perfect highlight on the inner part of my warrior's leg.


Step 17
Now select a photo of a second man, and cut it out using the lasso tool or pen tool. Then paste it into your main canvas, and go to edit>transform>scale/rotate and resize/rotate the man to suit your composition.


Step 18
The levels are looking good, but I want to enhance the colors of this second man. I go to image>adjustments>color balance and apply the settings shown below:


Step 19
I go to image>adjustments>levels and just alter the levels of this second man slightly.


Step 20
Paste in a sword, and position it over your second man's hand.

Step 21
Zoom in, and then reduce the opacity of your sword layer to around 20%. Use your lasso tool to select the area of the sword that is overlapping the man's fingers, and then delete it. Then select the man's fingers, and go to edit>transform>distort. Distort the fingers to make them appear to be wrapping around the handle of the sword.

Step 22
Now I want to create shadows cast from my two warriors. To do this, duplicate each warrior, and then move the duplicate to the area where you want your shadow to be. Then go to edit>transform>flip vertical, and edit>transform>scale to create a flipped image of each warrior that is less high than the original. Finally, go to filter>blur>gaussian blur, and apply a gaussian blur of 3.0px strength.
I also used a small, soft, black burn brush to brush in a subtle shadow onto the sword, where the jumping warrior's hand would cast a shadow.

And We're Done
You can view the finished image below:
 PSD.FanExtra is a blog centered around design and Photoshop. We provide in depth Photoshop tutorials, articles, inspiration, freebies and more. Our goal is to help teach and inspire creatives around the world,and contribute to the design community.