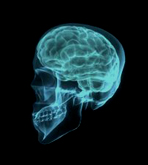
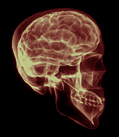
1. Let's start out by creating a new file. I used a 800x400 pixels canvas set at 72dpi, and I filled my background with black color. Now grab the skull photo below and insert it into your canvas in a new layer.
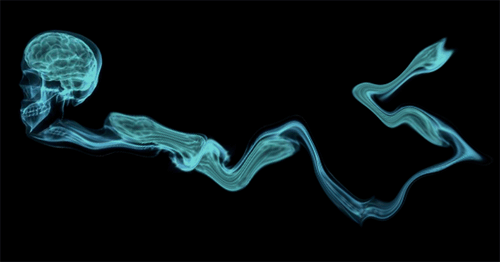
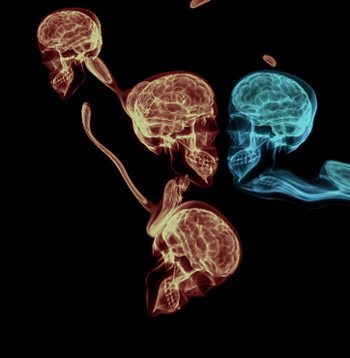
2. Duplicate the skull photo layer and apply a wave effect through (filter - distort), use the settings below. Then connect it with the skull so the skull has a flow trail effect.

3. Now just add more flow trail as shown below. Just duplicate the flow trail and keep applying wave effect using the same settings.
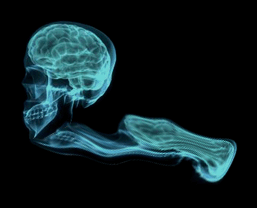
4. Grab the second skull photo below and insert it into your canvas in its own layer.
5. Duplicate the second skull twice and set them up as shown below using the rotate transform settings.
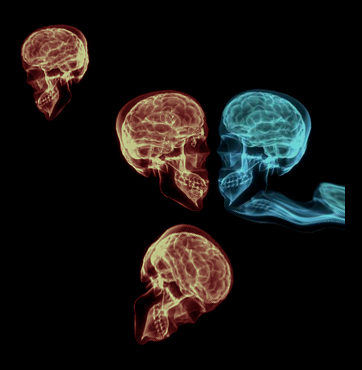
6. Here you can add small flow trail on the second skull so there all connected.
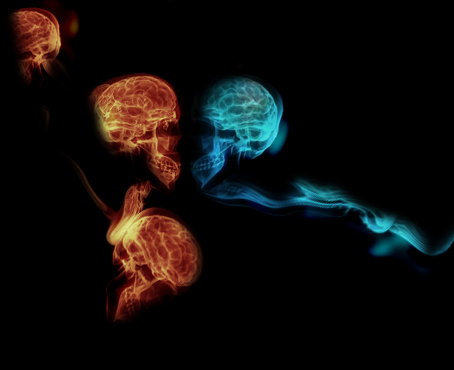
7. Add a marquee selection around your canvas and copy merged the selection through Edit. Now paste what you copied and apply a gaussian blur through (filter - blur). Then rotate to the right by a couple of pixels through (edit - transform). Also set the the layer's blending mode to hard light.
8. Add your texts on the flow designs using font arial, italic, smooth and #31C3CB color shade.

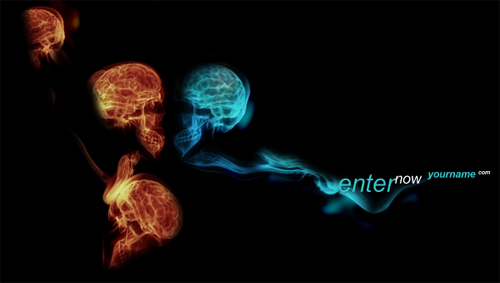
9. You're now finished an here is the result of your futuristic splash page design!