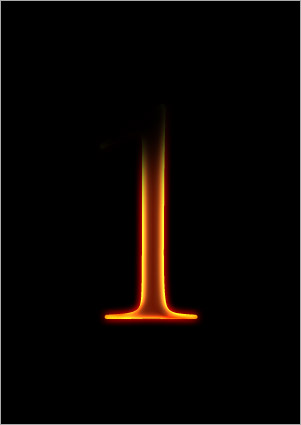
Create a document of a reasonable large size with black background. Using Type tool, with size 280pt and Trajan Pro font, type a number "1". You can download the font here. Otherwise you may also use other fonts of your preference.

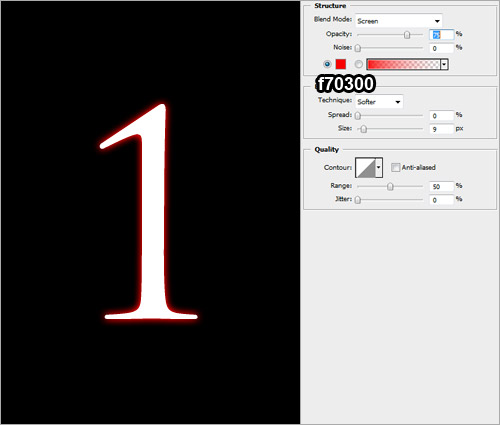
Right-click on the type and choose Blending Options. Check on Outer Glow and key in the following settings.
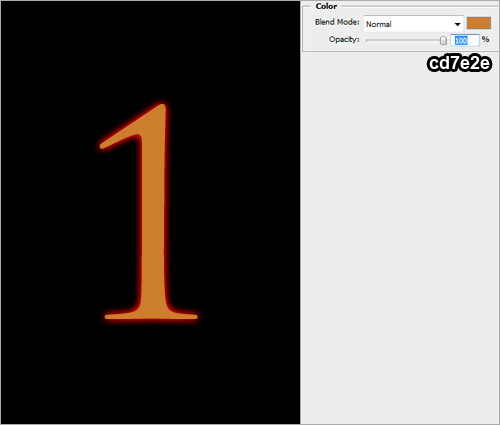
Check on Color Overlay and key in the following settings.
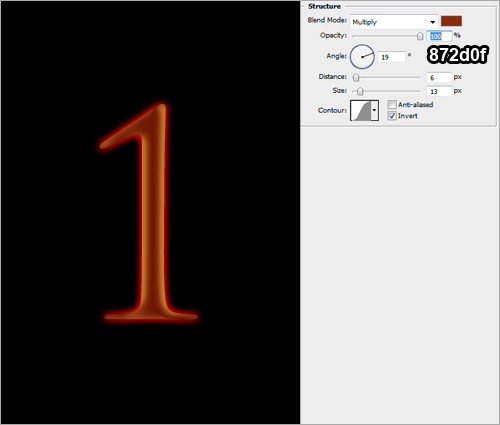
Check on Satin and key in the following settings.
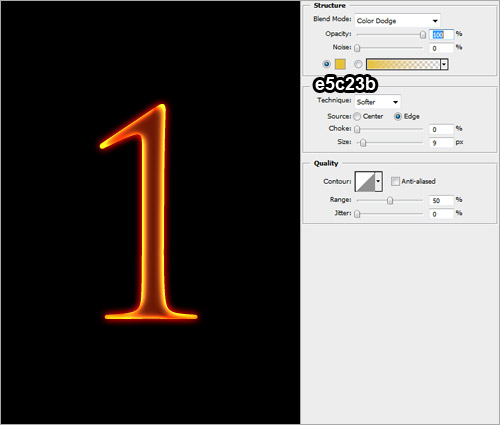
Check on Inner Glow and key in the following settings.
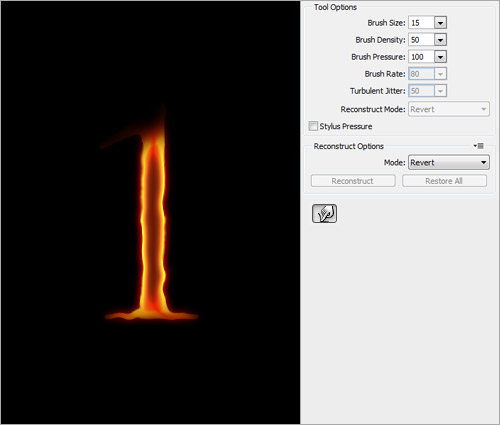
Right-click on your type layer again and choose Rasterize. Using the Eraser tool with size 200px, fade off the top portion of the type.
Go to Filter > Liquify. Select the Forward Warp Tool and key in the following settings. Using the Forward Warp tool, create some waves on the border of the type.
Download the Fire image from Shaedsofgrey. Go to Channels tab and select the Green layer. Ctrl + left click on the Green layer to load selection of the highlight areas.

Go back to Layers tab and use the Move Tool to drag any part of the selected area into the document with the "1" you done earlier. Place the fire above the type.
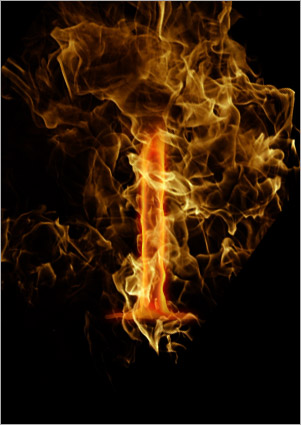
Using the Eraser tool with 15px, erase all the excessive fire, leaving only those parts that is waving around the type.

Duplicate the fire layer. Set the Opacity of the original fire to 30%. Set the Blend Mode of duplicated fire to Overlay.
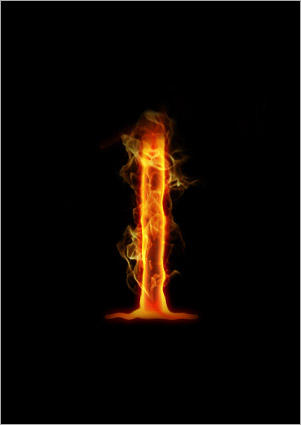
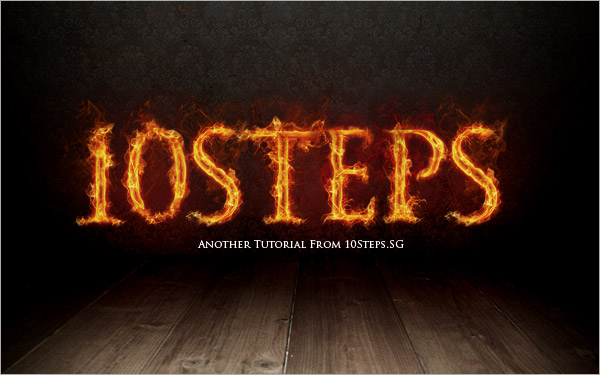
Repeat the processes to cover the type with more flames. And there you got your first flaming type!

Create more flaming letters according to your own preferences.

Download Premade Background from Chulii Stock. Resize and place the image into the document as shown below.

Create a layer above the Premade Background and fill it with #000000. Set the Opacity of this layer to 50%. Use the Eraser tool to reveal the wooden floor.

Create a new layer and name it as Glow. Paint 3 huge red dot with the Brush tool (Soft Rounded) as shown in the screenshot below.

Set the Blend Mode of this layer to Color Dodge. We are done for this tutorial. Hope this will be useful for your future works.
 10Steps is a huge resource of Photoshop tutorials, freebies and inspiration for designers.