Step 1
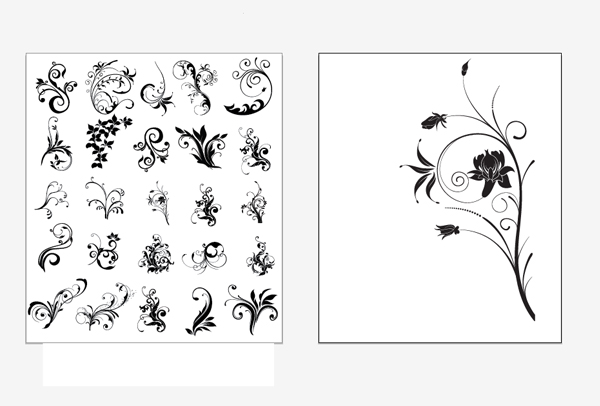
Download the Hoolanders vector pack and open the .AI file in Illustrator. Use the Artboard Tool (Shift+O) to create a new artboard. Then use the Selection Tool (V) to select a vector that you like, hold down the Alt key and drag it to create a copy of it.
Step 2
Use the Direct Selection Tool (A) to select different parts of your vector and add some colors to them. You can chose your colors from the Swatches palette (Window > Swatches).

Step 3
Use the Selection Tool (V) to select your vector, copy it (Ctrl+C) open a new document in Photoshop with the dimensions 600px by 800px and paste it there (Ctrl+V) as a smart object. Double-click on this layer to open the Layer Style window and use the settings from the following image.

Step 4
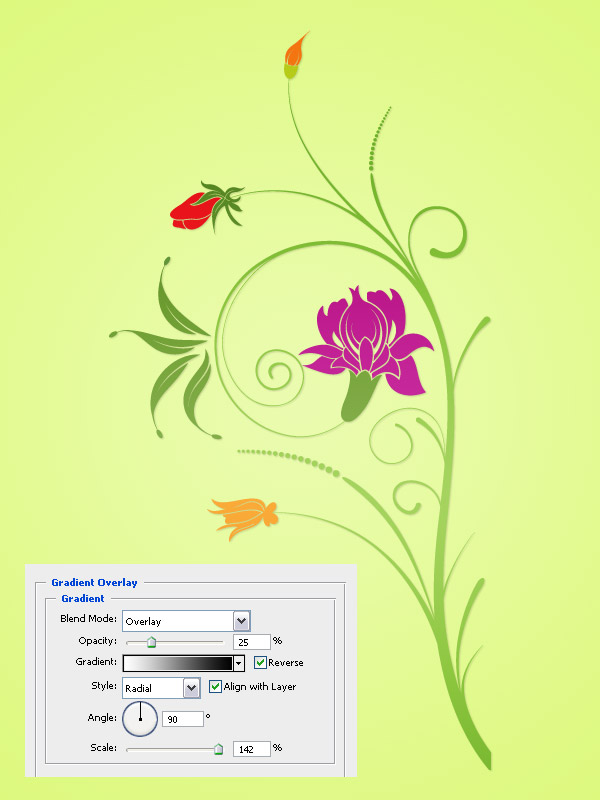
Fill the background layer of your document with the color #e3fa94. Then double-click on this layer to unlock it, double-click on it again to open the Layer Style window and use the settings from the following image.
Step 5
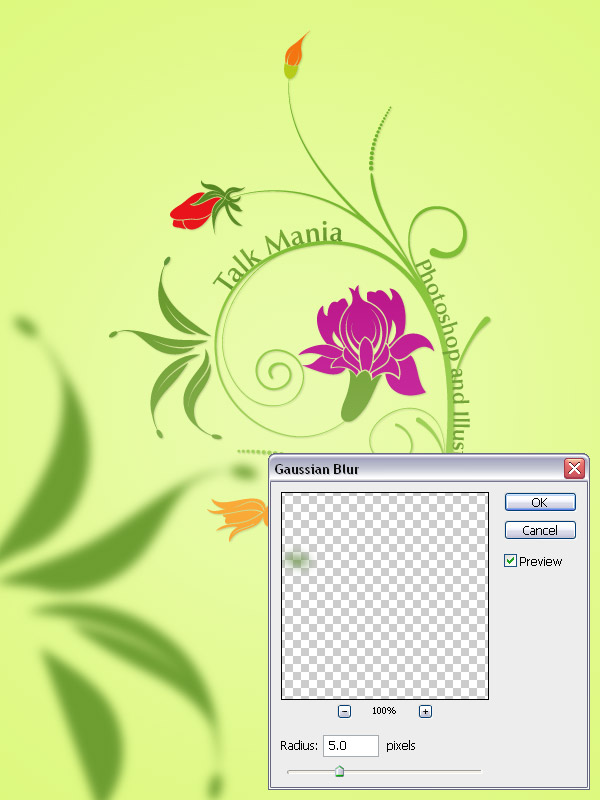
Use the Pen Tool (P) to create a path along an area of your floral vector. Then select the Type Tool (T), click on your path and type anything you want. You can add as many texts as you want.

Step 6
Go back to Illustrator, and use the Direct Selection Tool (A) to select only a part of your vector. Copy that part (Ctrl+C) and paste it into your Photoshop document. Make this layer bigger and add a gaussian blur filter to it (Filter > Blur > Gaussian Blur) using a radius of 5px.
Step 7
Copy another part of your vector from Illustrator and paste it into your Photoshop document. Then set the blend mode of this layer to Multiply 20%.

Step 8
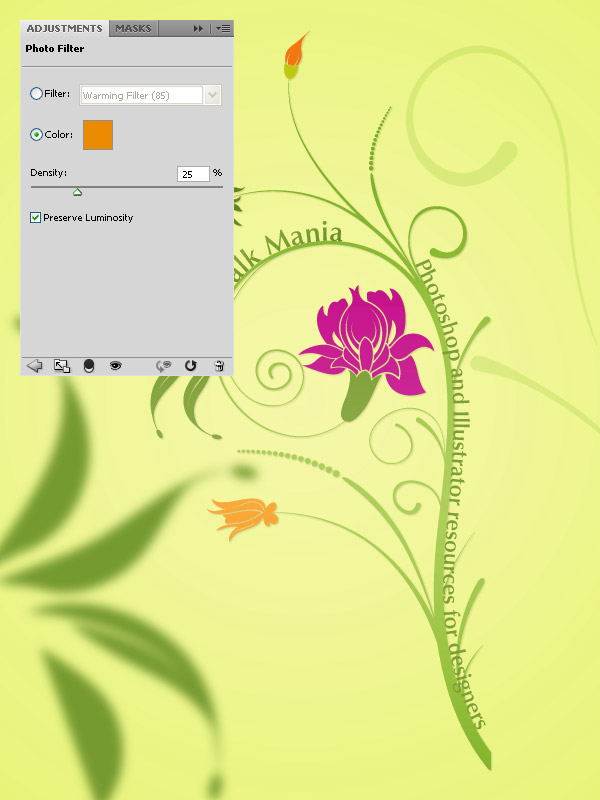
Go to Layer > New Adjustment Layer > Photo Filter and use the settings from the following image.
Step 9
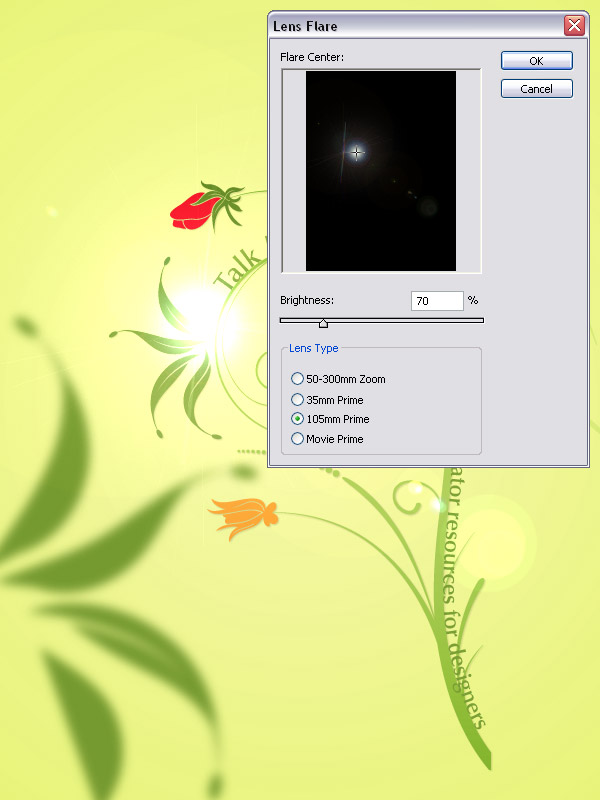
Create a new layer and fill it with black. Right-click on it and select Convert to Smart Object. Then go to Filter > Render > Lens Flare and use the settings from the following image. Set the blend mode of this layer to Linear Dodge (Add).
Step 10
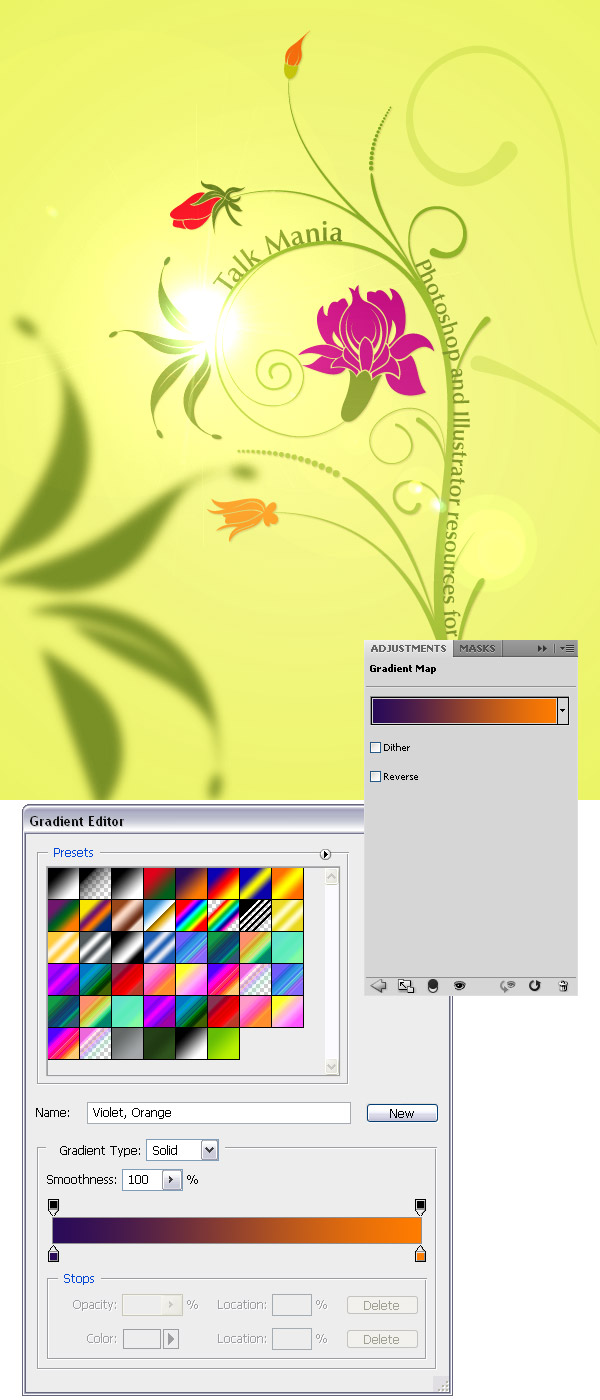
Go to Layer > New Adjustment Layer > Gradient Map and use the settings from the following image. Set the blend mode of this layer to Soft Light 35%.
Step 11
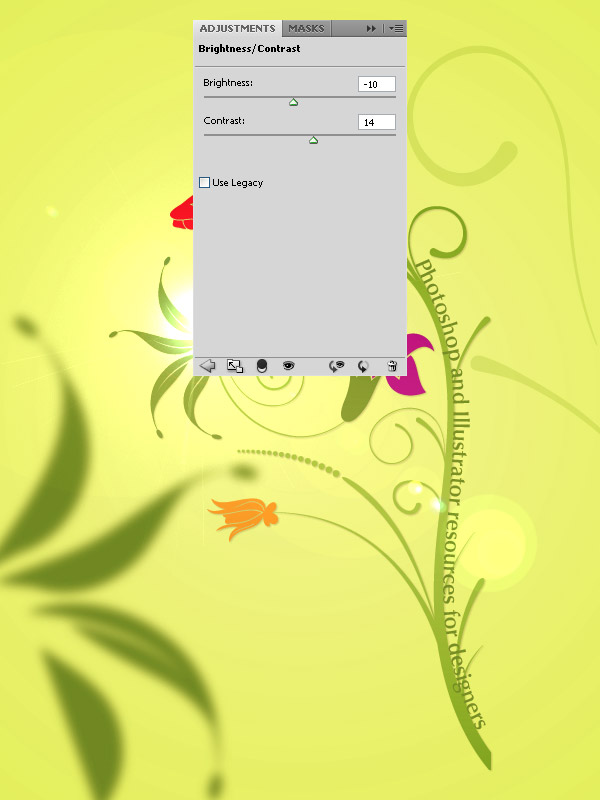
Go to Layer > New Adjustment Layer > Brightness/Contrast and use the settings from the following image.
Final Result