Step 1
Create a new document in Photoshop (Ctrl+N) with the dimension 800px by 600px. Download this texture, open it in Photoshop and use the Move Tool (V) to move it into your document. Then go to Edit > Free Transform (Ctrl+T), hold down the Shift key and scale this layer down.

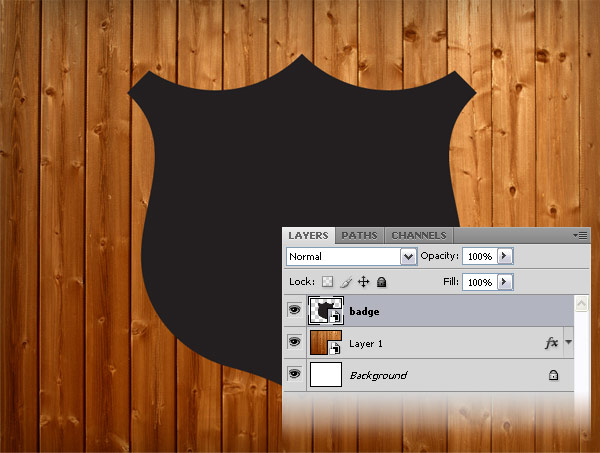
Step 2
Download the Badges vector pack from the Talk-Mania shop and open the .AI file in Photoshop. Use the Selection Tool (V) to select a badge that you like, copy it (Ctrl+C) and paste it into your Photoshop document (Ctrl+V) as a smart object. Then use Free Transform (Ctrl+T) to make your badge bigger. Name this layer "badge."
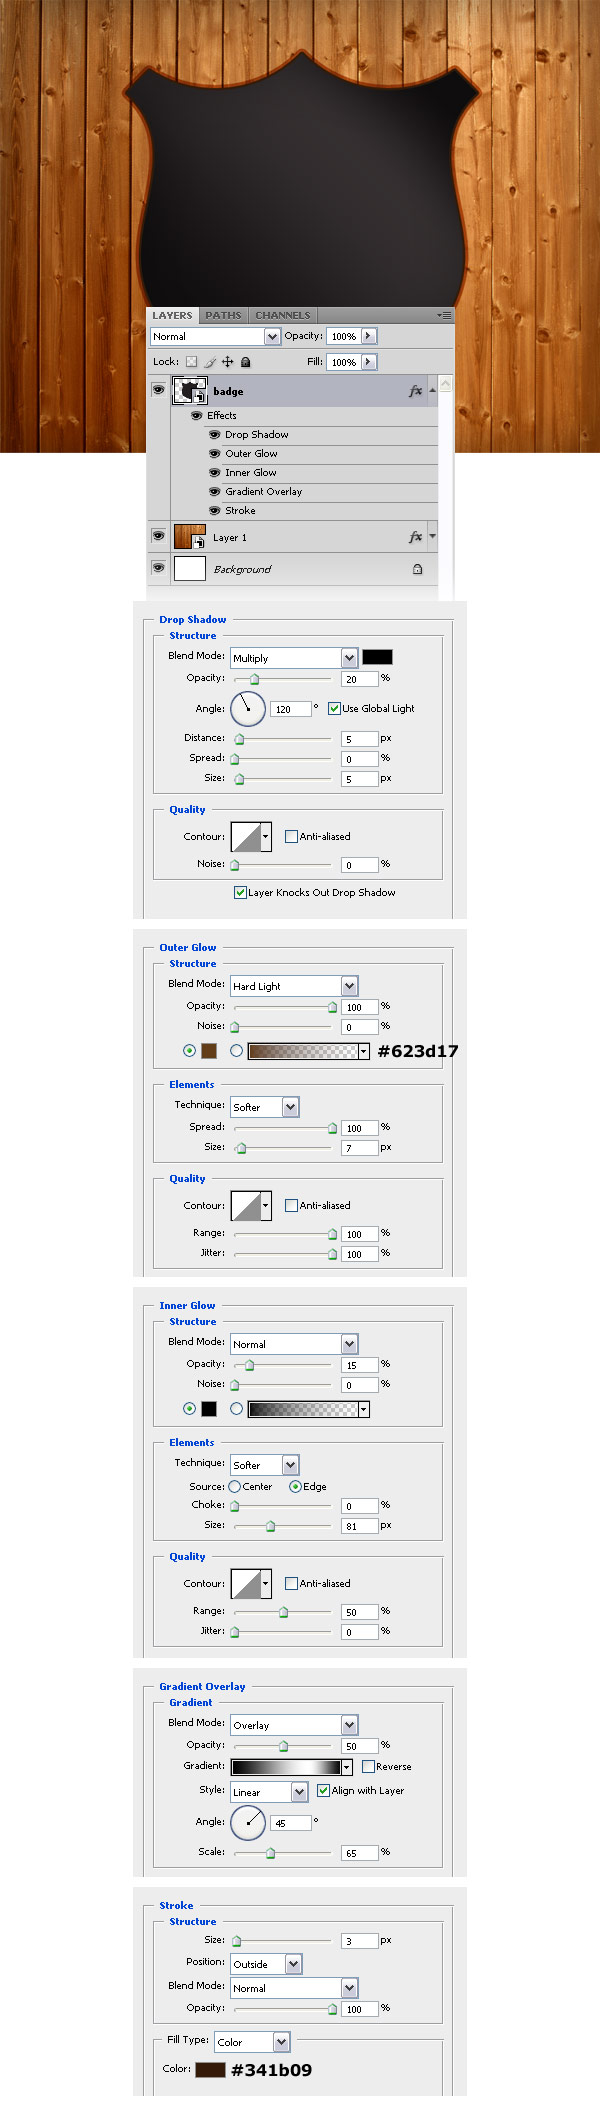
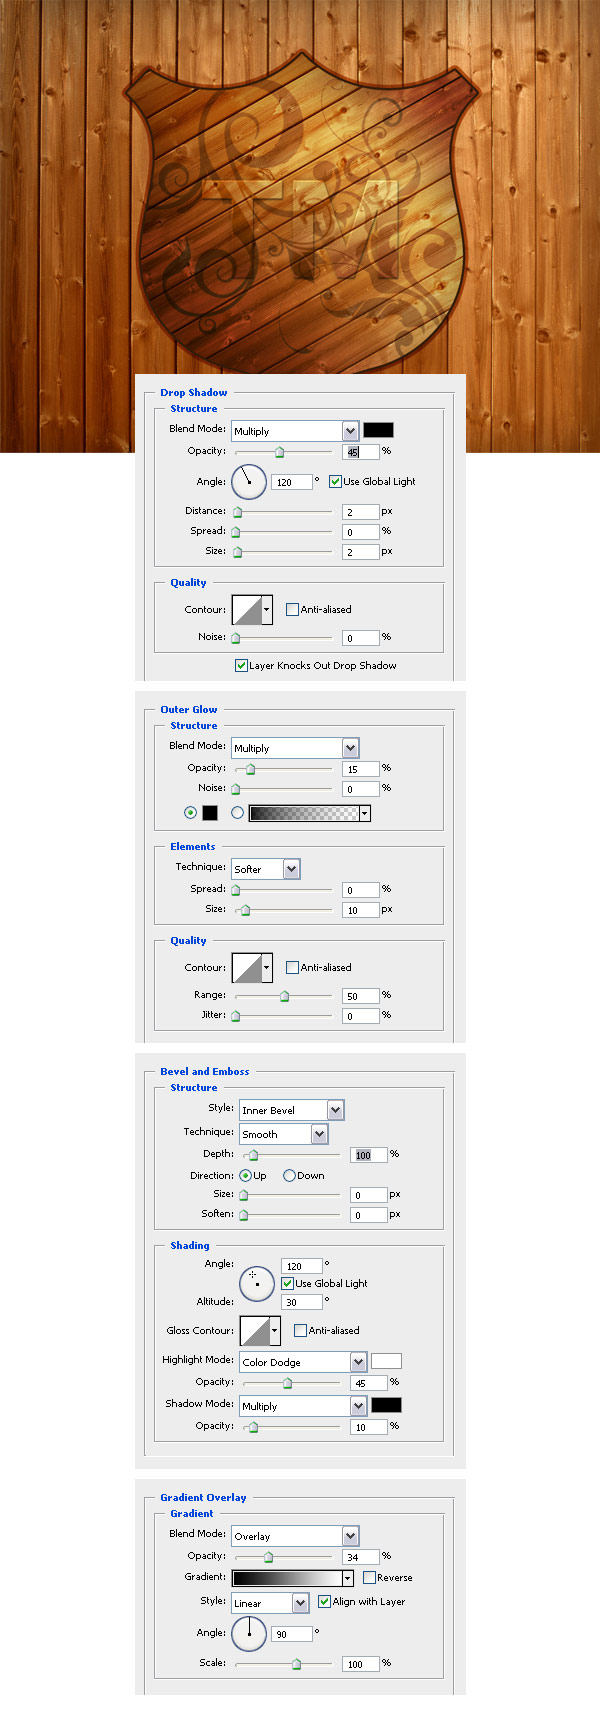
Step 3
Double-click on the "badge" layer to open the Layer Style window and use the settings from the following image.
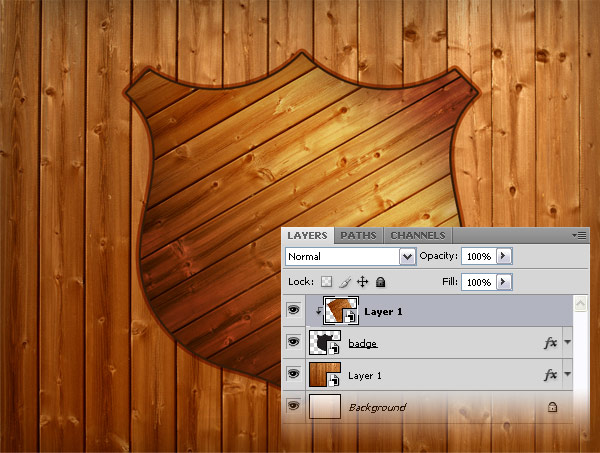
Step 4
Open the texture which you have downloaded at the beginning of this tutorial in Photoshop, and move it into your document using the Move Tool (V). Then go to Edit > Free Transform (Ctrl+T), hold down the Shift key, scale this layer down and rotate it. Right-click on this layer and select Create Clipping Mask.
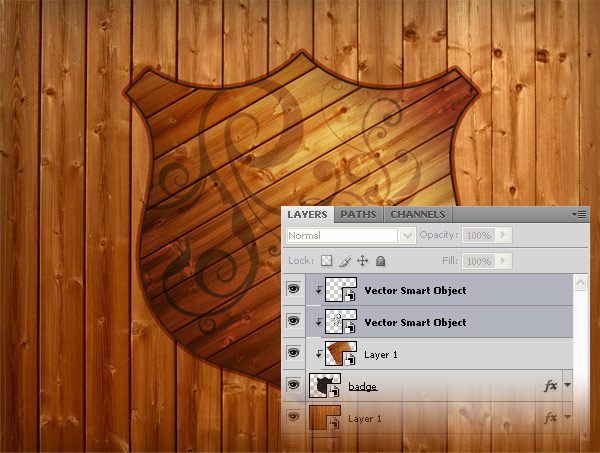
Step 5
Download the Hoolanders vectors from the Talk-Mania shop and open the .AI file in Illustrator. Then use the Selection Tool (V) to select some vectors that you like, copy them (Ctrl+C) and paste them into your Photoshop document (Ctrl+V) as smart objects. Right-click on each of these layers and select Create Clipping Mask. Set the blend mode of these layers to Linear Burn 30%.
Step 6
Use the Type Tool (T) to write something on your badge. Then double-click on your text layer and use the settings from the following image. Set the blend mode of this layer to Saturation.
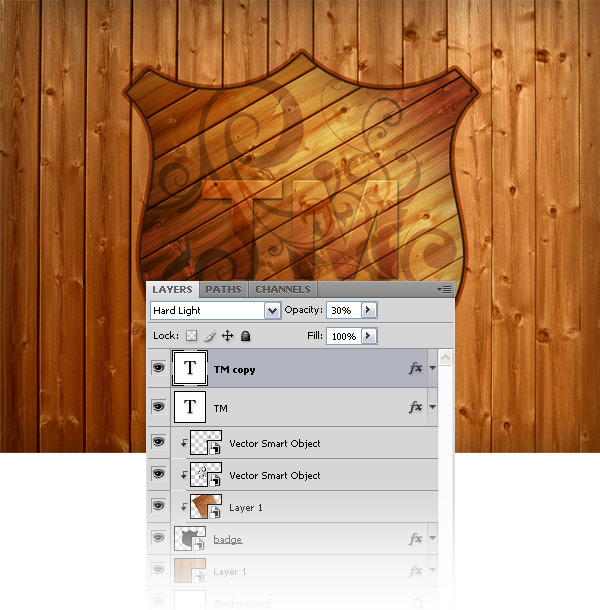
Step 7
Duplicate your text layer and set the blend mode of your new layer to Hard Light 30%.
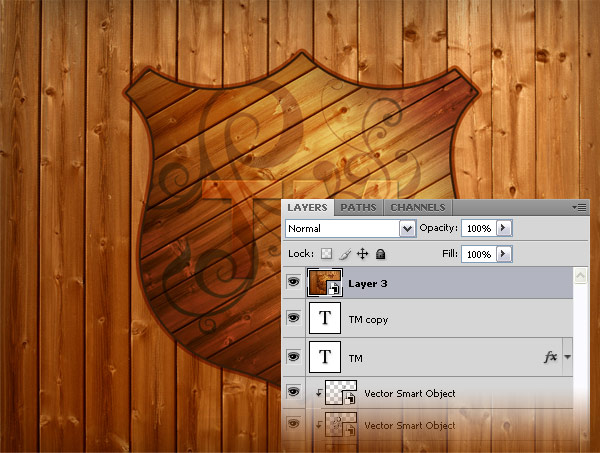
Step 8
Create a new layer, go to Image > Apply Image and click OK. Right-click on this layer and select Convert to Smart Object.
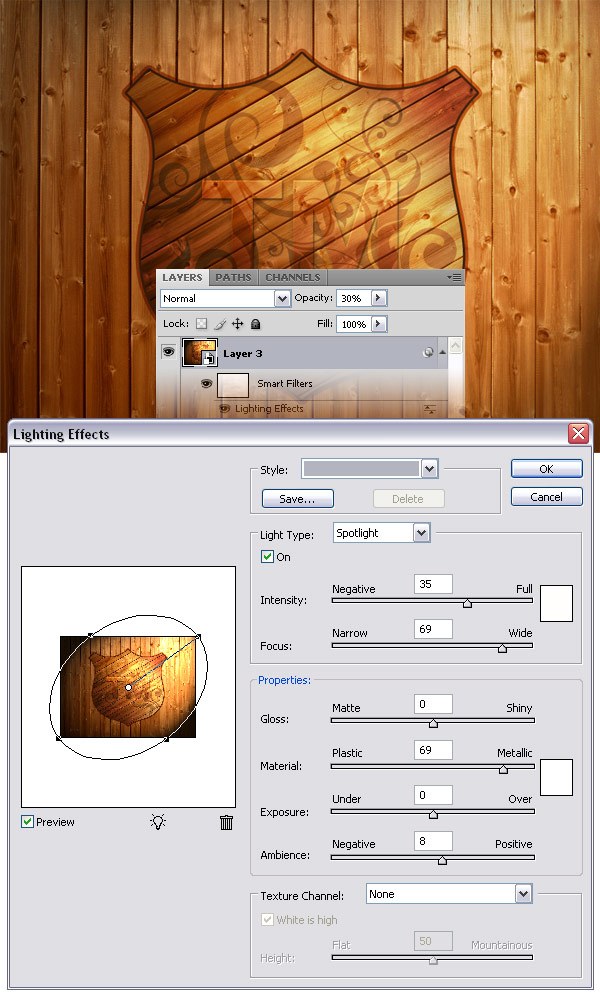
Step 9
Go to Filter > Render > Lightning Effects and use the settings from the following image. Then set the opacity of this layer to 30%.
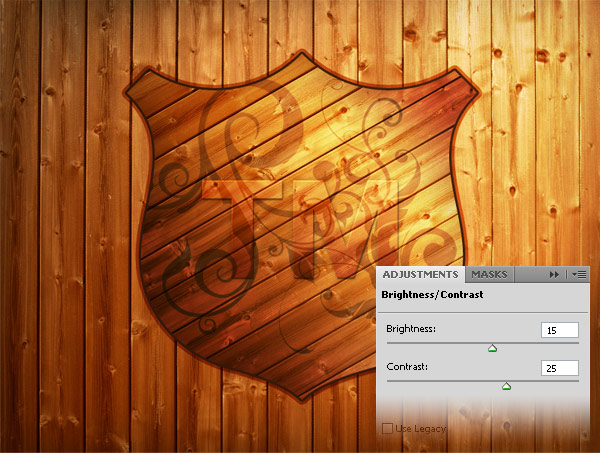
Step 10
Go to Layer > New Adjustment Layer > Brightness/Contrast and use the settings from the following image.
Final Result
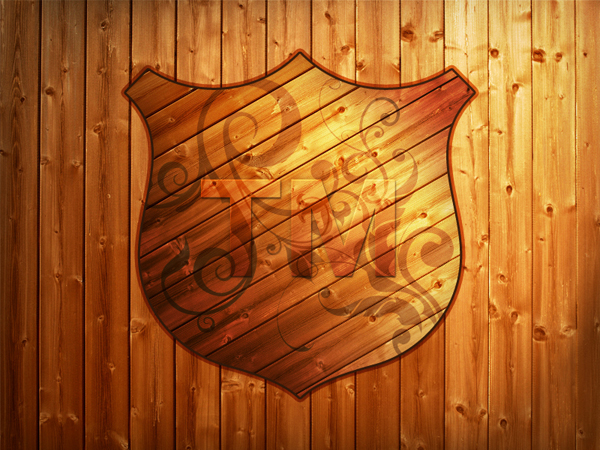
I hope you enjoyed this tutorial. As you can see, it is very easy to create something beautiful in Photoshop using just a texture and some vectors.