|
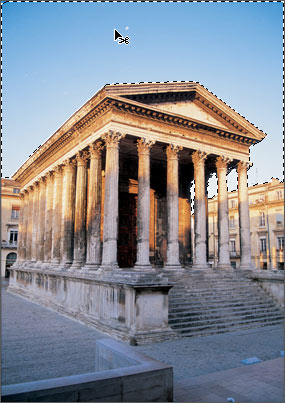
This is a scaled down version.
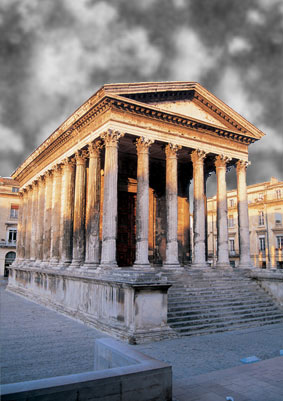
I first applied a 'Edit/Transform/Flip Horizontal' menu command (to the Original) to reverse the direction of the picture.
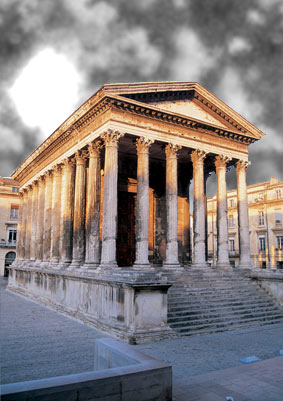
 Next, I want to mask out the skyline to add my own for a more dramatic effect.
To begin, with the target layer active, select the 'Magic Wand Tool (W)'
 Before applying the mask, we need to reverse this selection to target the building and surrounding areas. To do this hit 'Ctrl + Shift + I' (Mac: Command + Shift + I) or 'Select/Inverse' menu command. The new selection should be outlined by a marquee as I have captured below.

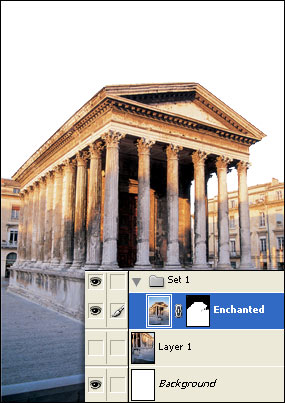
To complete masking out the sky, simply hit the 'Add Layer Mask'
 Now for the details.
Create a new empty Layer below our original (mine is labelled Enchanted), by simply holding the 'Ctrl key (Mac: Command key)
and click on the 'New Layer' icon
Then select the 'Fill Tool' icon
 At the next prompt, select the Pattern Preset Picker and from the icon list, choose the last one entitled 'Clouds'. Adjust the 'Scale' to one of your choice. I used '205%'.
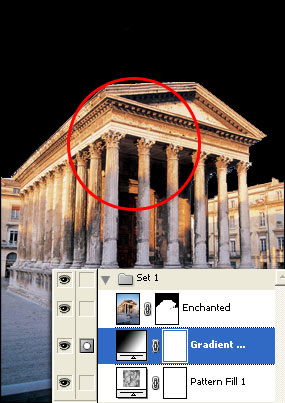
 Here is the Layers Palette, thus far.
 Here is the updated image.
 Next, set the Foreground/Background Colors to Black/White.
With the Pattern Fill 1 layer active, again select the 'Create New Fill/Adjustment Layer'
 At the next prompt, select the 'Gradient Preset Picker' and choose 'Black to White' and apply the below settings.
 Below is the resulting Layers Palette view thus far, and the image view. As you can tell the Radial gradient is not even visible and lies dead smack in the middle of the document behind the building. (Red circle indicates gradient area.) Toggle visibility of the 'Enchanted' layer to see what I mean.
 The next trick is to get the radial gradient to move to the upper (your) left of the image, like in the below capture.
 Next, blend in the radial gradient by changing the Layer Mode to Color Dodge, as I have captured below.
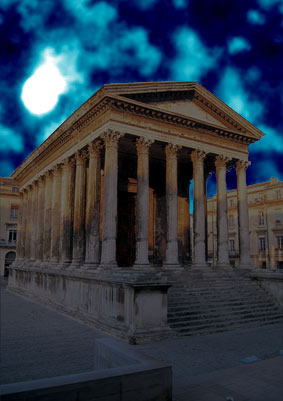
 Here is the resulting effect.
 Now the moon shape doesn't quite have the circular shape as a moon should, so here is what I did to correct it without loosing the effect created by the pattern fill layer.
1. Double click the Gradient Fill Thumbnail
 This is the resulting moon shape.
 Just a few more steps.
Make the Gradient Fill Layer active, and hit the 'Create New Fill/Adjustment Layer'
 Choose an enchanting night color. I went for a cool blue variant #3291CF. Next, change the new 'Color Fill' layer mode to 'Color Burn' as captured below.
 To now get this resulting image.

Finally, 'Ctrl + Click' (Mac: Command + Click) on the original 'Enchanted' Layer Thumbnail. This will load it as a selection.
Hit the 'Add New Layer' I then set it's blend mode to 'Linear Burn' and also reduced its Opacity, as I have captured below.
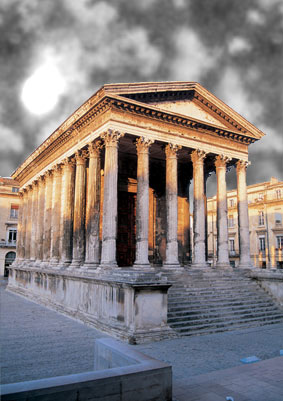
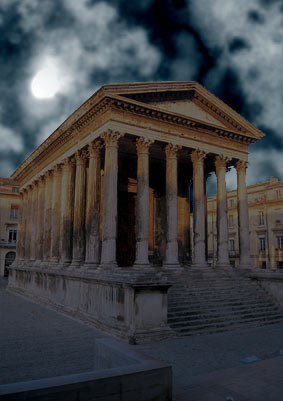
 Here is the final image.
I know that was quite the treck to read through, but I was more interested in introducing the use of some
Adjustment Layers in a way that you normally wouldn't.
In Summary:
1. Horizonatal Flip (Personal Preference) Some Variations
 |
Her
Enchanted Nights
Added:Dec 03, 2004 Rating:

 Level: Experienced Software:
Photoshop
Level: Experienced Software:
Photoshop
Level: Experienced Software:
Photoshop