


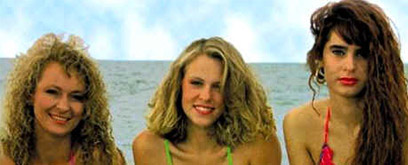
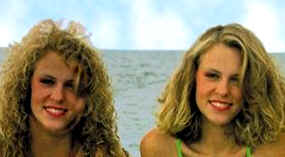
To start, let's open a picture of many faces. Here's one of 3 ladies - let's see if we can't create triplets.
Select the Patch Tool from the toolbar.

In the options bar, you will see a couple of radial buttons that allow you to set the patch selection you are about to make as the source or destination. Let's set it to source for this run.
![]()
Pick a face, any face. Draw your selection around the perimeter.
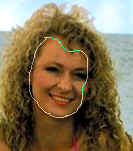
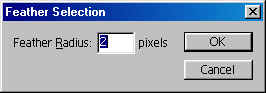
Now go to Select>Feather, and put in a setting of 2 or so.
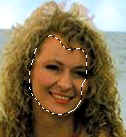
You should now have a selection around the area you want to patch..
Now this part may seem a bit confusing - it was for this old man anyway. Though we set it to source, what actually happens is we drag the selection to another face, and the face we dragged it to is pasted into the original selection.
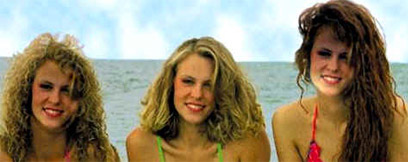
Now when we choose destination' and drag the selection, the face in the selection is pasted to the new area:
 Al Ward, a certified Photoshop Addict and Webmaster of Action FX Photoshop Resources (