1. Try Complete Wood Texture Page before starting this tutorial.
2. Create a new file and view Grids. Create a new layer. Using snap to Grids and Rectangular Marquee Tool, draw the rectangular selection. Fill it with any color.
3. Create another rectangular selection inside the black rectangle and press Del.
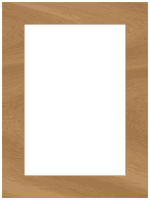
4. You will get the outer frame work.

5. Create another layer and repeat the same procedure to get one more frame inside the outer frame.

6. Create a wood texture and drag it over the first and then second layer of the frame. We have used the following Wood texture.

Layer > Group with Previous
7. Merge down the texture layer with its respective base layer.
Select the texture layer. Go to the properties of layer palette and select Merge Down.
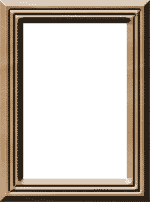
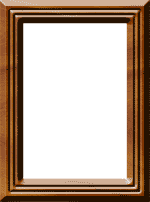
8. Use bevel effect on the outer frame layer.
Layer > Layer Style > Bevel & Emboss > Inner Bevel
Technique: Chisel Hard
Adjust the rest of the settings according to requirement.
9. Use bevel effect on the inner frame layer.
Layer > Layer Style > Bevel & Emboss > Pillow Emboss
Adjust the settings according to requirement.
9. Image > Adjust > Brightness/Contrast
Adjust the settings according to requirement.
10. Drag the image on the frame. Drag the image layer below the frame layers.