 We'll
start by opening a new 500 x 500 pixel image in RGB mode. For now you'll
want to keep the background white, as this works easier. The size of the
image isn't that important, it can be anything you like. Now add any shape
or type on a new layer, and make the color black.
We'll
start by opening a new 500 x 500 pixel image in RGB mode. For now you'll
want to keep the background white, as this works easier. The size of the
image isn't that important, it can be anything you like. Now add any shape
or type on a new layer, and make the color black.
First you'll want to change the blending options in the layer pallette
by clicking the layer style button. Next, lets add a drop shadow. Use
a medium to dark grey color, and keep the standard settings.
 Add
a color overlay - change the color to a light grey. Now lets add an inner
glow. Experiment with your own settings. Next, add an inner shadow.
Add
a color overlay - change the color to a light grey. Now lets add an inner
glow. Experiment with your own settings. Next, add an inner shadow.
On to the bevel and emboss option. This will truly add depth to your
shape or text.
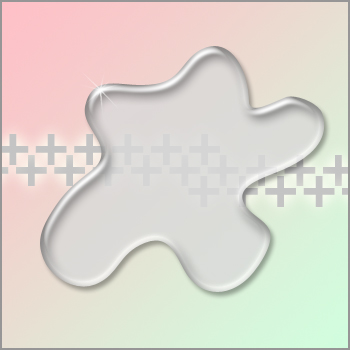
 Now
you just need to make a few minor adjustments to make it suit your needs.
First, create an empty layer beneath the image and merge the two layers
together. You can now go to color balance and play around with the slides
to give the image a hue you like. If you add a background to it now, you
will see that the image is slightly transparent.
Now
you just need to make a few minor adjustments to make it suit your needs.
First, create an empty layer beneath the image and merge the two layers
together. You can now go to color balance and play around with the slides
to give the image a hue you like. If you add a background to it now, you
will see that the image is slightly transparent.