


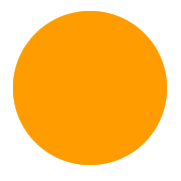
1. Start off with an image at the size of mine with a white background. With your eliptical marquee tool create a circle. Create a new layer and fill your selection with orange.
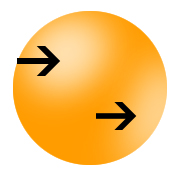
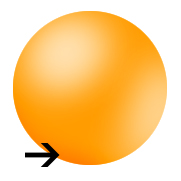
2. Deselect. Click your dodge tool located on the toolbar. Choose an exposure of 50% and a 100px sized brush. Brush the areas that the arrows below point to. Remember the light on the upper left is much stronger than the light in the lower right!
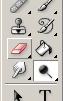
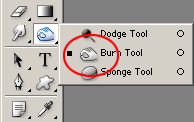
3.
We
will also use the burn tool (located at the
picture below)
and brush it in the lower left-hand corner with
an exposure of around 30%.
4.
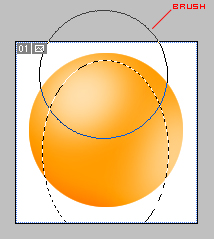
Now
we are going to give it that glass-look! Create
a new layer, and make a selection like the one
I made below. Use the airbrush with white as
a foreground color and click once about where
the brush is located below.
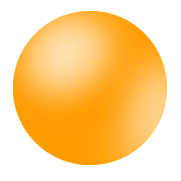
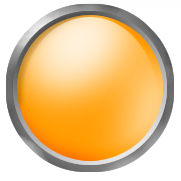
5.
Now
look at what we got!
Here you can either stop and use it like it
is, or continue. Anyways, here's about what
you should have!

6. Time to make something around this booring circle. I'm going to create a metal ring around it. Hold ctrl and click your 1st layer, the orb layer. Create a new layer, and go edit - stroke - 7 px / outside with color (#585858) Now play around using the dodge and burn tool as in (2) and (3).

7. Click on the layer below your metal layer. Then hold ctrl and click your orb layer to select it. Now, in the layer you created, go edit-stroke with 8 px (#CACACA) and centered. Now you will have a line inside.

8. Now use your burn tool and choose airbrush as a brush type and make it dark up where the light is (here there will be shadow! Blend the dark color to the sides. Also make a little drop shadow effect using your airbrush in the upper left corner.

 Final Result |