

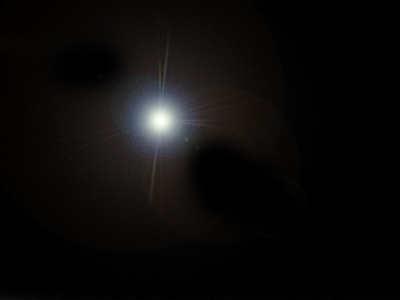
1. Create a new image, prefereably more than 300x300, and create a new layer and fill it with black. Go to Filter - Render - lens flare and create a 80% brightness with 105mm Prime style.
Press ok. No brush away all thos ugly effects around the lens.
Now it should look somewhat like mine.
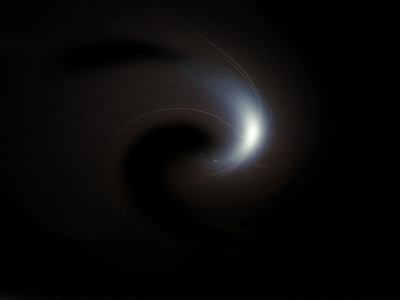
2. Now we are going to distort it a lot! Go to filter - distort - twirl and choose something like 216° and press ok.
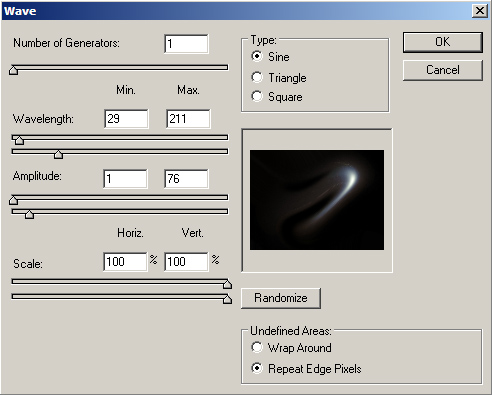
3.
To
distort it even more, go to filter - distort
- wave and choose settings like the ones I used
below, or somewhat like them.
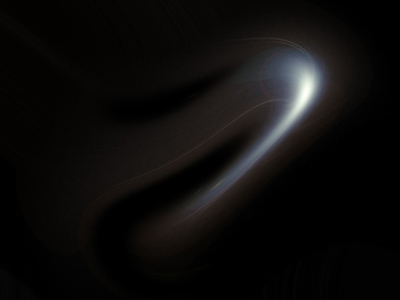
4.
Now
that your lens flare does not look like a lens
flare anymore, it's starting to get shape. Now
you can either apply the same wave filter several
times for a possible better result, or leave
it like this.
I chose to leave it as it is. What you can do
is to reapply the same wave filter or do another
wave, then you can duplicate the layer, rotate
it a little, and change the layer settings to
f.eks color overlay.
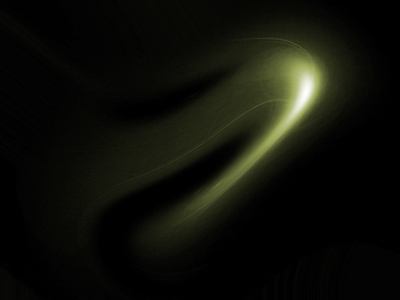
5.
Now
we are adding some color to it. Do this by going
image - adjustments - Hue/Saturation and play
with the settings. Here's what I got:
6.
Now
to put this on your abstract piece, you just
drag the layer to the abstract piece and set
the layer to screen. Do some erasing at the
edges of the layer and ... tada!
