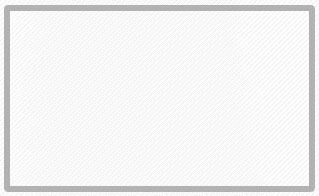
1. Start off with a new image. Create a new layer and call it contentbox border. With your rounded rectangle tool, with a radius of 4 pixels, create a decent sized rectangle (depending on what you "need") and use whatever color you like (we will change this later!)
Go to select - modify - contract - 6 pixels. Then hit delete. Keep in mind that I added a background pattern on this img!
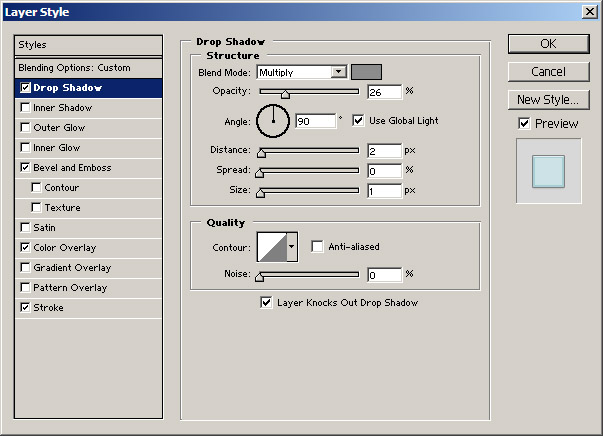
2. Now we will apply some layer style to this layer.
 Click to Enlarge |
 Click to Enlarge |
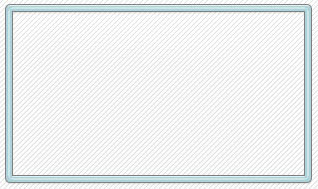
and apply a 1 px stroke, 100% opacity, using this color: (#7F7F7F)
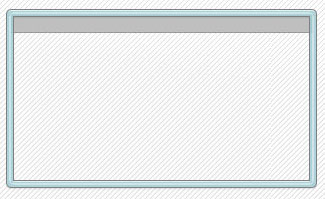
3.
Now, like on
the image
below create a gray rectangle in a new layer below your content
box border layer and apply a stroke to it with a slight darker
color. Call your layer gray.
4.
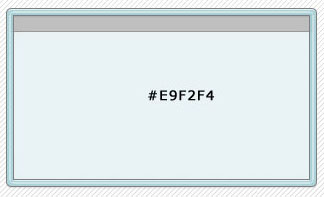
Now,
below your gray layer, create a new layer and call it contentbox
bg color. Fill the layer with the color provided on the image
below!
5.
Now
you're pretty much done! Either add the text in photoshop
or slice the image for html! I'm currently working on a small
slicing tutorial and a bigger one. I will provide a link at
the main page when finished!