1. Start by creating a new RGB image. I used the dimensions of 288 x 288 in the example.
Create a new layer.
Now click the Channels tab, which is located between both the Layers & Paths tabs.
Create a new channel.
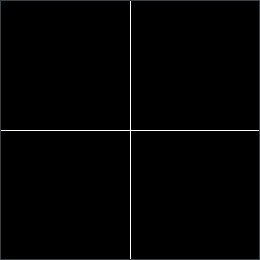
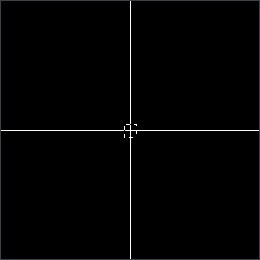
And make two lines using the line tool, they should intersect each other half way thru the image.
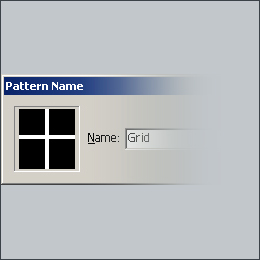
3. Next, go to Edit > Define Pattern.
If you are using Photoshop 7.0 you will have to name the pattern.
Click on OK.
By using the Eraser Tool, erase the two lines that you made earlier.
Click on Edit > Fill
Use: Pattern
Custom Pattern: Select the one you made earlier.
Click on OK
4. Hold Ctrl and click on the channel to select the whole image.
Go back to the layers palette and click on the layer that you made.
By using the paint bucket fill the whole image, by the color of your choice.