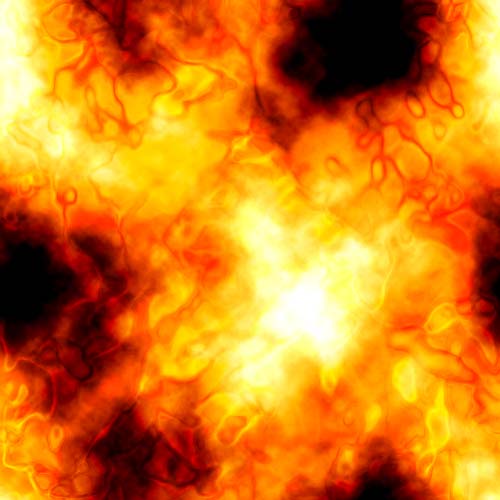
This is a pretty realistic fire effect with a few filters and the changing of blending options
1. Start off with a new document, 400 px x 400 px. Then reset your colours by pressing "D" on your keyboard
2. If you click Filter > Render > Clouds, you will get the base for the inferno.
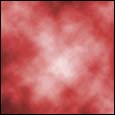
3. Click Image > Adjust > Hue/saturation - click the colourize box and put the saturation upto 50.
5. Click Layer > Duplicate layer - and... name it anything.
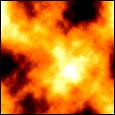
6. On the layers palate, set the blending options to "Linear Light" - this will look wierd, a dark red. but dont worry, its right
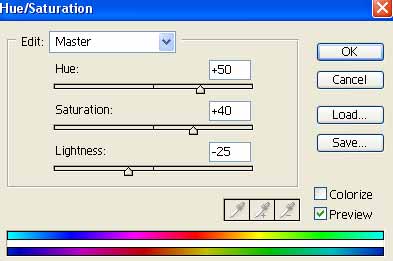
7. Again, click Image > Adjust > Hue/saturation - and enter the following settings: (Hue; 50. Saturation; 40, Lightness; -25)
8. Now, click Layer > new > layer - name this overlay.
9. Next, Filter > Render > Clouds
10. Then, Filter > Stylize > Chrome - juts have any settings, it dosent really matter
11. Now, on the layers palate - set the blending options to overlay!